
Chalkboard Paint Pumpkins
This post may contain affiliate links. Please read my privacy policy.
Artificial pumpkins are one of those craft items that you can do so many things with…carve, cover, paint, etc. The list really does go and on. Last year, I used some washi tape to decorate one for part of my Halloween decorations. This year, I decided to create some chalkboard paint pumpkins so my kids could decorate them over and over again between now and Halloween.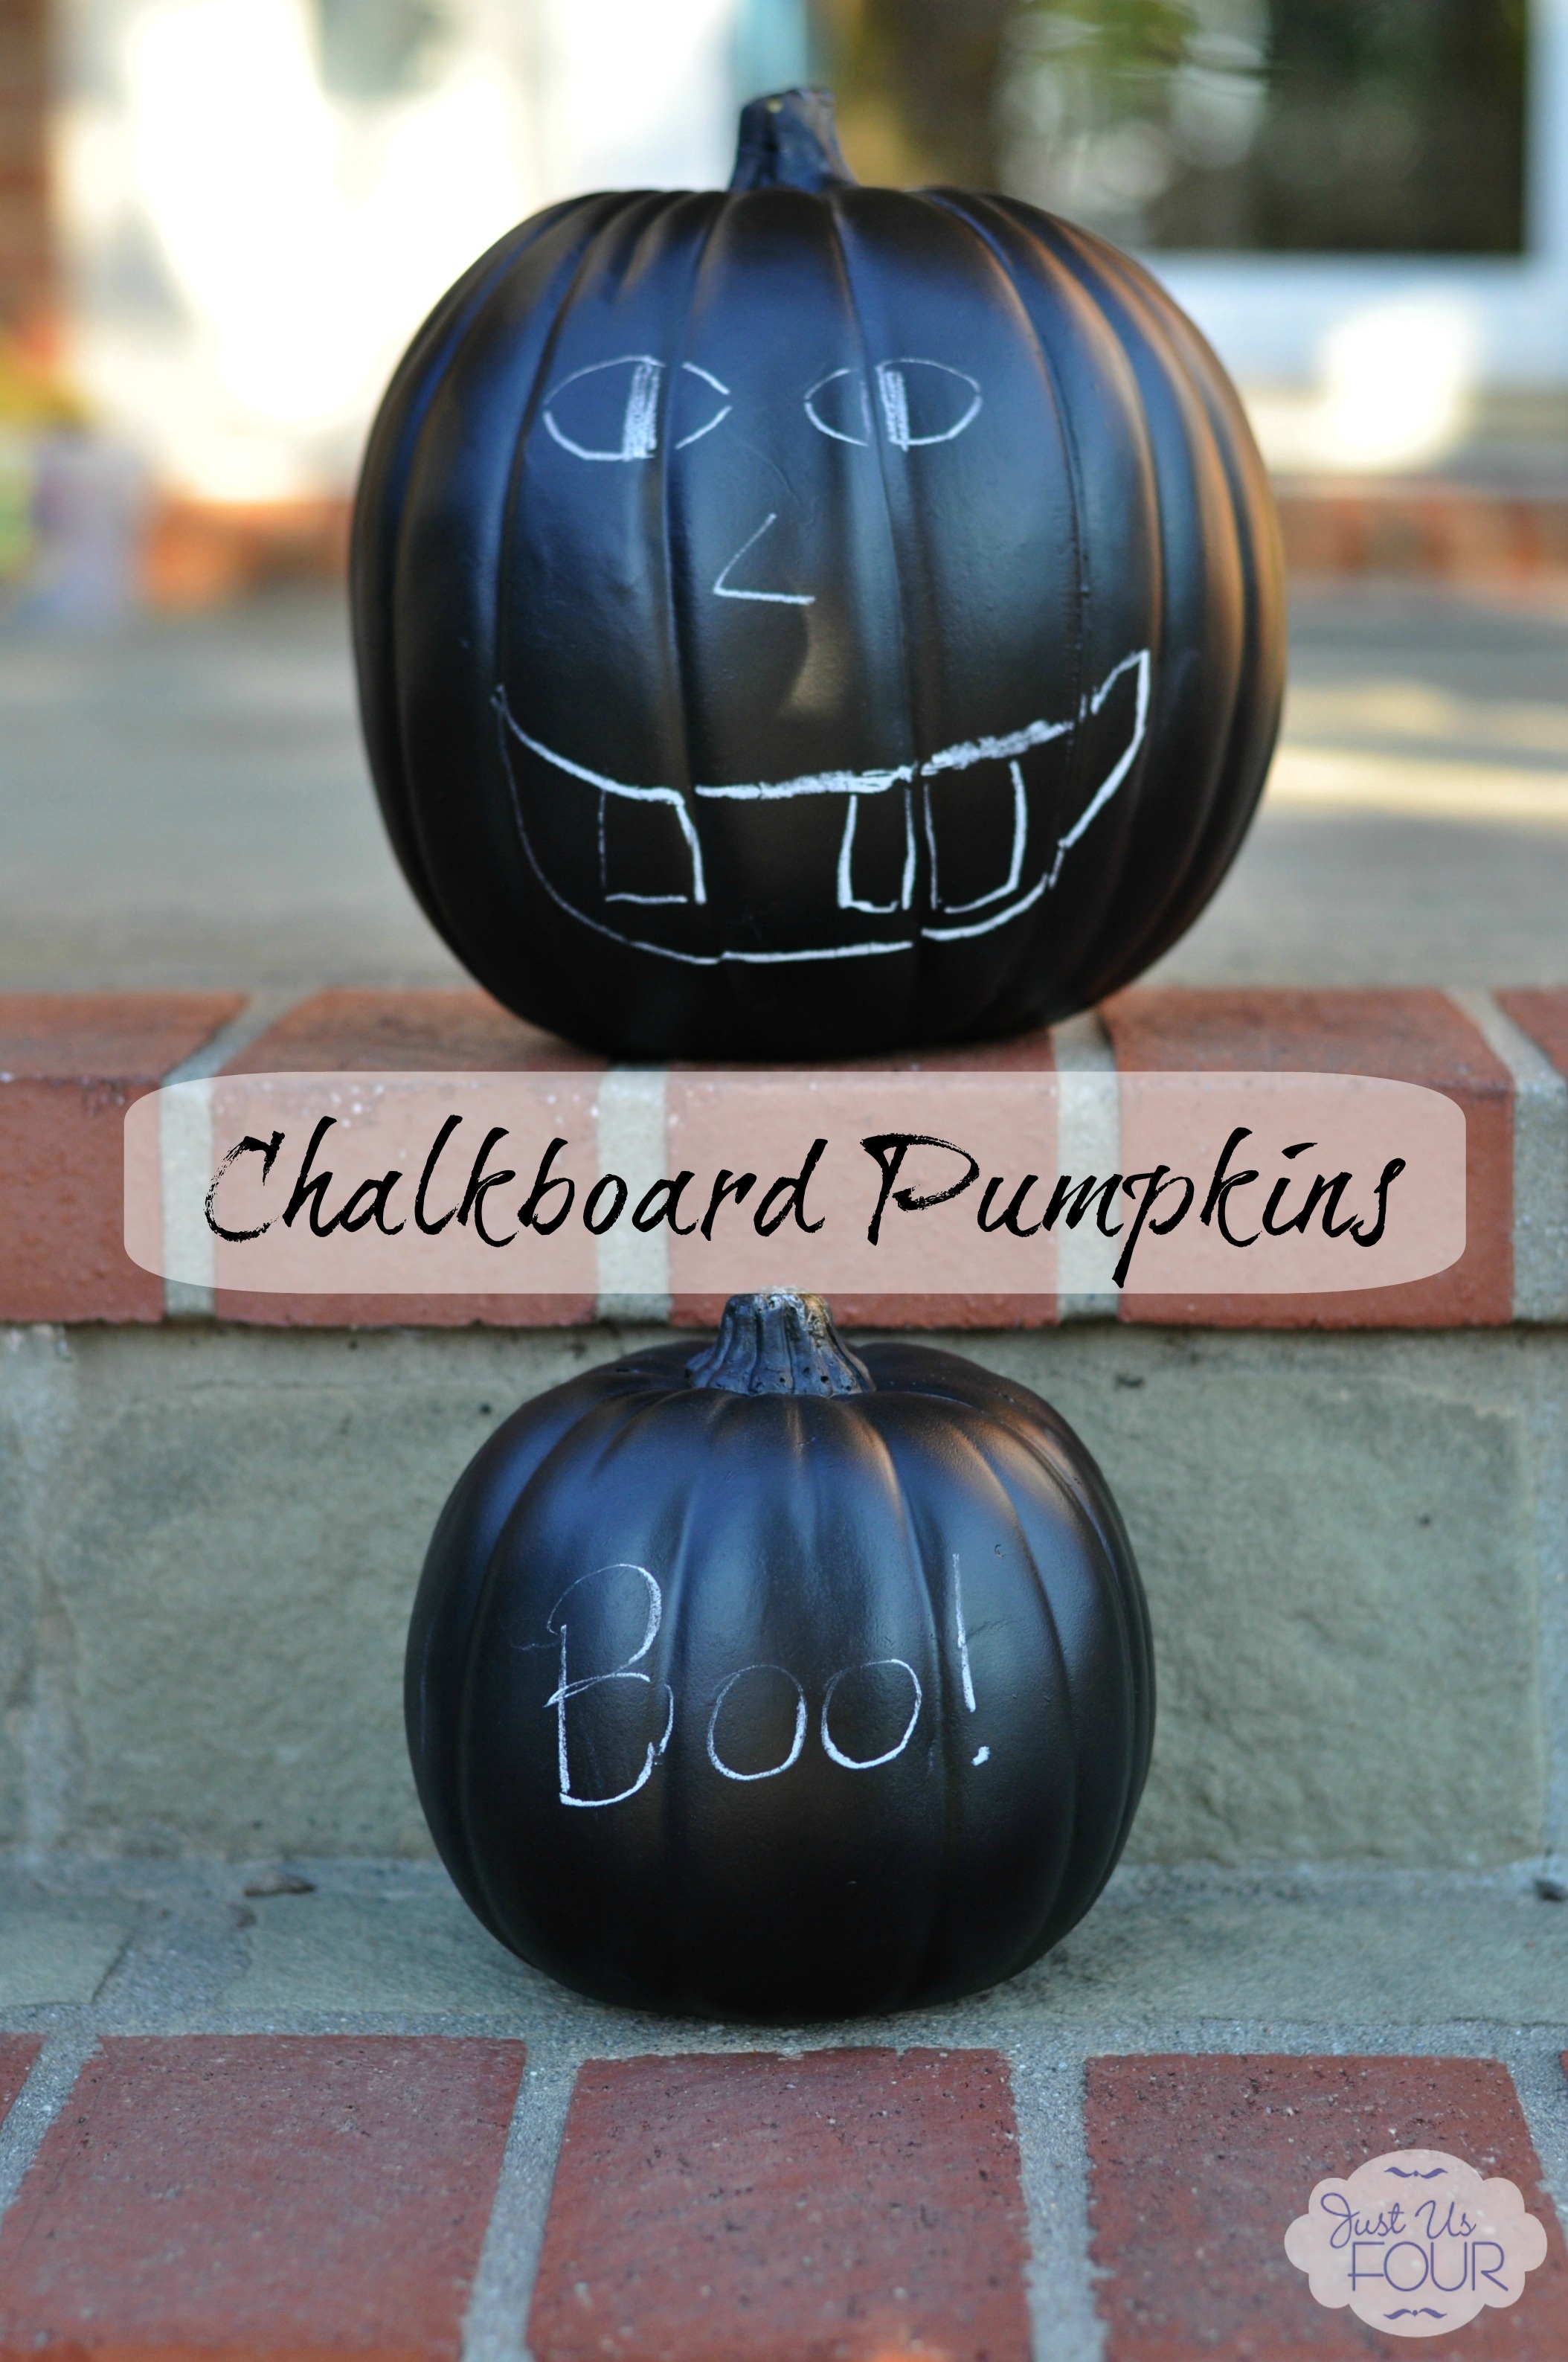
This is one of those tutorials that is so simple that it barely needs a tutorial but I wanted to share with you what I did in case you are thinking of making some chalkboard paint pumpkins of your own.
First, pick out your pumpkins. Just like at the pumpkin patch, there are lots of shapes and colors. I picked white for this project but it really doesn’t matter.
Next, choose your paint method. I originally thought about hand painting them but decided spray paint would be so much faster. So, I grabbed a can of chalkboard spray paint.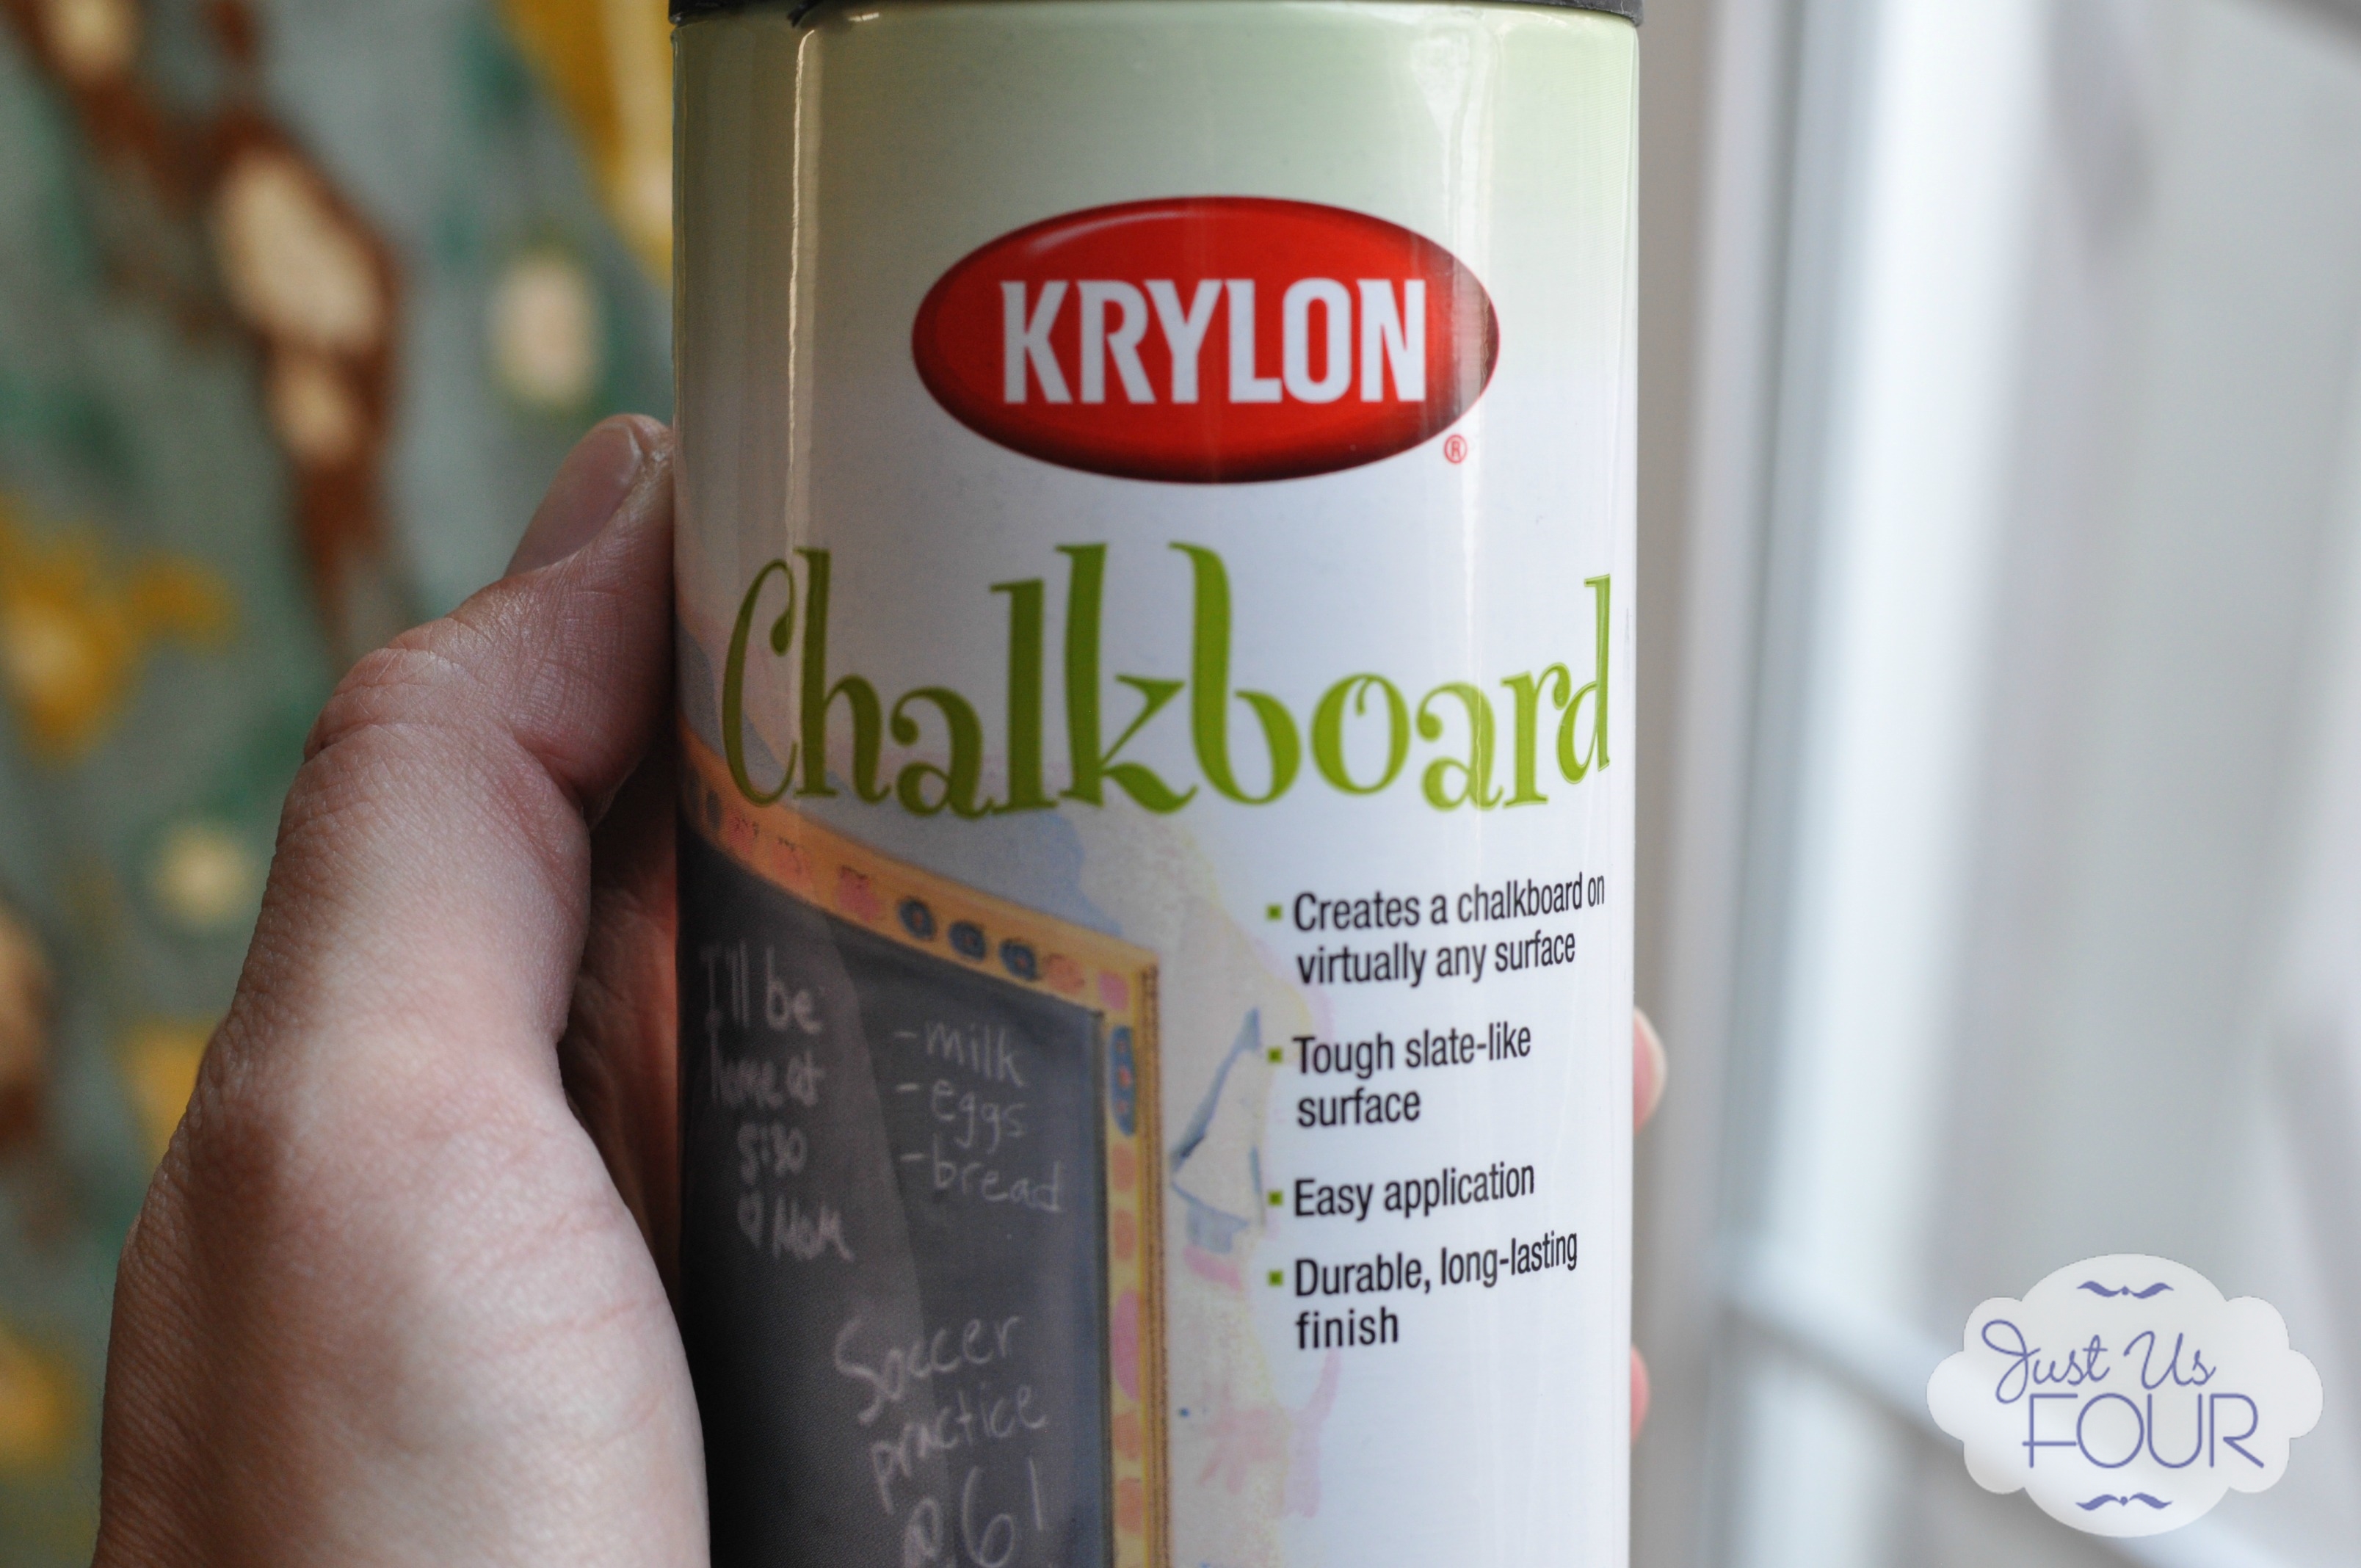
Spray several very light coats onto your pumpkins. Seriously, light is the key word here. You are going to need 2-3 coats minimum so go light knowing this from the start. NOTE: Be sure to read the can for your spray paint to determine the wait time between coats. It ranges for each brand so pay attention because it really does matter.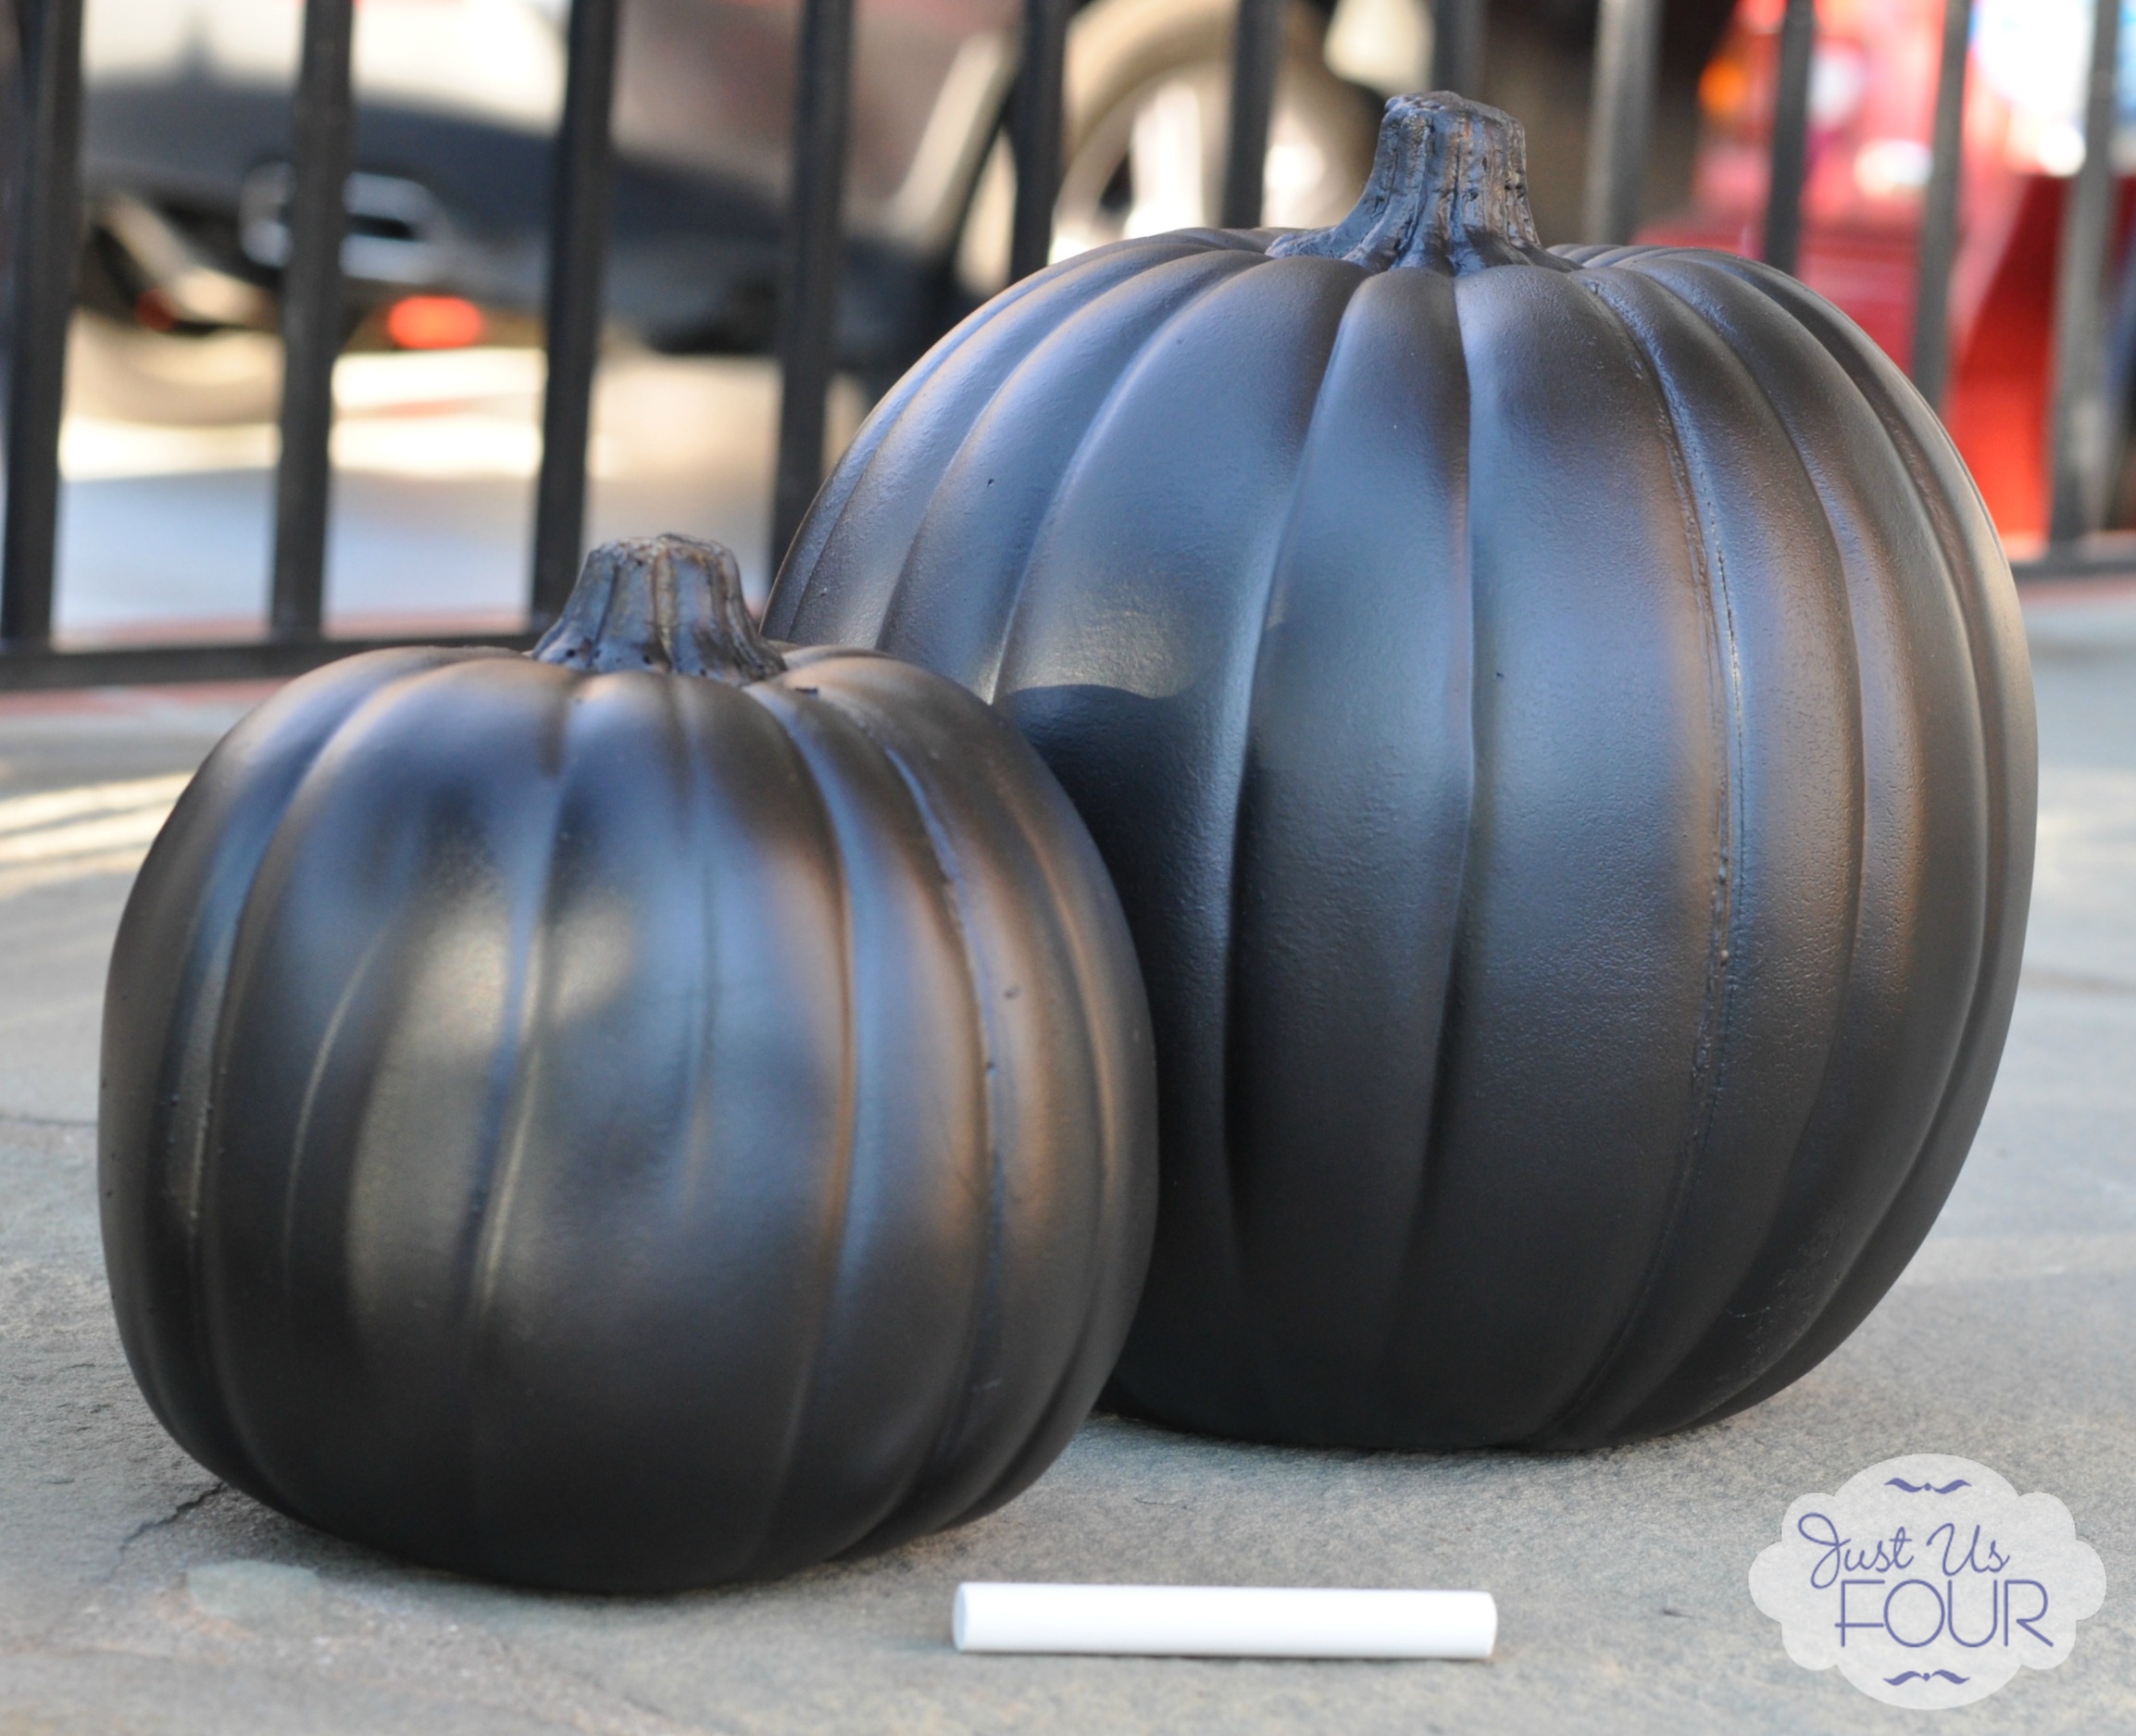
Once your pumpkins are all dry, leave them for 24 hours. Then, rub the entire service down with chalk to cure the paint.
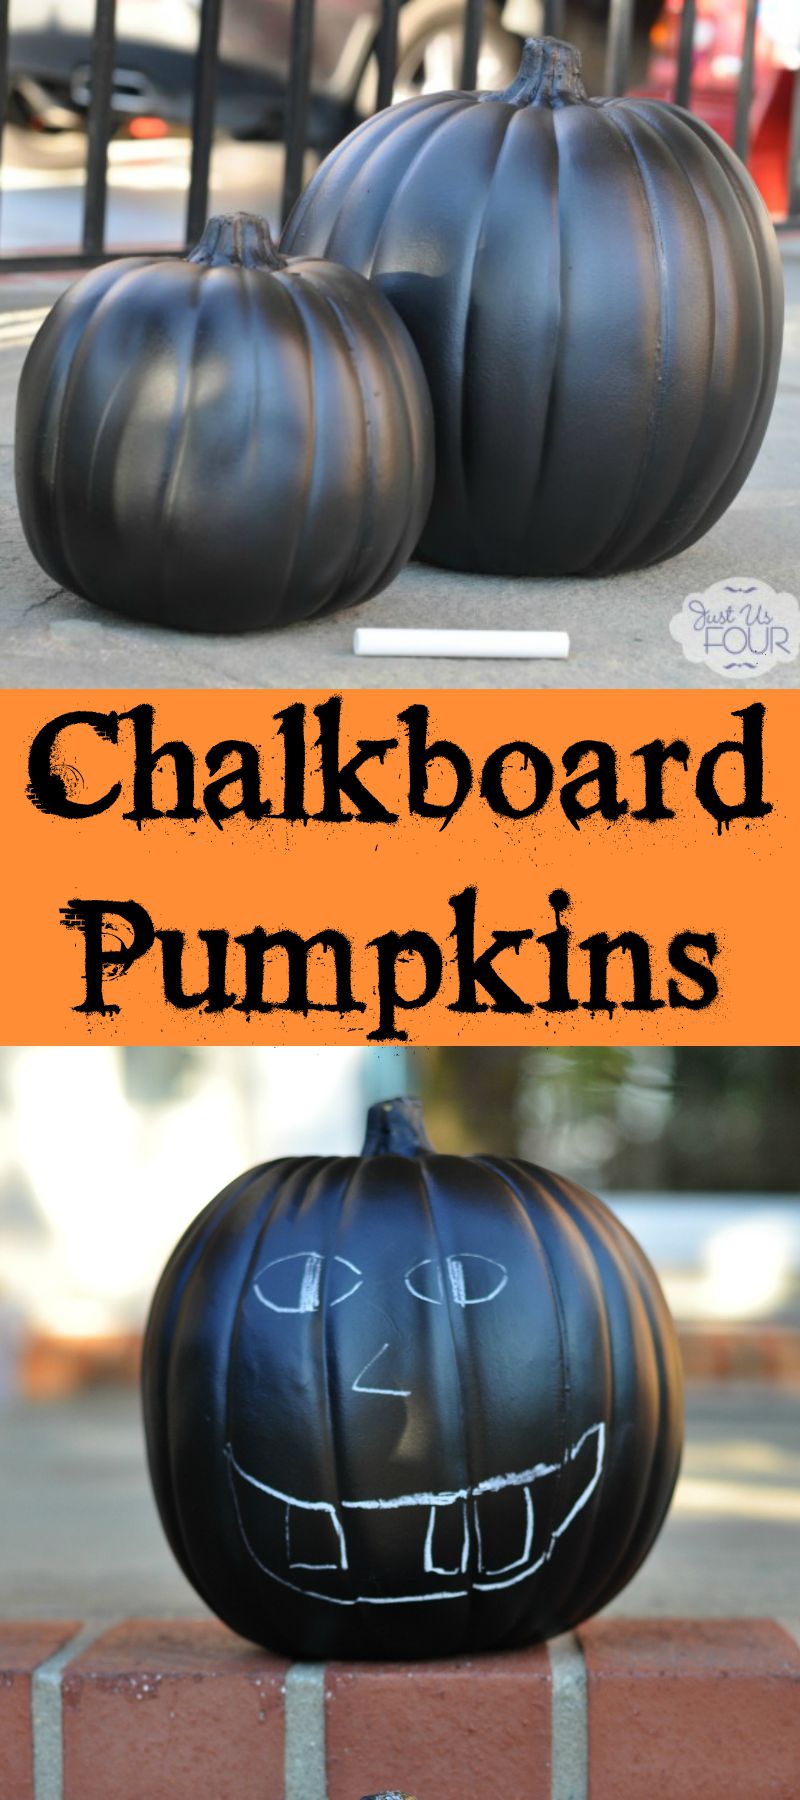
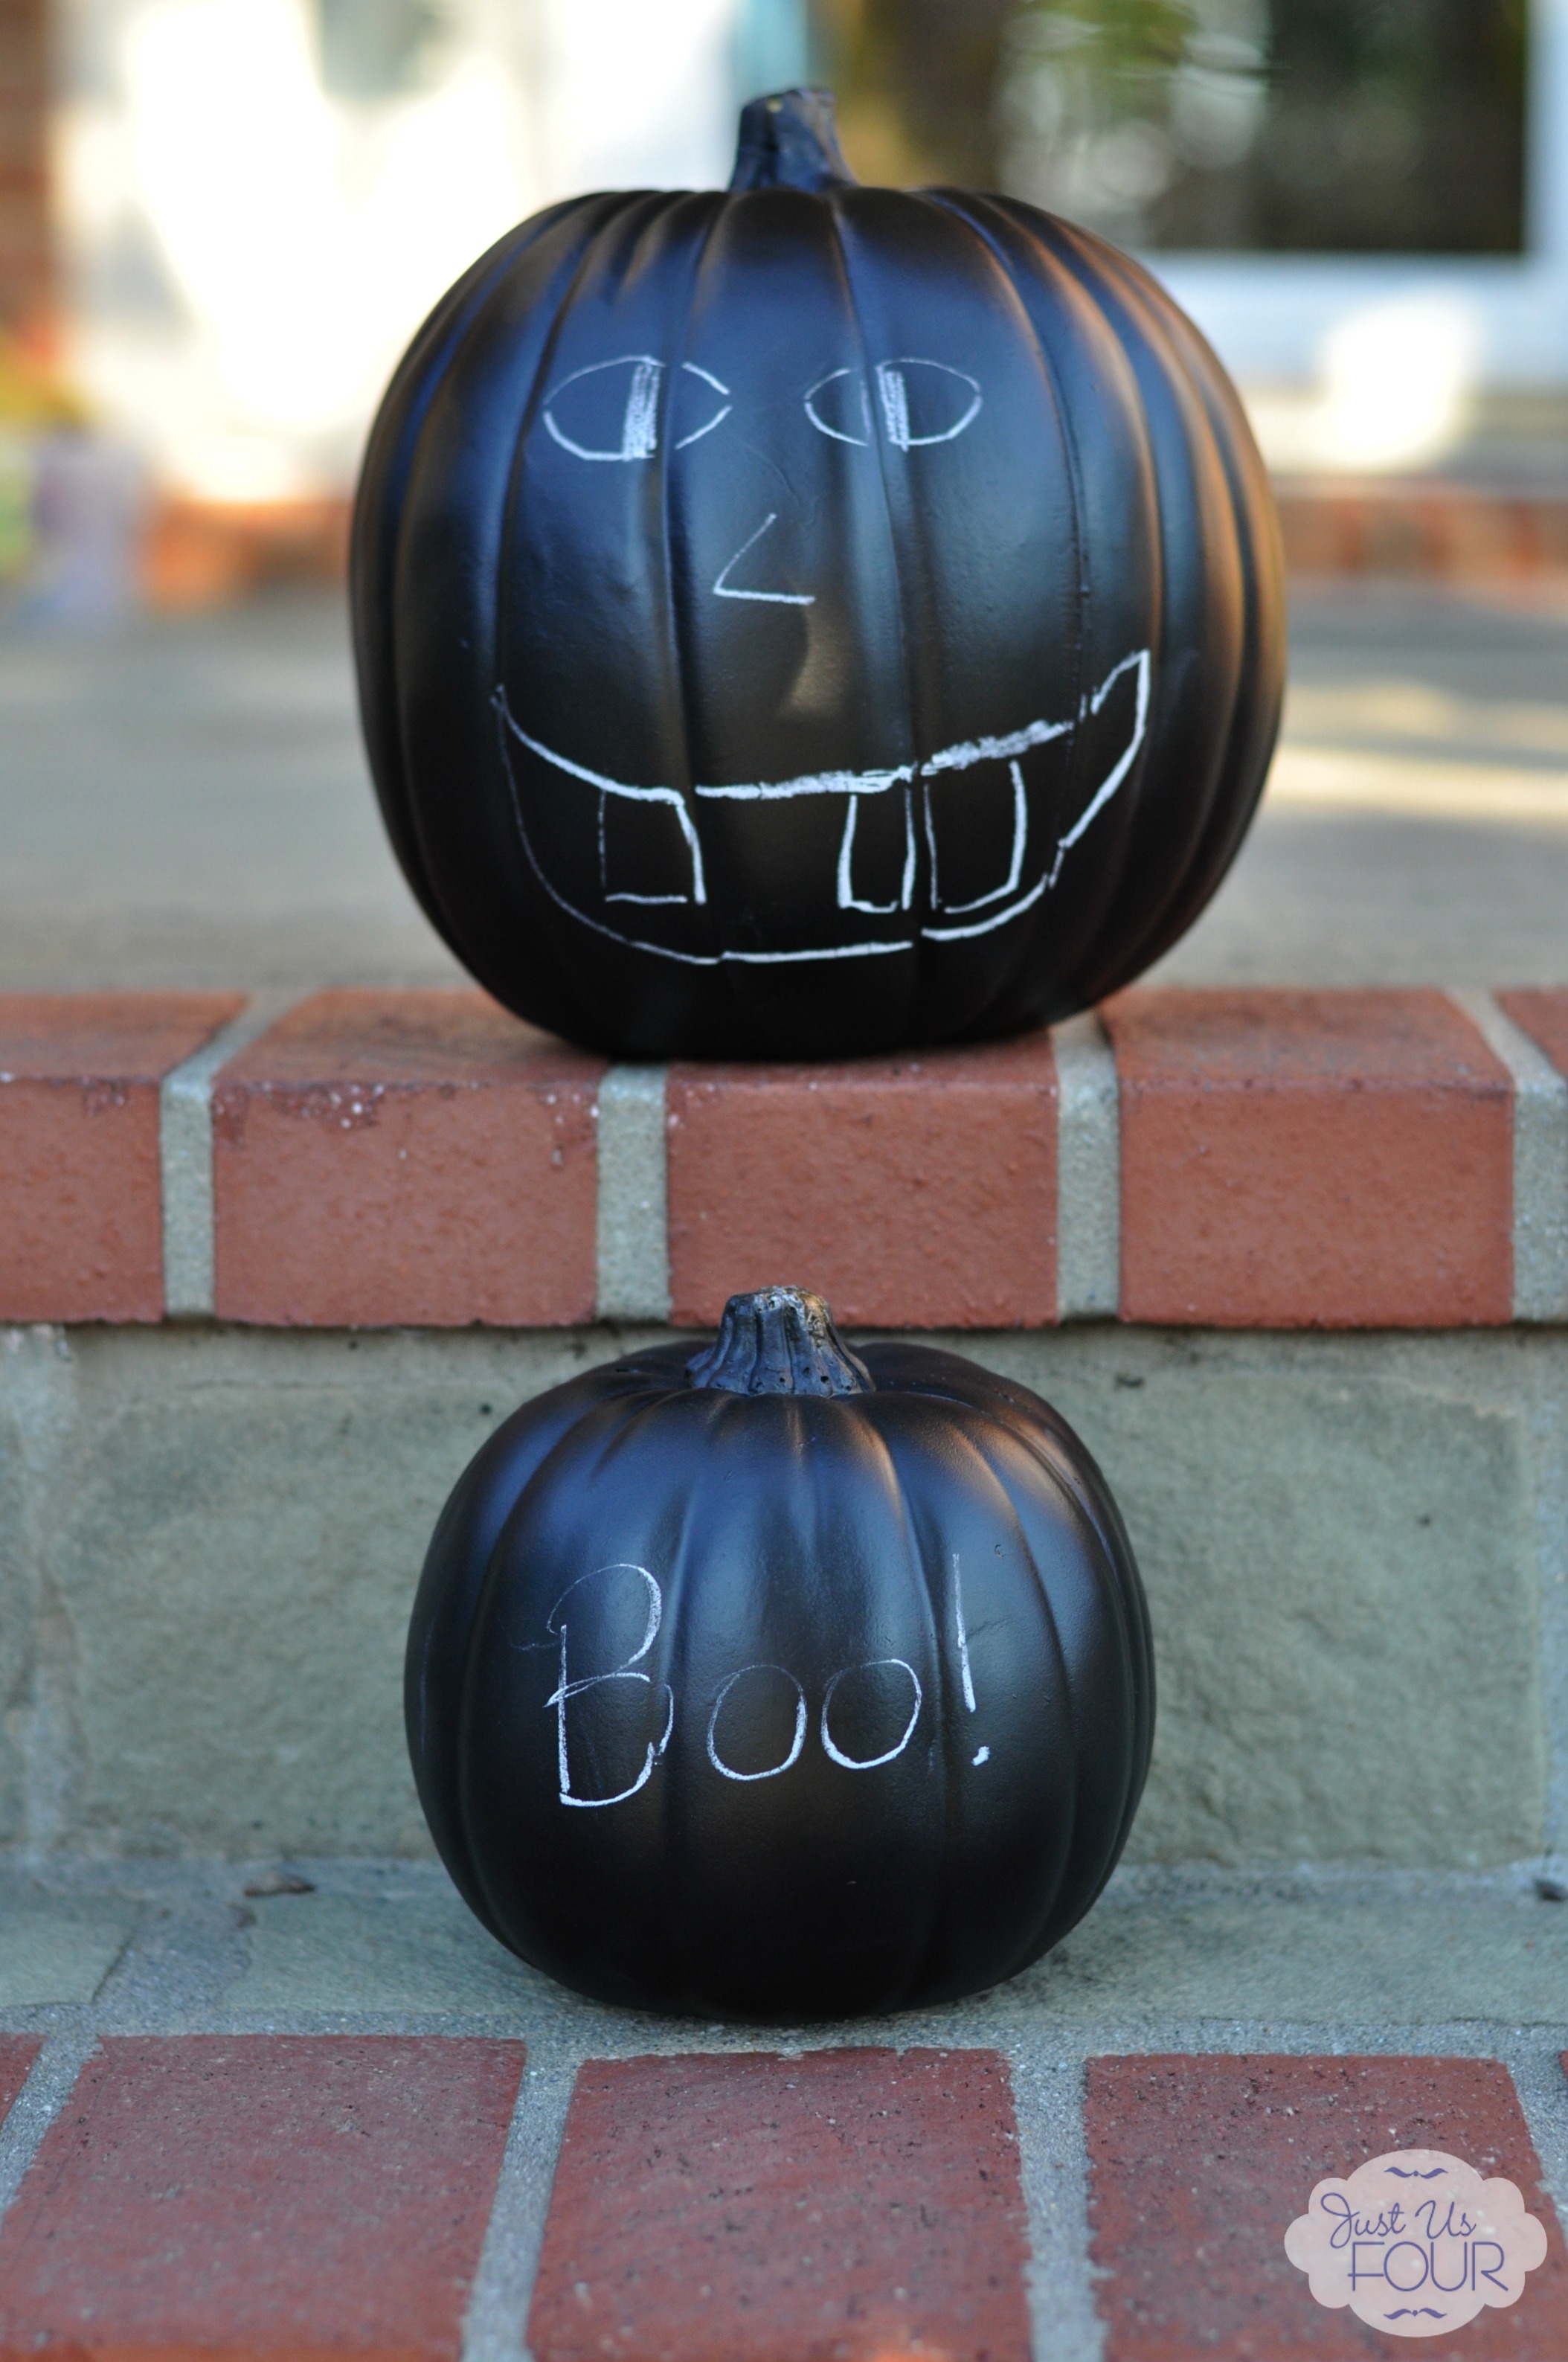
Wipe off all that chalk and you are ready to decorate. Honestly, it is embarassing how bad at drawing I am but I’ll share these with you anyways. #keepingitreal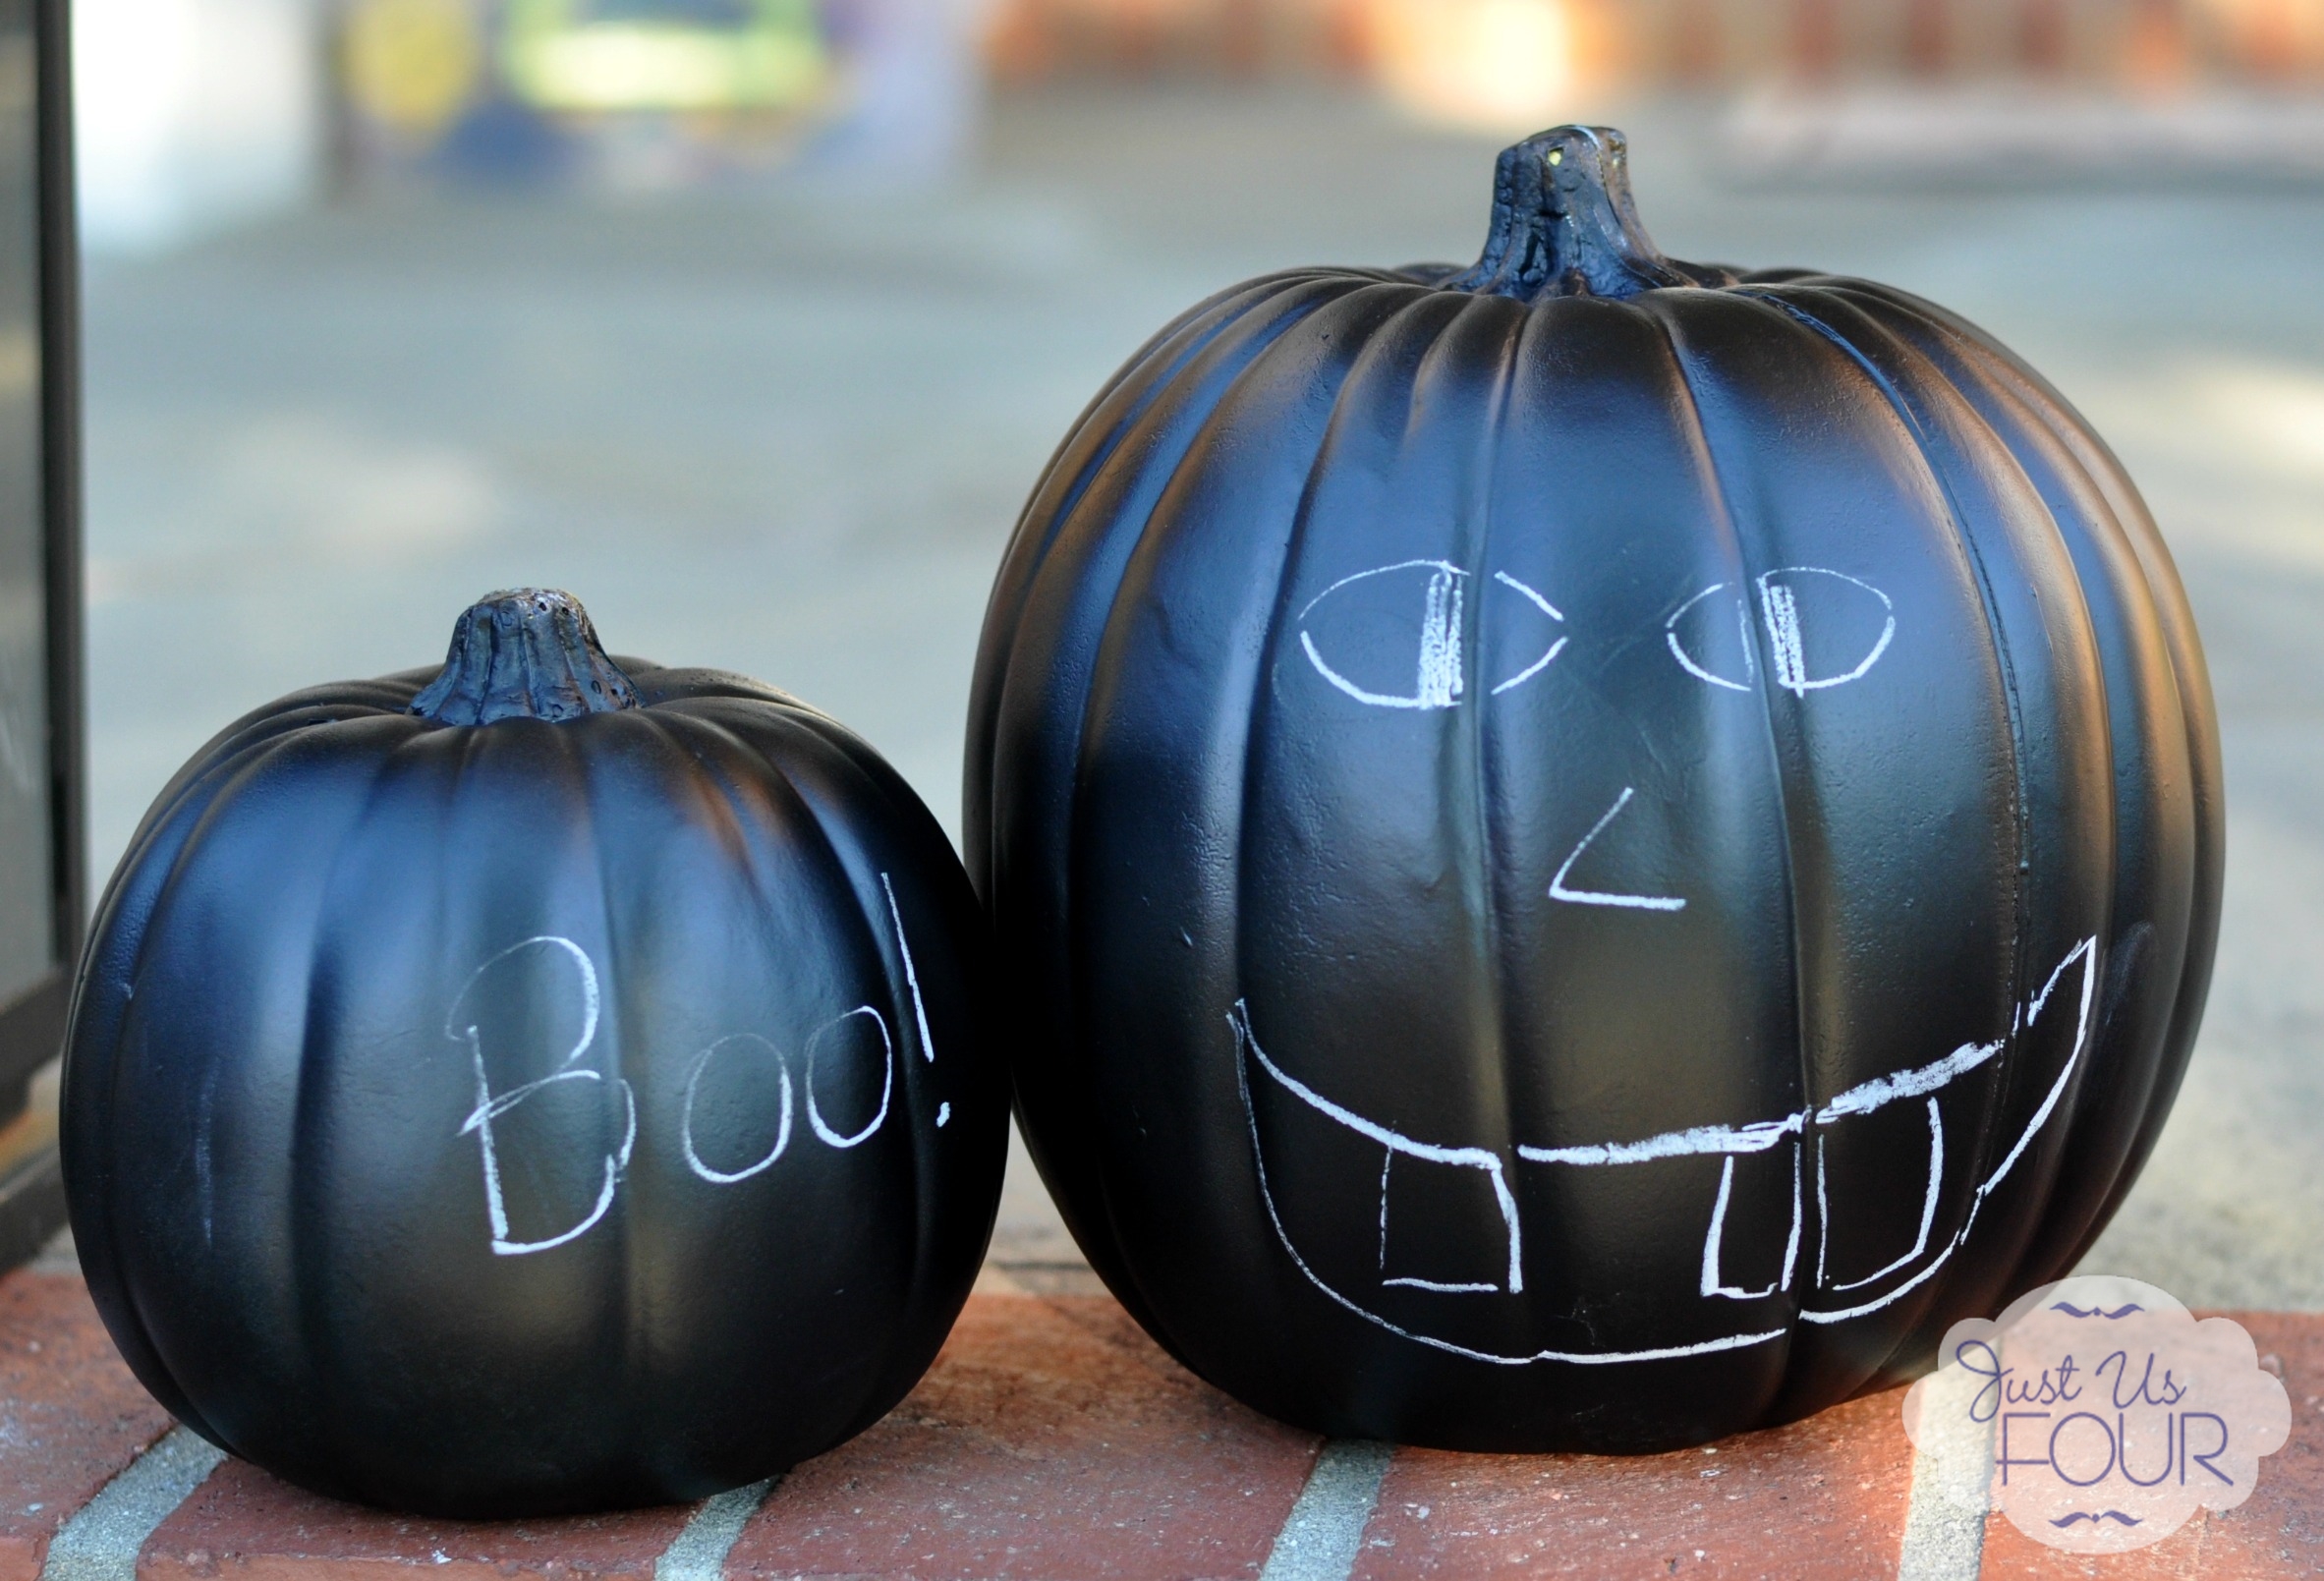


How do you typically decorate your pumpkins? Do you use a lot of artificial pumpkins around the house to make it easy to reuse year after year?
You can find this post shared at the list of parties found here.

