My Suburban Kitchen

Delicious Recipes to Keep my Family of Four Happy and Full

  • Home
  • Food
    • Recipes
      • Appetizers
      • Breakfast
      • Casseroles
      • Crockpot
      • Desserts
      • Drinks
      • Main Dishes
      • Pasta
      • Salads
      • Sandwiches
      • Side Dishes
      • Snacks
      • Soups
      • Special Diet
        • Gluten Free
        • Paleo
        • Vegetarian
      • 5 Ingredients or Less
      • 30 Minutes or Less
    • Meal Plans
  • Holidays
    • Valentine’s Day
    • St. Patrick’s Day
    • Easter
    • July 4th
    • Halloween
    • Thanksgiving
    • New Year’s Eve
    • Christmas
  • Projects
    • Crafts
    • Decor
    • DIY
    • Pinworthy Projects
  • Work With Me
  • About
You are here: Home / Crafts / Stained Wood Photo Prop

Stained Wood Photo Prop

November 12, 2013 By Shannah Coe 10 Comments

One of the easiest ways to make your photos look more professional is to use unique backdrops and photo props. This step-by-step tutorial will teach you how to make a DIY stained wood photo backdrop that is perfect for all of your photo needs!

Make your own stained wood photo backdrops with this super easy turtorial.

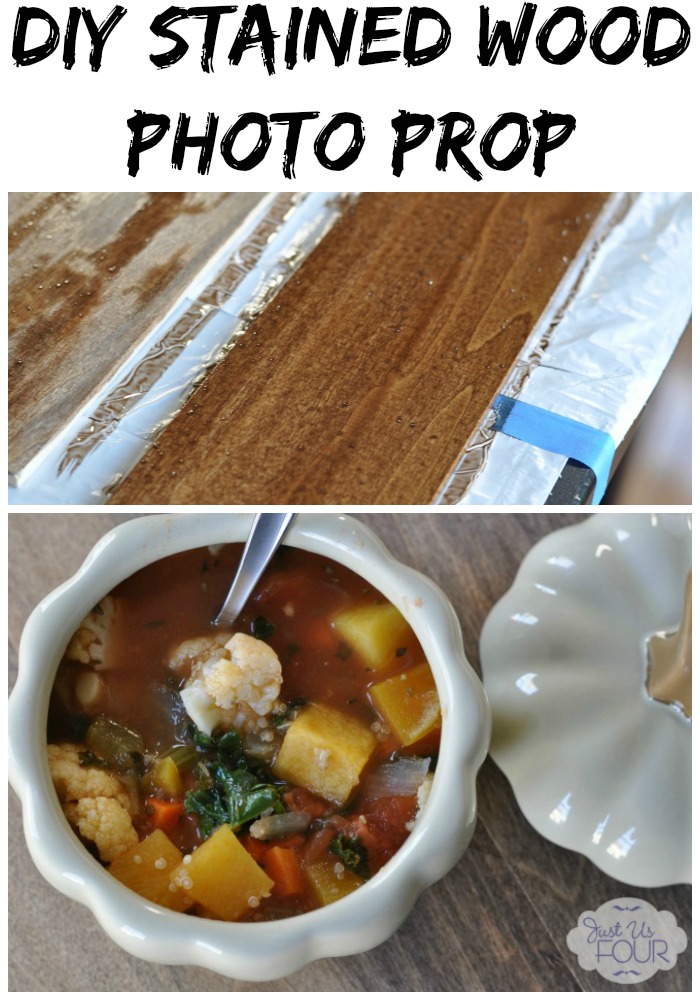
I started with some pieces of wood from Lowes that I had them slice in half lengthwise.  They are about 1/2 inch width which is perfect because it makes it the photo prop super light even though it is wood.

Pieces of Craft Wood_wm

The first step to making the wood photo prop is to put wood conditioner on the panels and let it dry.  I never used to bother with this step until I attended the Minwax demonstration at Snap last year and saw firsthand the difference it made in the finished product.  The wood conditioner will leave with you with a smoother final product with less streaks.

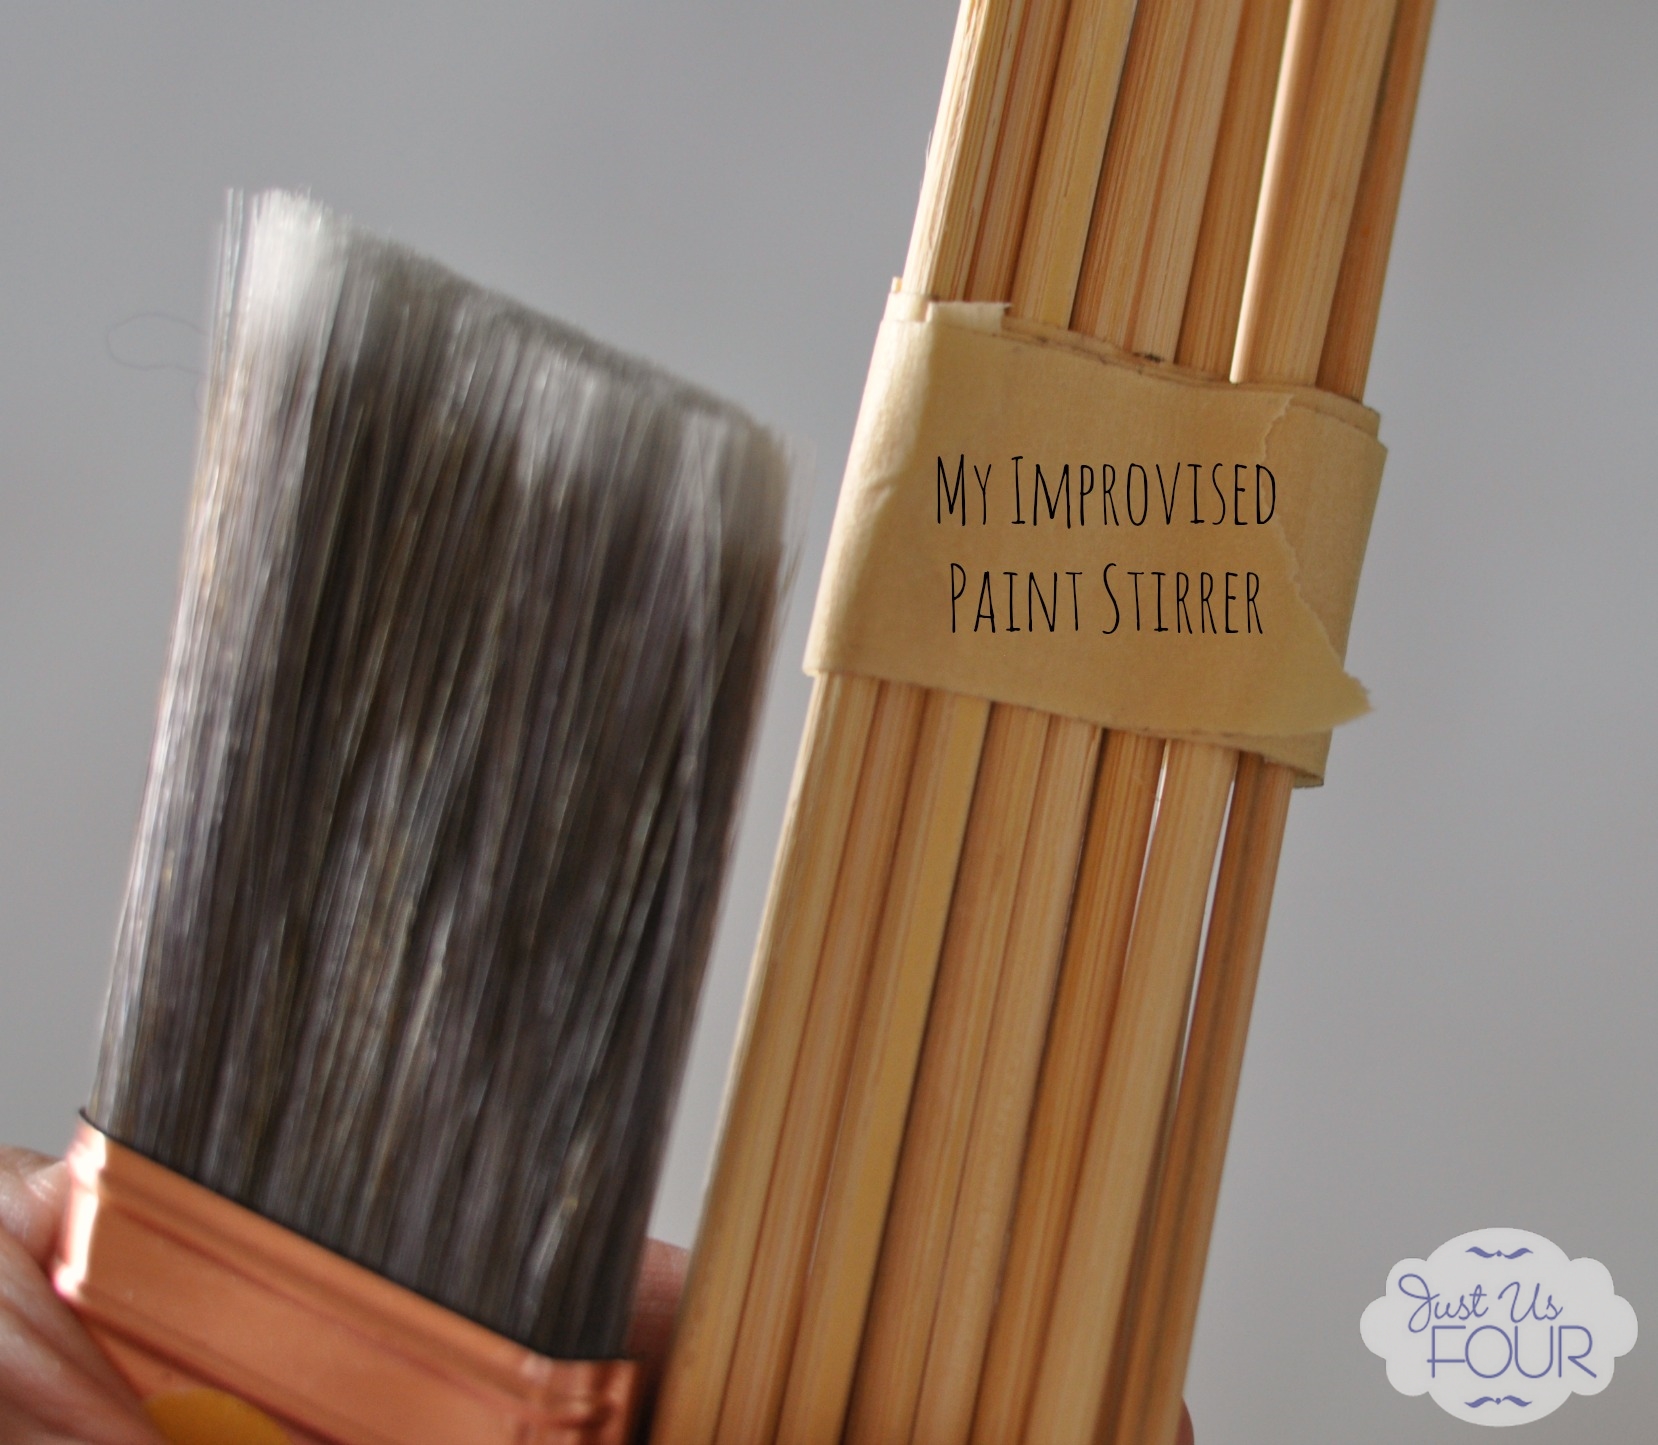
Unfortunately, I didn’t have a paint stirrer so I had to improvise. If you find yourself without a proper paint stirrer, you can easily use a ruler or tape together a bunch of small dowels or pencils.

Paint Stirrer_wm

Once the wood conditioner was dry, I added two coats of stain to each board. I let each coat sit for about 5 minutes before wiping them off.

DIY Stained Wood Photo Prop

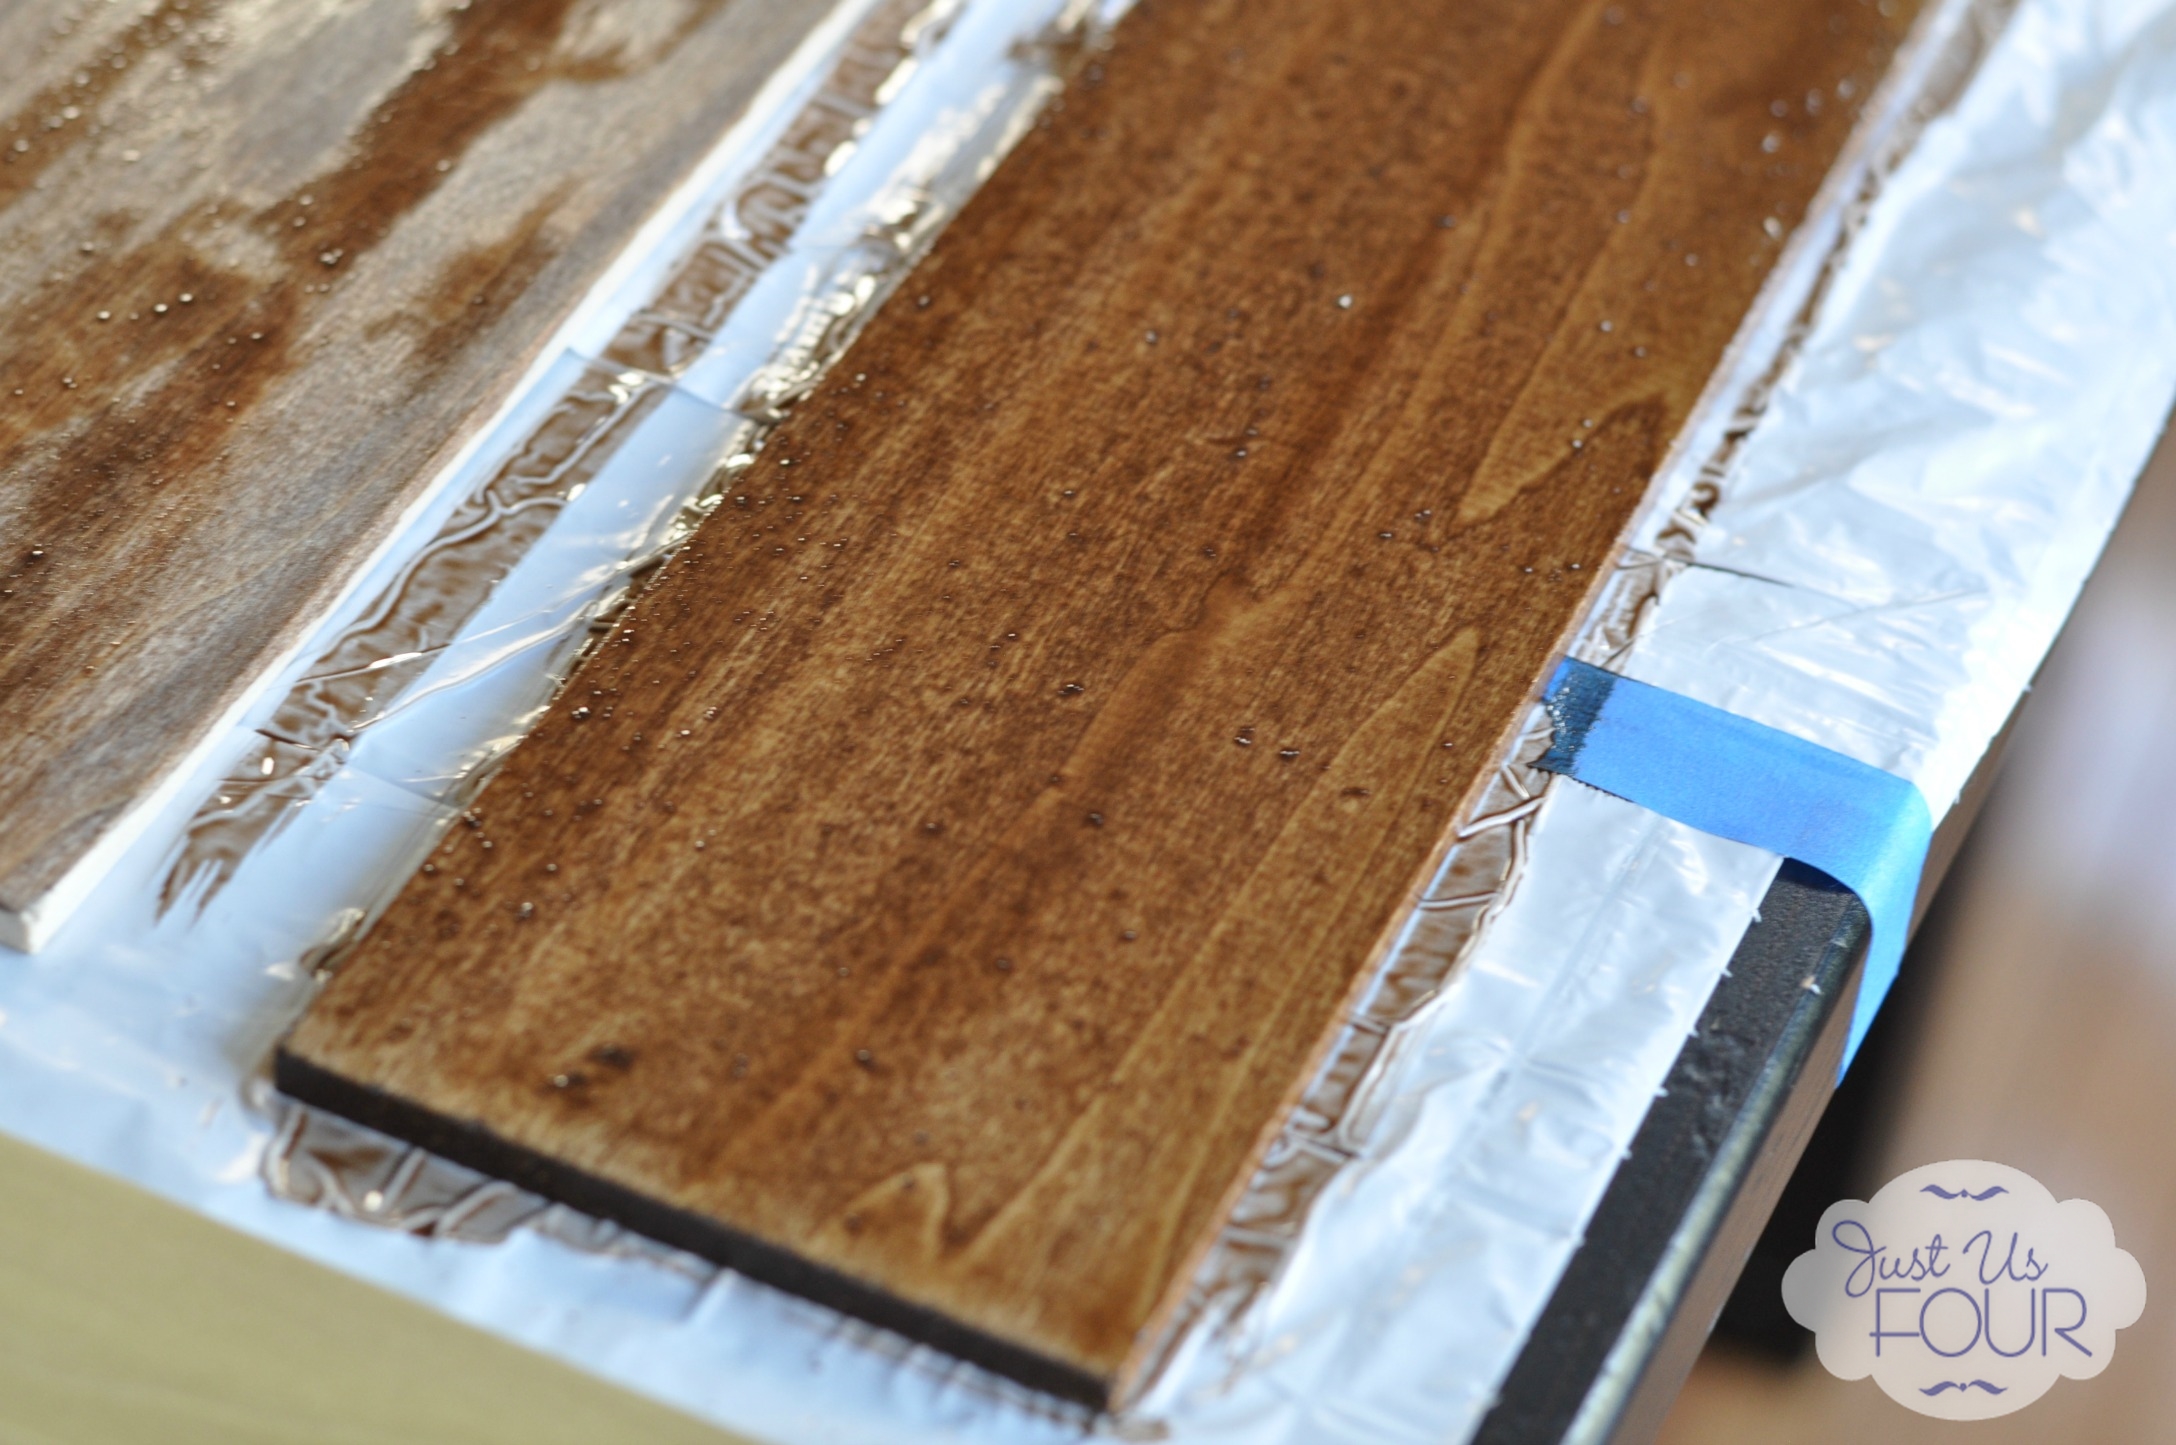
The stained boards, after all the coats of stain were put on, dried overnight. Then, I added a quick polycrylic coat over top of the stain to protect them.

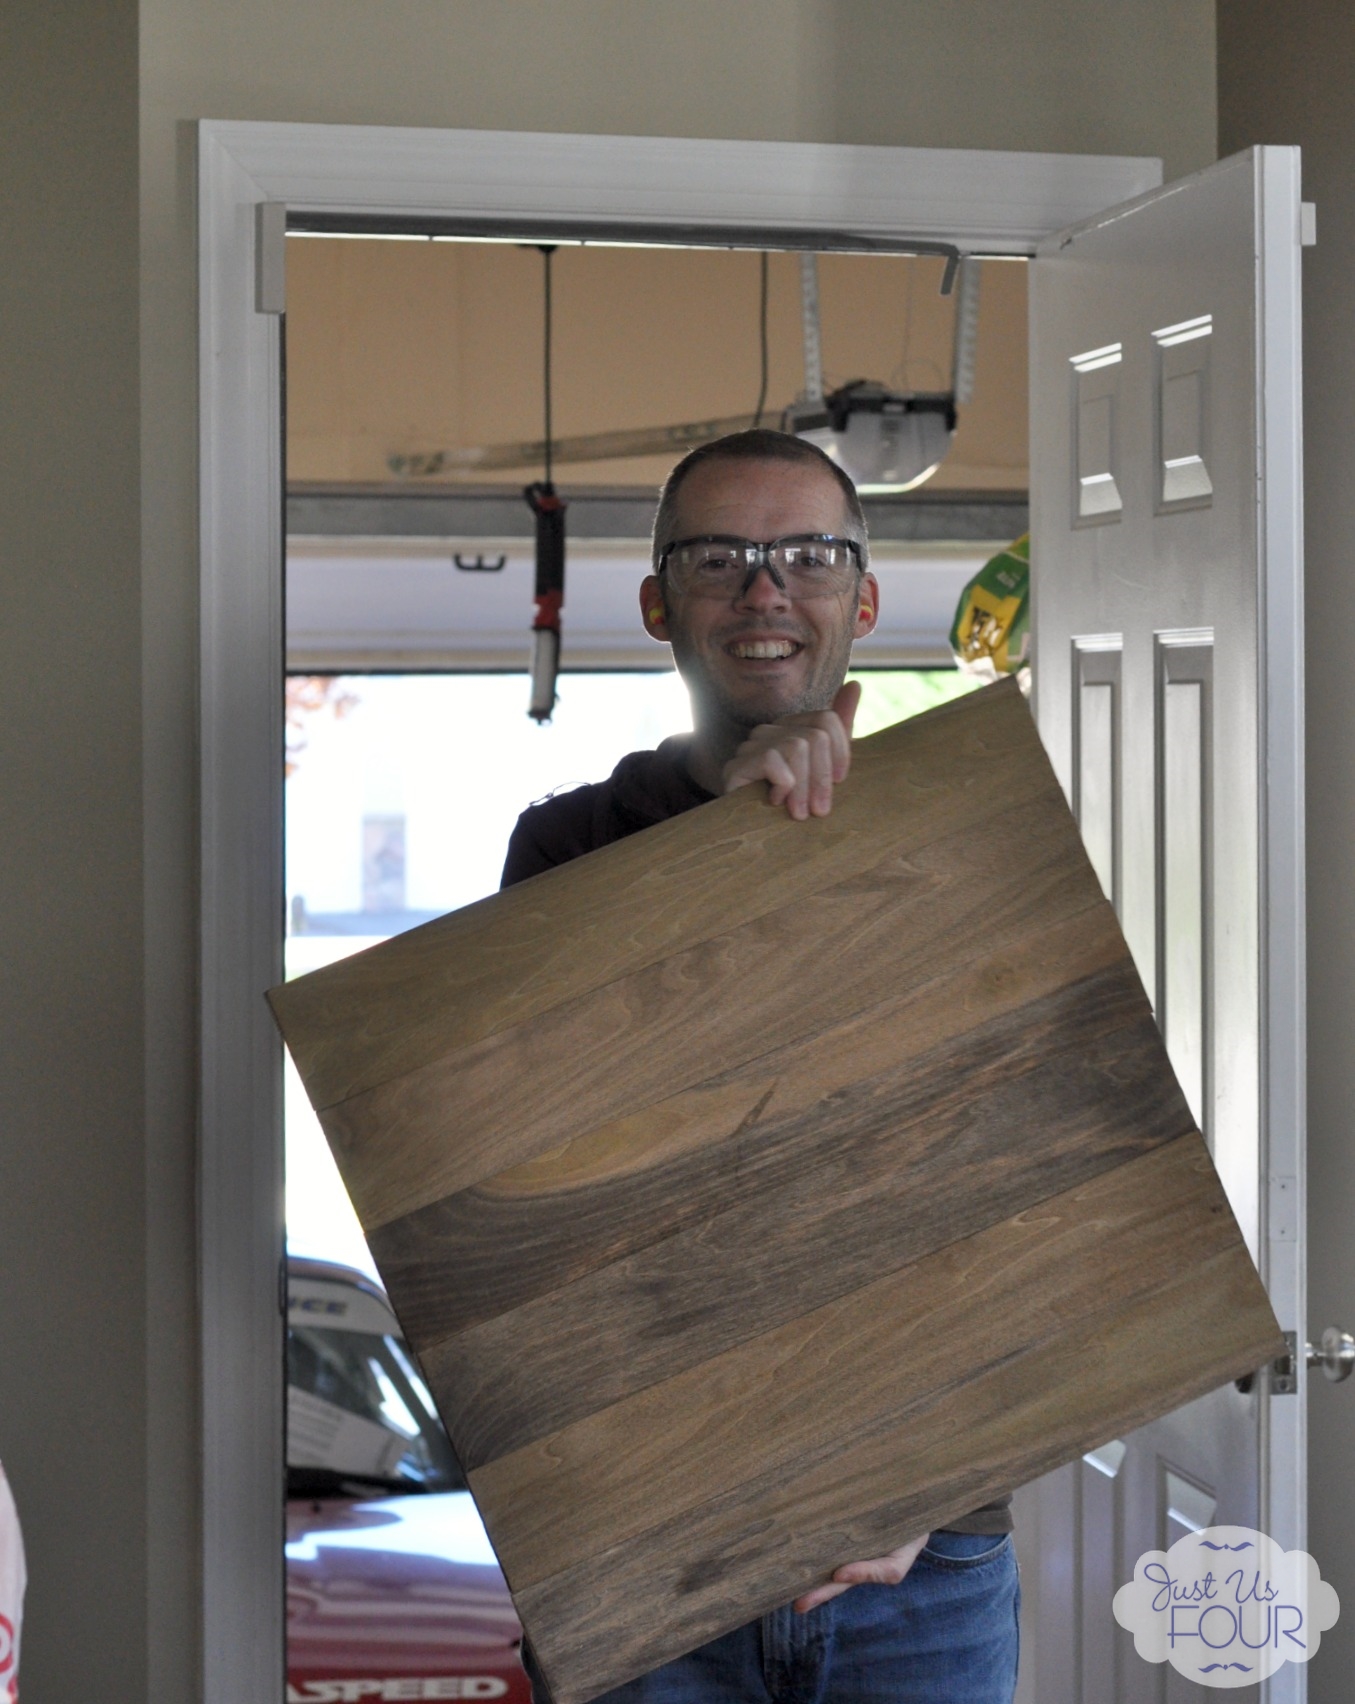
Once everything was nice and dry, I had Mathlete use the finish nailer to attach two pieces along the back to connect all of the planks together.  I love how small the nails are so you can barely even tell they are there.  It was so much faster than using the wood glue and waiting to let it dry.

Mathlete with Photo Prop_wmA super easy tutorial for DIY stained wood photo props

This tutorial is super easy to follow so I hope you give it a try and make your own stained wood photo backdrop. If you do, be sure to share your experience with me in the comments or on social media.

Wood Photo Prop with Label_wm

sig

Filed Under: Crafts, DIY Tagged With: blog stuff, DIY photo prop, photo prop, photography tips, stained wood backdrop, stained wood photo prop, Wood crafts

« A Playroom with Playful Wall Stickers
Thanksgiving Recipes – Pumpkin Cheesecake Bites »

Let's stay connected...

Never miss a recipe
Name: 
Your email address:*
Please wait...
Please enter all required fields Click to hide
Correct invalid entries Click to hide
No spam, ever. Promise. Powered by FeedBlitz

Never miss a recipe
Name: 
Your email address:*
Please wait...
Please enter all required fields Click to hide
Correct invalid entries Click to hide
No spam, ever. Promise. Powered by FeedBlitz


Comments

  1. Julie@teachinggoodeaters says

    November 12, 2013 at 8:27 am

    I’ve been trying to improve the look of my food pictures and was bemoaning the fact that I had an ugly table… what a perfect solution! Love the pumpkin bowl too! I definitely need to be on the lookout for some more interesting dishes and bowls as well!
    Julie@teachinggoodeaters recently posted…Update: What’s for Breakfast? Two Years Since I Kicked Cereal to the CurbMy Profile

    Reply
    • Shannah Coe says

      November 19, 2013 at 2:08 pm

      Haha…I get so bored with my table.

      Reply
  2. Ashley B. says

    November 12, 2013 at 10:22 am

    Oh, I really like this idea! I’m not so great with food photography but I know several people who are passionate about it. I love learning about where they get their props or how they make them. It just goes to show that a little creativity goes a long way!
    Ashley B. recently posted…Gifts for the Hard to Gift Gals.My Profile

    Reply
    • Shannah Coe says

      November 19, 2013 at 2:05 pm

      Photography is so tough. I always end up taking 100s of pictures in hopes of getting the few I will need for a post. Practice still hasn’t made me perfect.

      Reply
  3. Donna says

    November 12, 2013 at 7:29 pm

    Love it!

    Reply
    • Shannah Coe says

      November 19, 2013 at 1:47 pm

      Thanks! I am using it a TON.

      Reply
  4. Erika @ Figuring Out Fabulous says

    November 18, 2013 at 7:51 pm

    Great idea! Photography is definitely something I want to improve on my blog!
    Erika @ Figuring Out Fabulous recently posted…Vintage Labels, Cute Tables!My Profile

    Reply
  5. Kayla @ Home Coming says

    November 19, 2013 at 3:57 pm

    What a SMART idea! I might need to do this myself. Can’t believe I’d never thought of that. I’m hosting a pillow cover giveaway that you should enter. http://homecomingmn.blogspot.com/2013/11/michelle-dwight-designs-pillow-cover.html
    Kayla @ Home Coming recently posted…Michelle Dwight Designs Pillow Cover GiveawayMy Profile

    Reply
  6. Tasha @ Designer Trapped in a Lawyer's Body says

    November 20, 2013 at 8:33 pm

    THIS is such a fabulous idea! Thanks for sharing. Sometimes it’s hard to find an attractive background when I photographing objects for my blog. Great solution. Glad I popped over from the Work It Wednesday link party.
    Tasha @ Designer Trapped in a Lawyer’s Body recently posted…How to Create Your Own Monogram Gallery Wall A step-by-step tutorialMy Profile

    Reply
  7. Kim~madeinaday says

    November 25, 2013 at 2:27 pm

    I so need one of these!! Thanks so much for sharing it on Made in a Day!
    Kim
    Kim~madeinaday recently posted…Quirky Wire Hanger Holiday Card HolderMy Profile

    Reply

Leave a Reply Cancel reply

Your email address will not be published. Required fields are marked *

Recipe Rating


CommentLuv badgeShow more posts

This site uses Akismet to reduce spam. Learn how your comment data is processed.

  • Bloglovin
  • Email
  • Facebook
  • Instagram
  • Pinterest
  • Twitter

About Me

Hi, I'm Shannah! Welcome to My Suburban Kitchen, where you'll find tons of recipe ideas including family friendly dinners, sinfully delicious desserts and even Paleo and Whole30 recipes. I love spending time in our kitchen and also share little glimpses of my life as a wife to one awesome Mathlete and working mom to 2 cute kids! I hope you'll grab a seat at our table and enjoy your time in the kitchen with us.

Search the Past

Visit Our Sponsors

Copyright © 2023 · My Suburban Kitchen