My Suburban Kitchen

Delicious Recipes to Keep my Family of Four Happy and Full

  • Home
  • Food
    • Recipes
      • Appetizers
      • Breakfast
      • Casseroles
      • Crockpot
      • Desserts
      • Drinks
      • Main Dishes
      • Pasta
      • Salads
      • Sandwiches
      • Side Dishes
      • Snacks
      • Soups
      • Special Diet
        • Gluten Free
        • Paleo
        • Vegetarian
      • 5 Ingredients or Less
      • 30 Minutes or Less
    • Meal Plans
  • Holidays
    • Valentine’s Day
    • St. Patrick’s Day
    • Easter
    • July 4th
    • Halloween
    • Thanksgiving
    • New Year’s Eve
    • Christmas
  • Projects
    • Crafts
    • Decor
    • DIY
    • Pinworthy Projects
  • Work With Me
  • About
You are here: Home / Crafts / DIY Dry Erase Board for $5

DIY Dry Erase Board for $5

February 25, 2014 By Shannah Coe 5 Comments

I have a chalkboard command center in my house that I love!  But, it is in the kitchen and I find myself always needing to jot down little notes or remind myself {or other family members} of something when I am at the front of the house.  I wanted a really inexpensive and non-permanant option so I delicded to make a DIY dry erase board with a $5 budget.$5 DIY Dry Erase Board #dollarstorecrafts #budgetcrafts #DIYDryEraseBoard
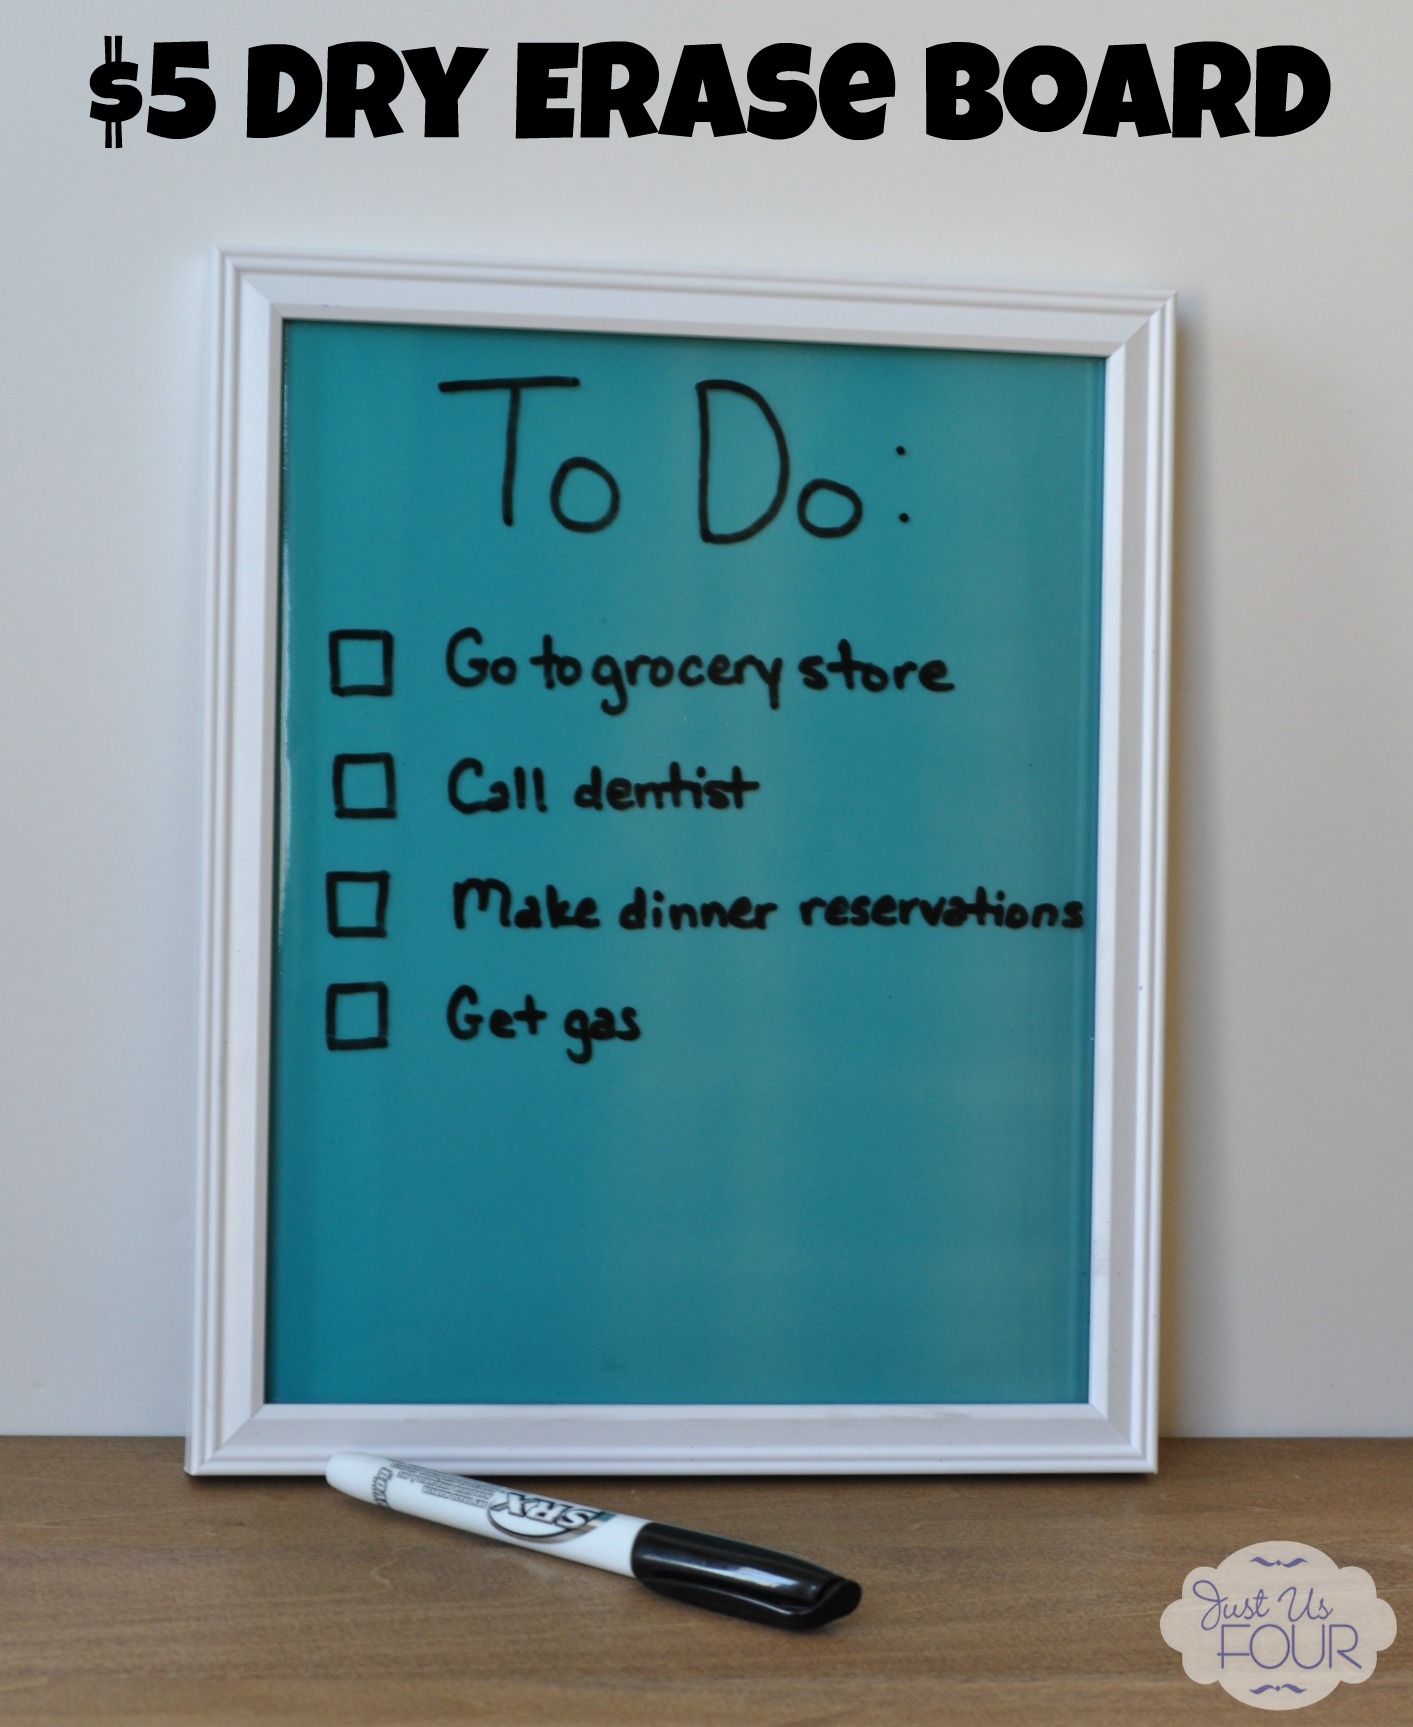
Your supply list is a short one and probably things you already have on hand.  Here is what you will need:
– Frame {you choose the size but mine is an 8×10 frame from the Dollar Tree}
– Scrapbook paper, wrapping paper, construction paper, extra vinyl in your color or pattern of choice
– Scissors or exacto knife
– Dry erase marker

The first step is to decide what you are going to make as the background for your dry erase board.  I wanted a fun color so I found an extra piece of vinyl I had in my craft closet and decided to use that.  You could easily use old wrapping paper, extra scrapbook paper or even fabric.$5 DIY Dry Erase Board #dollarstorecrafts #budgetcrafts #DIYDryEraseBoard
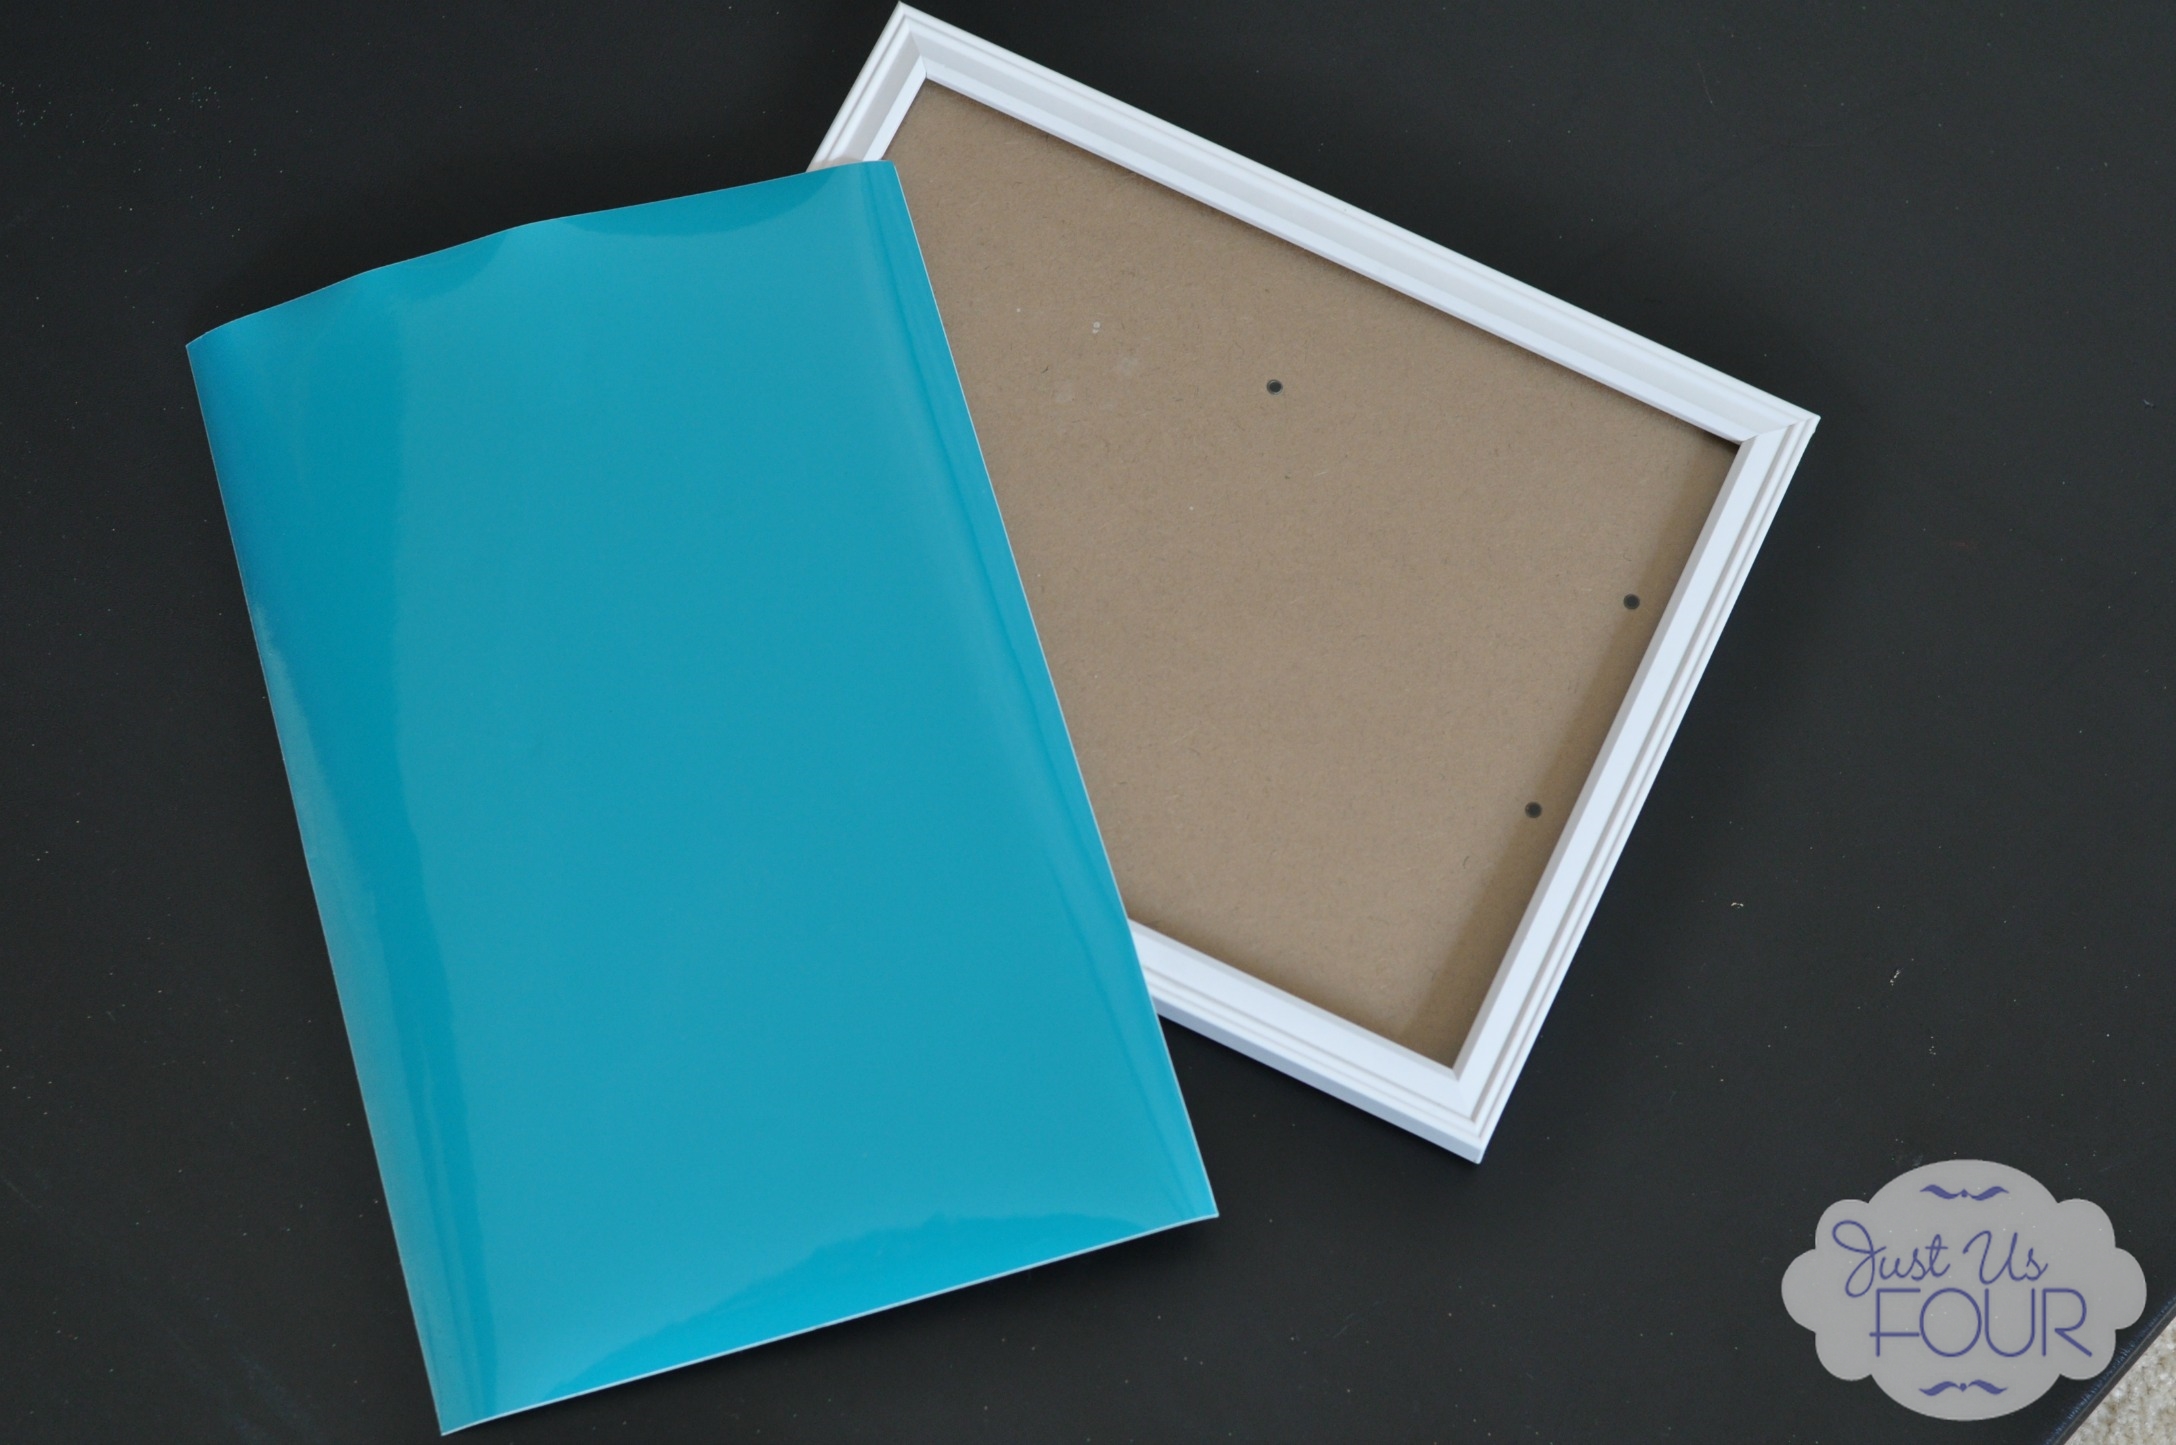
Pull the glass out of your frame and use that to measure your piece of vinyl or paper.  I drew a line on the back to help me cut it since it didn’t align with the pre-printed lines.$5 DIY Dry Erase Board #dollarstorecrafts #budgetcrafts #DIYDryEraseBoardNow, cut your paper or vinyl along the line.  Place your piece of vinyl/paper into the frame as if it were a picture and then put the back of the frame on.$5 DIY Dry Erase Board #dollarstorecrafts #budgetcrafts #DIYDryEraseBoard 
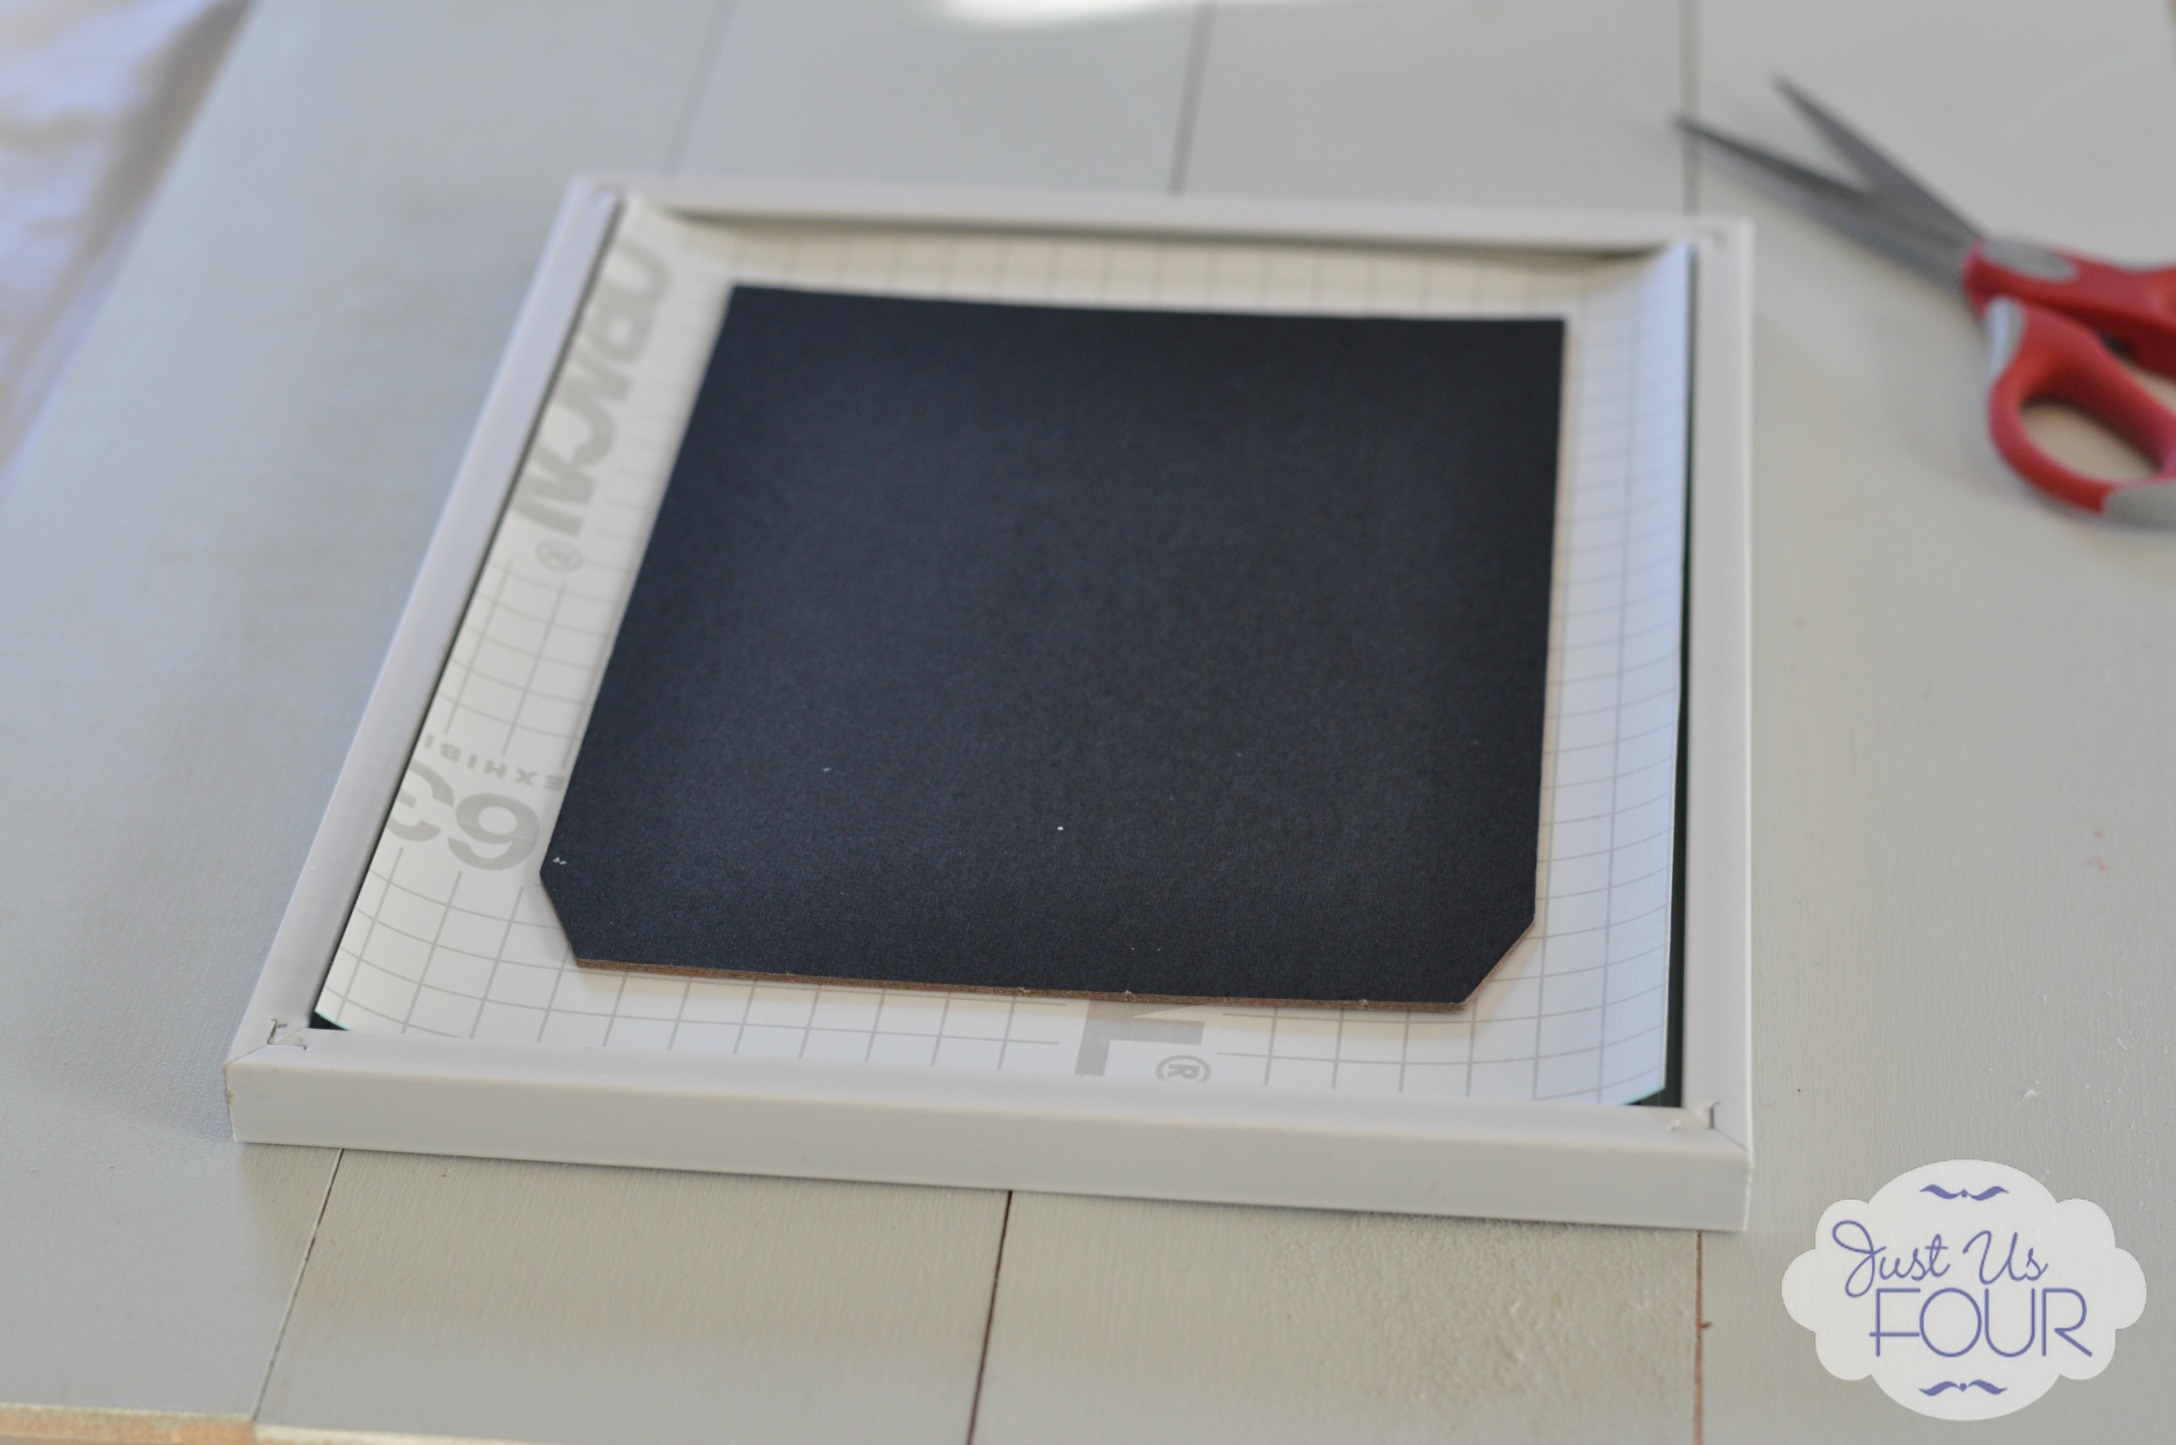
Flip it over and you’ve got a quick and easy dry erase board. Just write whatever you want on the glass and erase over and over again.$5 DIY Dry Erase Board #dollarstorecrafts #budgetcrafts #DIYDryEraseBoard

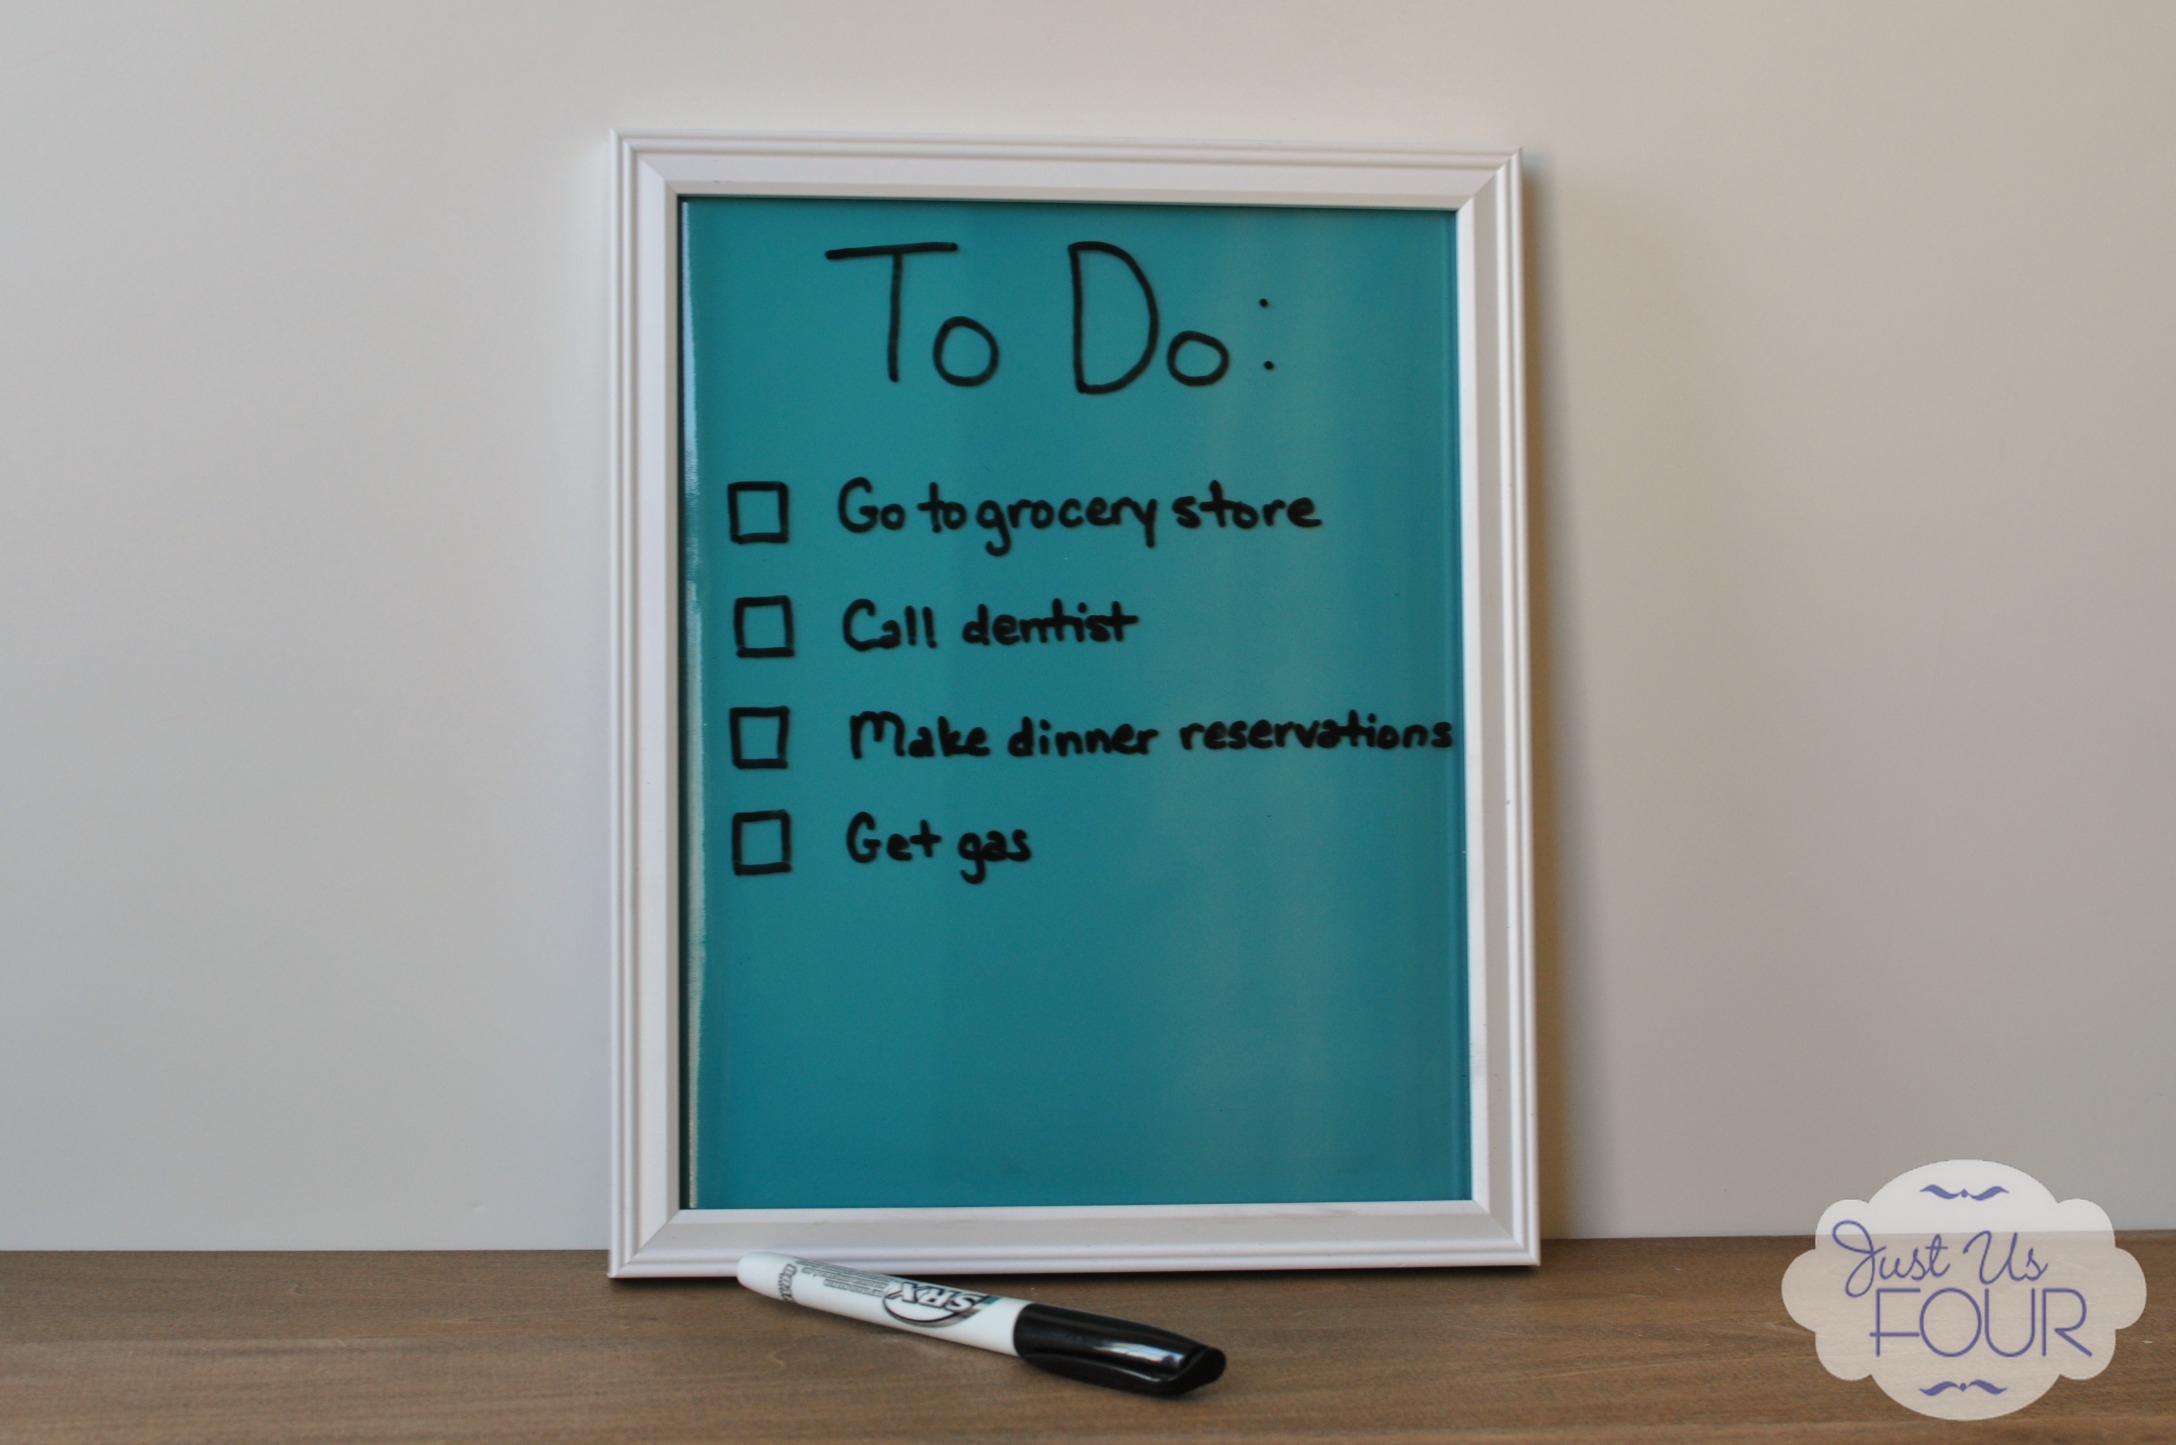
I use mine to makes lists of things I need to do or even to write little notes to my family on my way out of the door in the morning.

Let’s break down the budget to see how I got to $5:
Frame from Dollar Tree: $1 + tax = $1.05
Piece of Vinyl from Expressions Vinyl: $1.49 (I actually already had this but am counting how much it cost me)
Dry Erase Markers: $1.57
Total Spent: $4.11

You could also put the glass behind the vinyl and write directly onto the vinyl as well.  I tested it out a few times and, with some dry erase wipes, the marker wiped off without any ghosting.

Have you made any budget items recently?

This post is shared at the list of fabulous parties found here.

sig

Filed Under: Crafts, DIY, organization Tagged With: budget crafts, budget diy, DIY dry erase board, dollar store crafts, vinyl

« A Glimpse: Planning Our Summer
Chicken Tamale Casserole »

Let's stay connected...

Never miss a recipe
Name: 
Your email address:*
Please wait...
Please enter all required fields Click to hide
Correct invalid entries Click to hide
No spam, ever. Promise. Powered by FeedBlitz

Never miss a recipe
Name: 
Your email address:*
Please wait...
Please enter all required fields Click to hide
Correct invalid entries Click to hide
No spam, ever. Promise. Powered by FeedBlitz


Comments

  1. Stephanie says

    February 25, 2014 at 10:25 am

    I love this idea, especially because the color options are endless!
    Stephanie recently posted…Adventure Time the complete 3rd Season // Available TODAY!My Profile

    Reply
  2. Marilyn says

    February 25, 2014 at 12:07 pm

    This is a GREAT organizational tool to add to an office or other work area!
    Marilyn recently posted…DIY Wire BasketsMy Profile

    Reply
  3. Cath from Cath's Cookery Creations says

    February 27, 2014 at 3:02 pm

    Such a great idea. I have been looking for a nice glass whiteboard (without spending a fortune) to no avail and am now going to make my own. Thanks so much for sharing!
    Cath from Cath’s Cookery Creations recently posted…MasterChef “Eve” CakeMy Profile

    Reply
  4. DesignedByBH says

    March 4, 2014 at 12:58 am

    I LOVE this and I meant to tell you that. I went to the Dollar Store the other day, bought a frame, and made my own! I have a lot of notebooks that I keep writing lists in, but then I’ll write something on another page and forget about it…now it’s right in front of me! (Even reminded my hubby of something the other day!)
    Thanks for the inspiration!

    – Brooke –
    DesignedByBH recently posted…It’s Tuesday & Time to Twirl!My Profile

    Reply

Trackbacks

  1. {Free} Spring Has Sprung Butterfly Printables | DesignedByBH says:
    April 29, 2014 at 8:10 am

    […] whatever you’d like.  I know how I’m using mine…I recently made this awesome DIY Dry Erase Board that Just Us Four has on her blog, and I’m going to replace the piece of notebook paper I have in there with […]

    Reply

Leave a Reply Cancel reply

Your email address will not be published. Required fields are marked *

Recipe Rating


CommentLuv badgeShow more posts

This site uses Akismet to reduce spam. Learn how your comment data is processed.

  • Bloglovin
  • Email
  • Facebook
  • Instagram
  • Pinterest
  • Twitter

About Me

Hi, I'm Shannah! Welcome to My Suburban Kitchen, where you'll find tons of recipe ideas including family friendly dinners, sinfully delicious desserts and even Paleo and Whole30 recipes. I love spending time in our kitchen and also share little glimpses of my life as a wife to one awesome Mathlete and working mom to 2 cute kids! I hope you'll grab a seat at our table and enjoy your time in the kitchen with us.

Search the Past

Visit Our Sponsors

Copyright © 2023 · My Suburban Kitchen