
Yarn Wreath Madness Continues
This post may contain affiliate links. Please read my privacy policy.
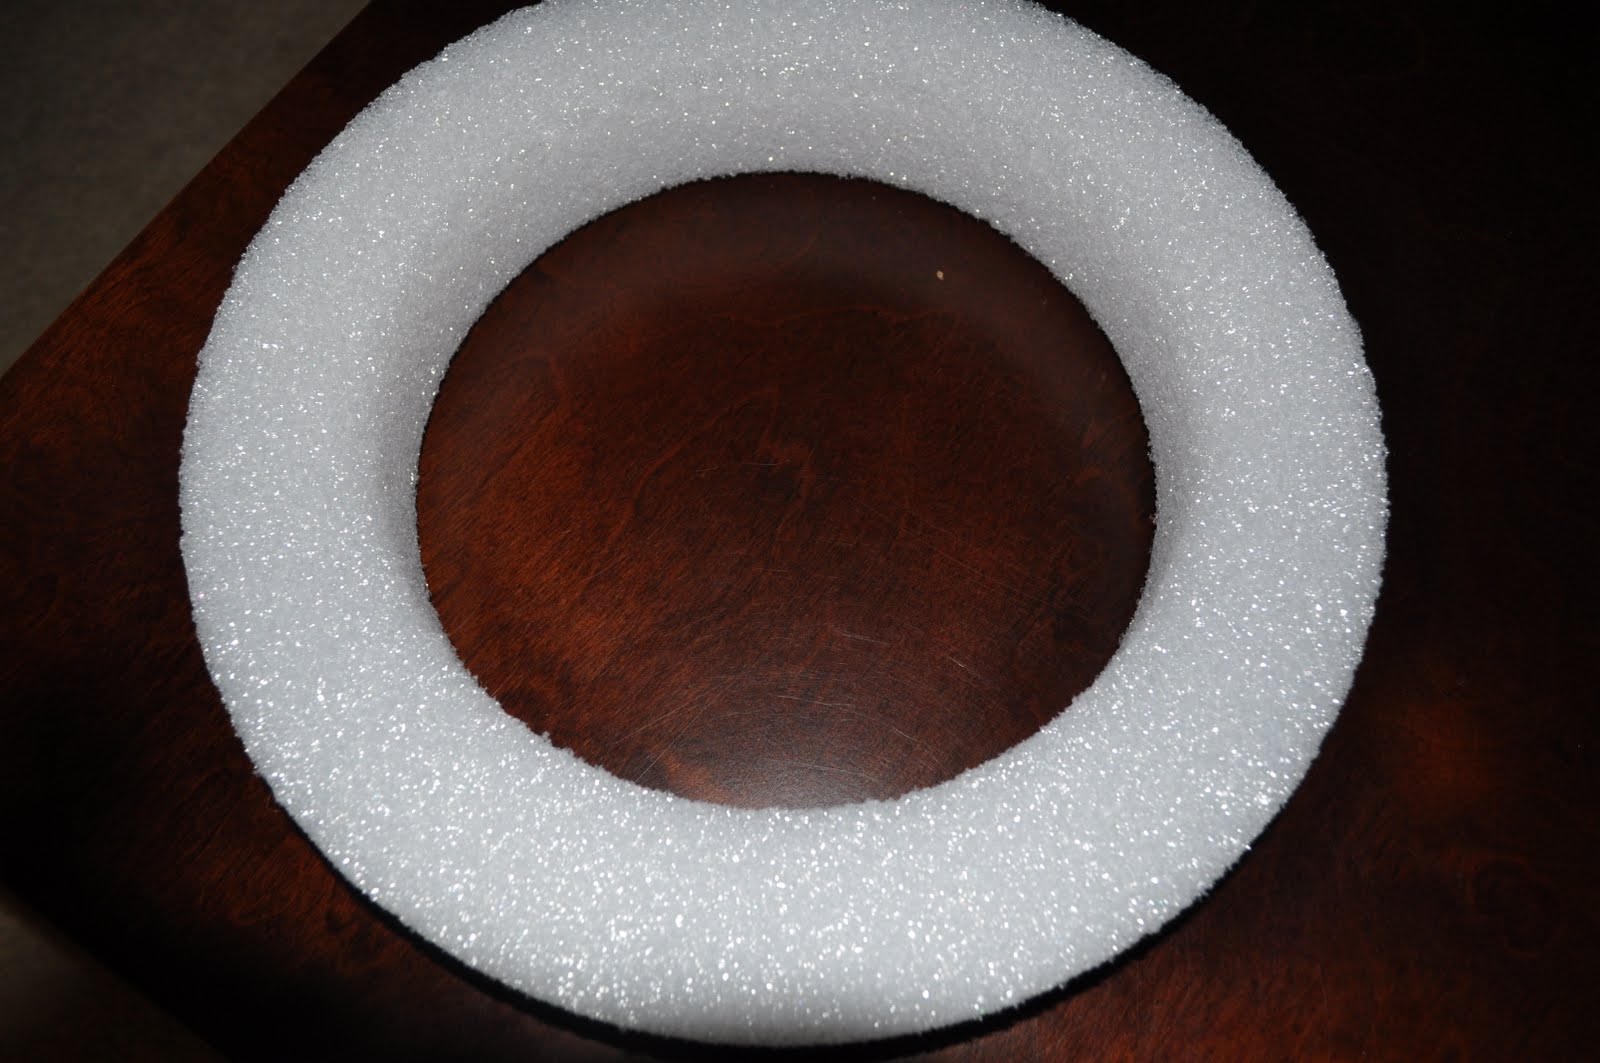
I have a confession: I just can’t seem to step away from the yarn. I want to stop. I need to stop. My front door is begging me to stop. I keep saying: “this will be my last yarn wreath” and then I make another. This time, it was a Christmas wreath. Oh, and a Styrofoam wreath form (it was on sale and I now know why!)
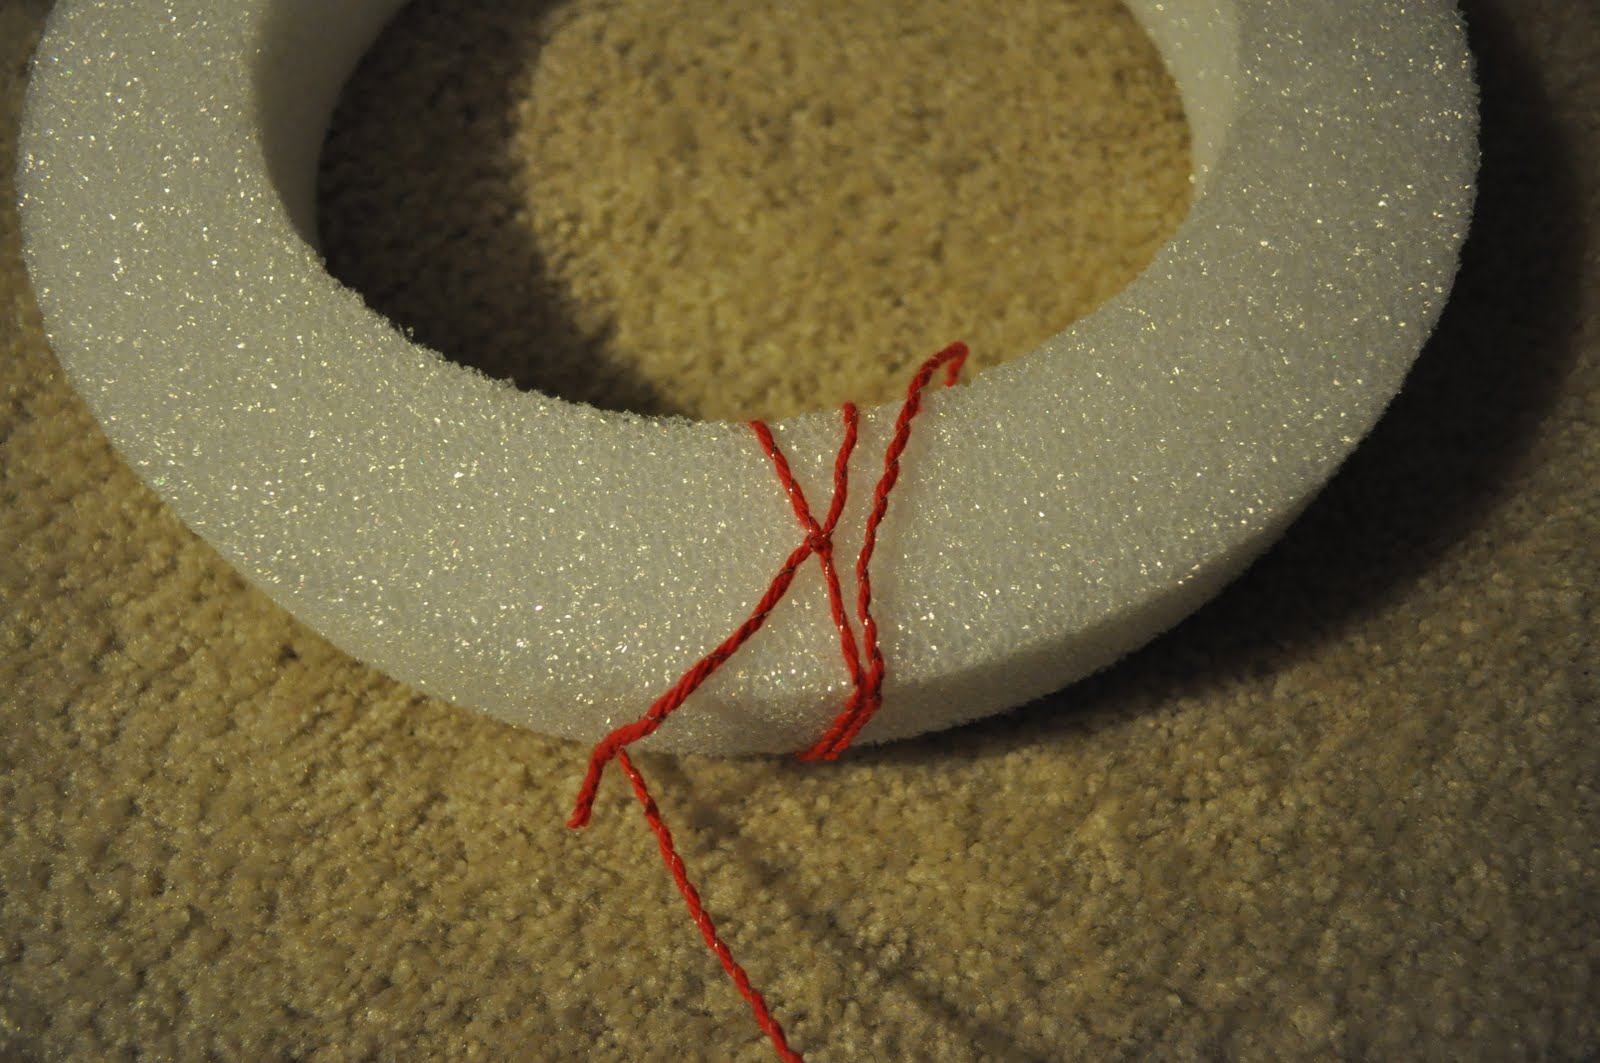
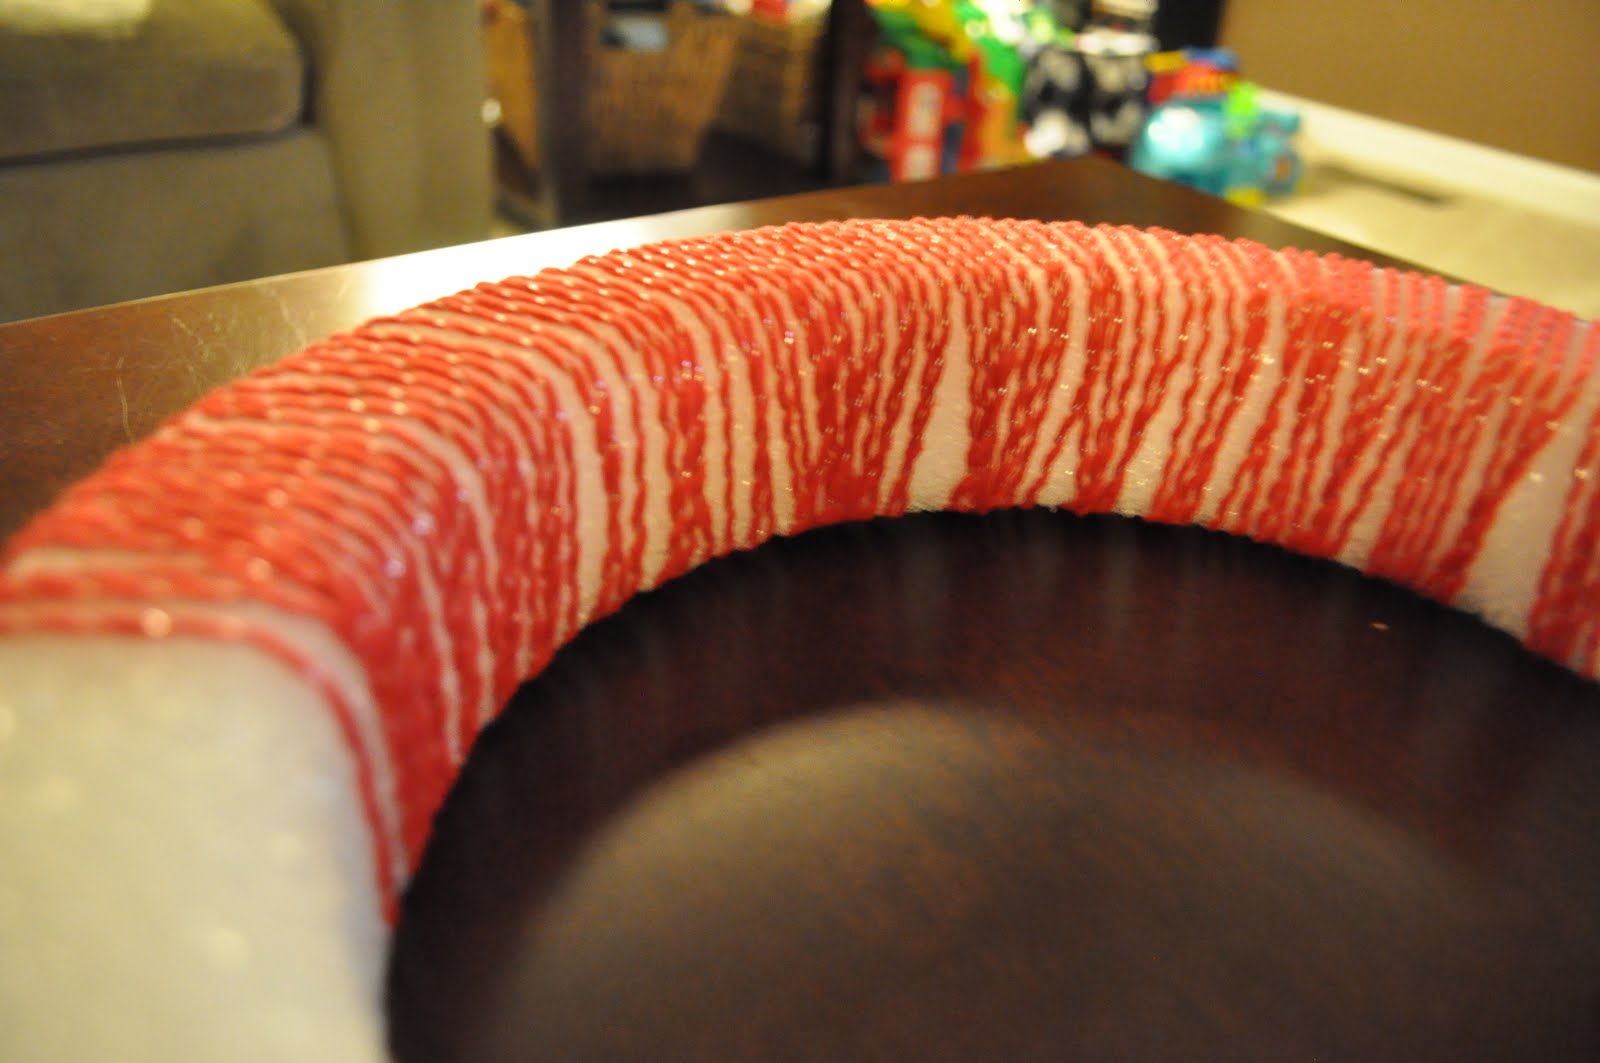
Then, I wrap and wrap and wrap. Only this one was much more difficult. The yarn kept sticking to the Styrofoam which (honestly) sucked. But, I kept wrapping…
When I was tired of wrapping, I stopped to think about what I was going to do to the wreath. Obviously, I wasn’t planning to just stick a wreath form wrapped in yarn out on the door. I cruised around the web and saw all kinds of amazing wreaths! Some had felt flowers, some had beads, and some had very intricate scenes on them. I headed over to my craft room (a.k.a the basement) and took a look at what I had: random wood forms and scrapbook paper.

Oh, and clearly a ghost that was casting a shadow on my table. Yikes!
I traced the little wooden shapes onto the back of the scrapbook paper and hit them with some scissors.

I also painted the backs and sides of the shapes since some of that might be visible on my wreath. I picked silver because it pulled out the little silver threads that were woven into my yarn. I used their little wooden brothers to keep them off the paper so they wouldn’t stick while drying.

Next, it was Mod Podge time! I picked outdoor mod podge since my wreath would be handing outside. I brushed a layer of mod podge onto the wooden shape and stuck the scrapbook paper onto it. Then, I brushed a layer on the top of the scrapbook paper.


With the placement decided, I grabbed the hot glue gun and my little wooden buttons. I glued buttons onto the back of the snowman and the oval piece. I left the other two pieces with the plan flat backs. Then, starting with the Christmas tree, I hot glue each piece down.

Merry Christmas!
© 2012 Just Us Four. ALL RIGHTS RESERVED.


Don’t stop – I love it!
very cute!
I love it!!
P.S. I have a giveaway going on. Come over and check it out.
Jamie
http://diyhshp.blogspot.com/
I love wreaths from yarn. So fun! Your Christmas one is so pretty! I’d love for you to link this up to my Christmas Linky Carnival.
http://blissfulanddomestic.blogspot.com/2011/11/homemade-in-december-link-carnival.html
I love yarn too… This wreath is so simple and gorgeous. I love it. Stopping by from Whatever goes wednesday. I am now your newest GFC follower. Hope you get a chance to stop by my blog and follow back if you would like 🙂
~MiaB
http://www.mamamiasheart2heart.com
What an awesome wreath!! I have never made a yarn wreath…I think I have to try it now!! Thanks so much for linking up today!!
That is super cute! I’ve been wanting to make a yarn wrapped wreath for a while and yours is adorable!!
I’m your newest follower, love the blog.
Ha! I love the title of this post….b/c I too have acquired some of the yarn wreath madness too! Would you please share this with our readers for our Fun Stuff Fridays linky party? http://www.toysinthedryer.com/2011/12/fun-stuff-fridays-3.html
so cute! Just found this! would love for you to come over and link up to my holiday wreath party! http://nap-timecreations.blogspot.com/2011/12/joyful-jars-and-wreaths.html