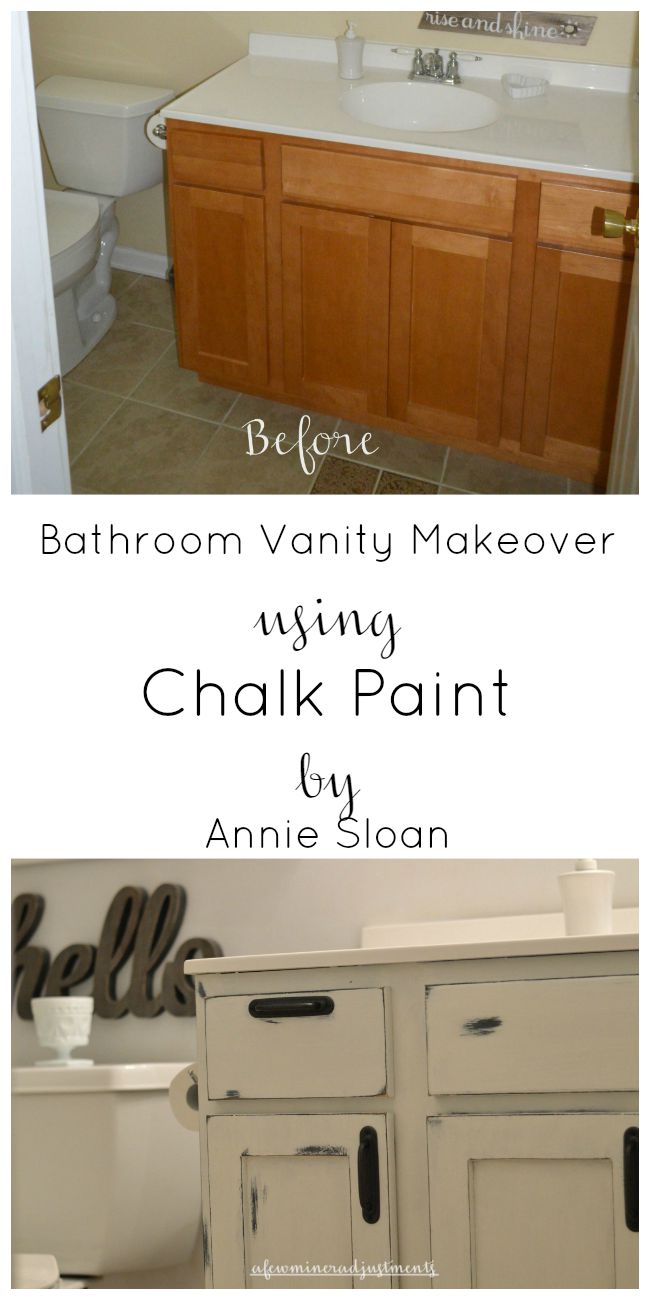
Vanity Makeover – Chalk Paint by Annie Sloan
This post may contain affiliate links. Please read my privacy policy.
Hello! Sometimes you have a regular old maple bathroom vanity and it works. It does its job of holding your tooth paste and hair brush and razor. But something may be missing, besides the mascara or toothbrush.
It’s missing a real personality.
I lived with that lackluster-no personality-did its job only-vanity for 11 years.
And that was really boring. {See picture. Boring}.
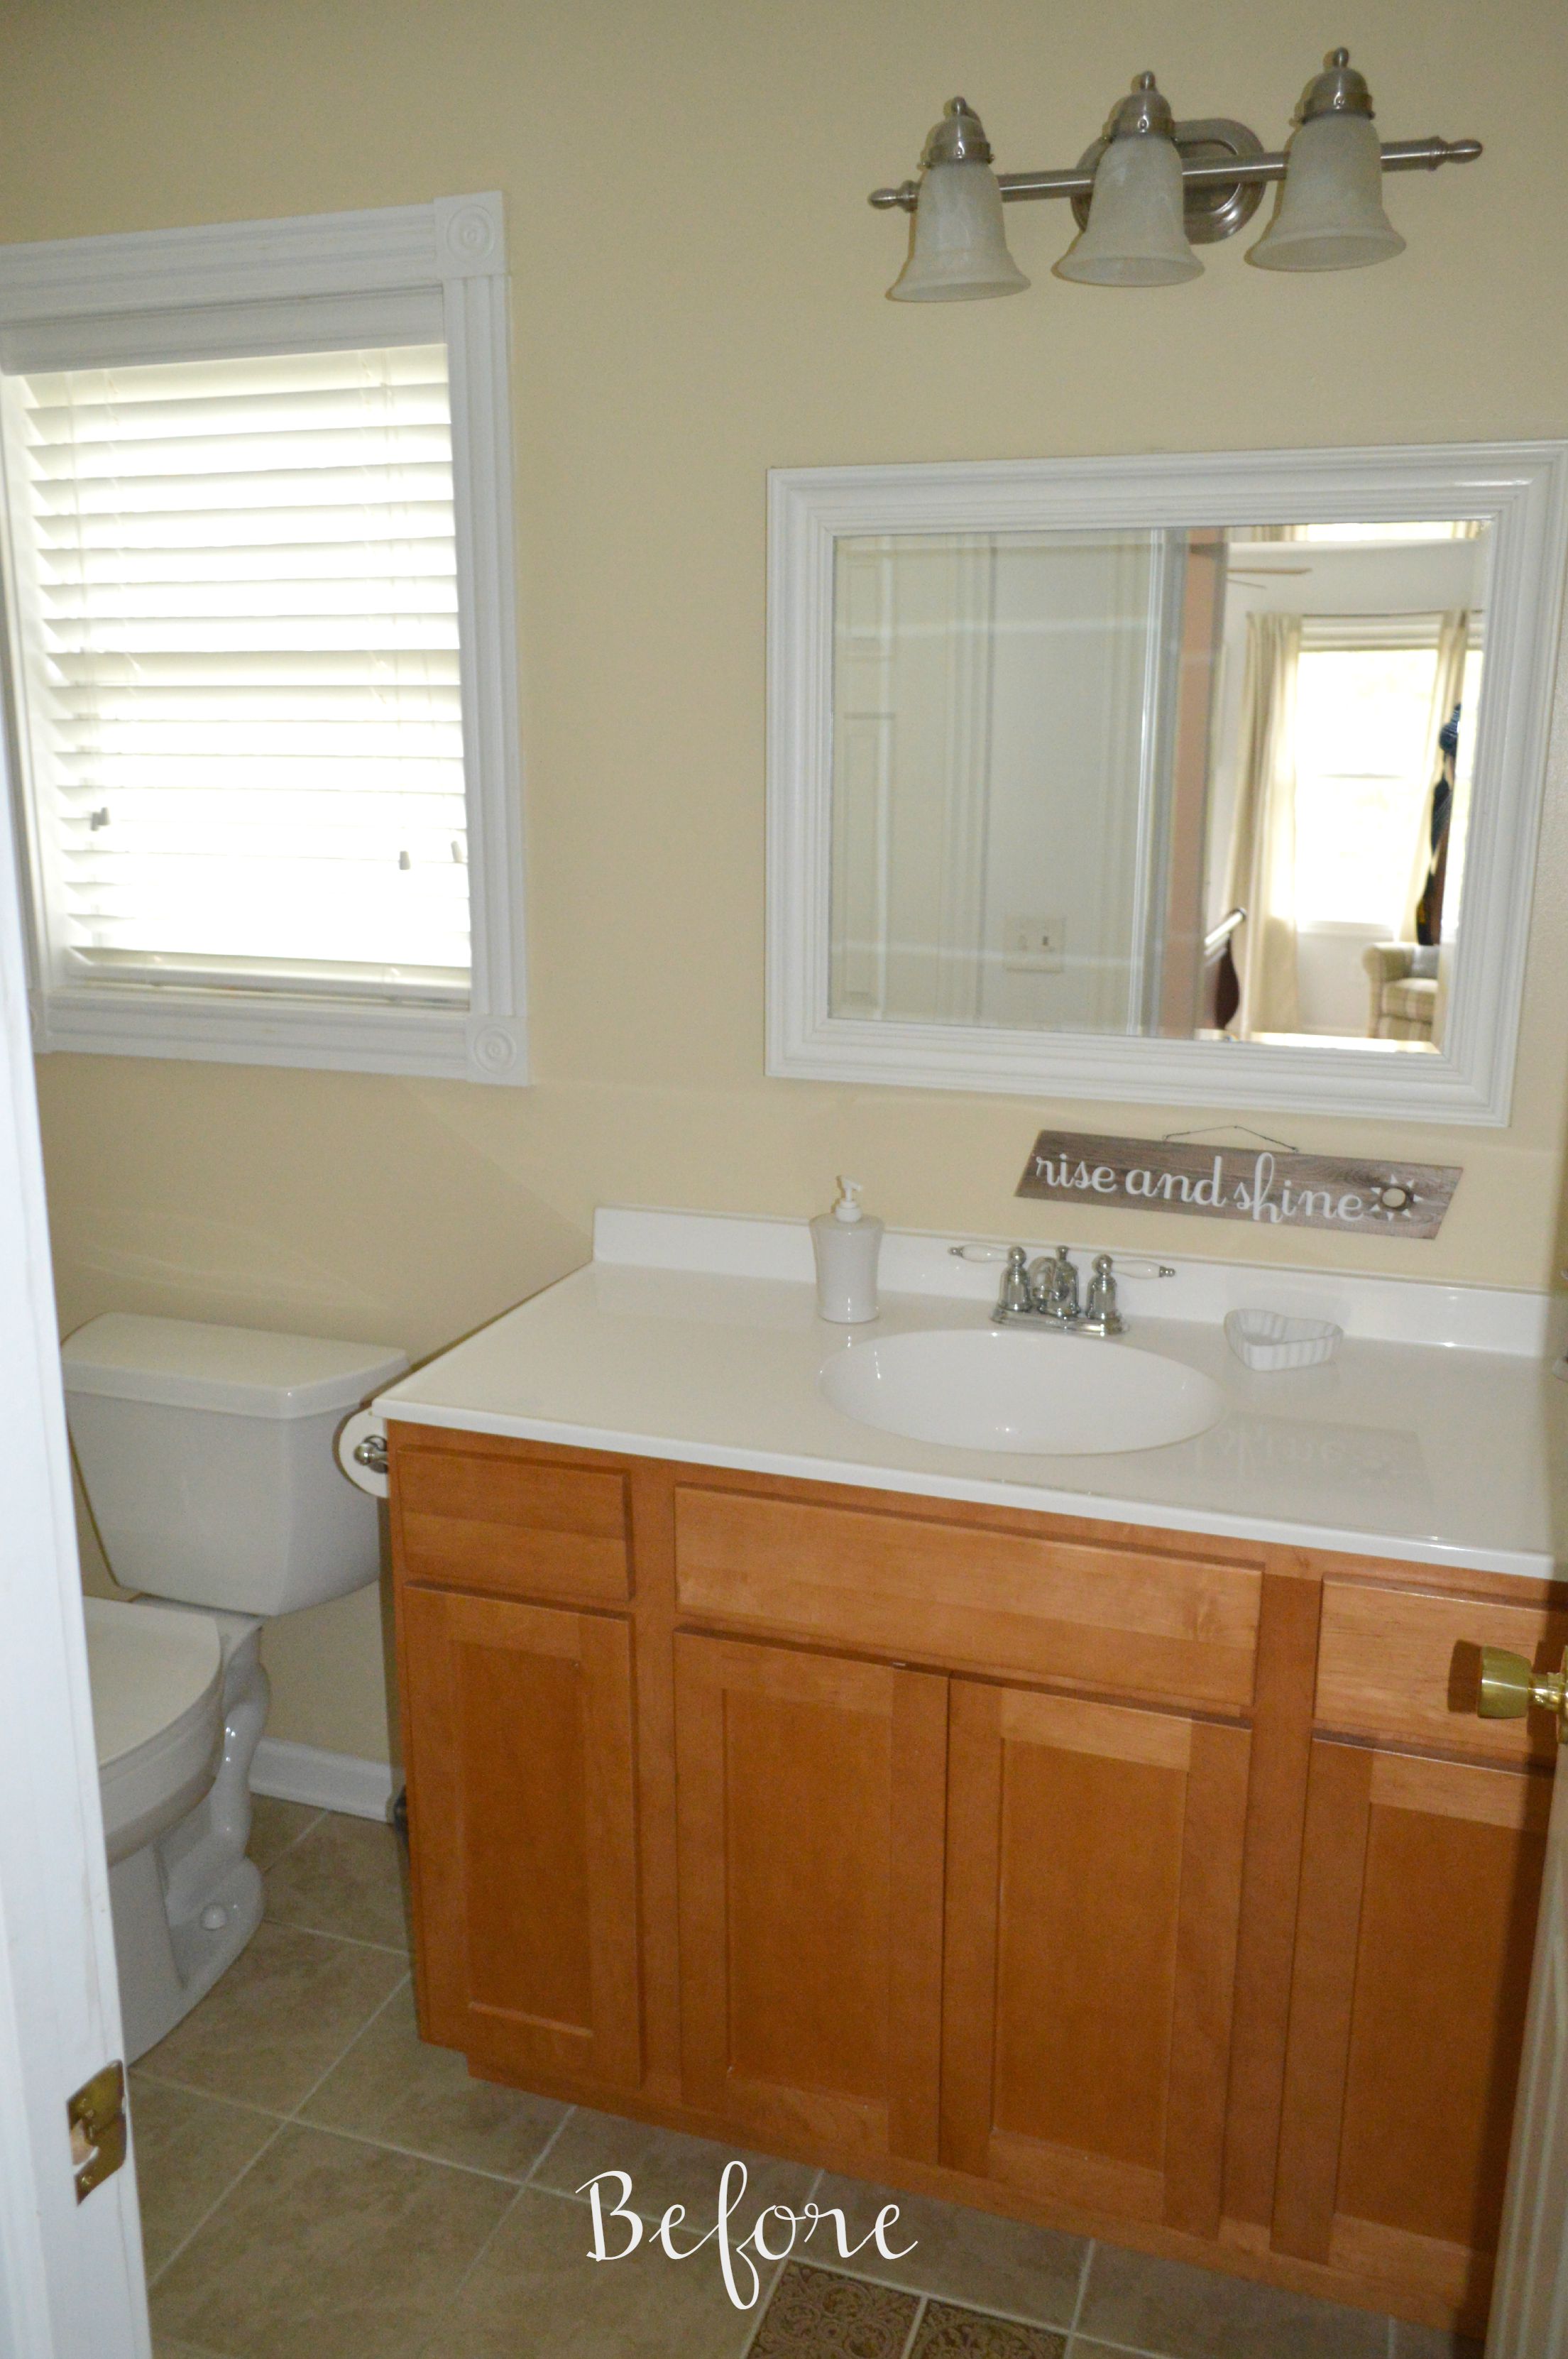
I couldn’t even commit to drawer pulls or knobs. Yikes!
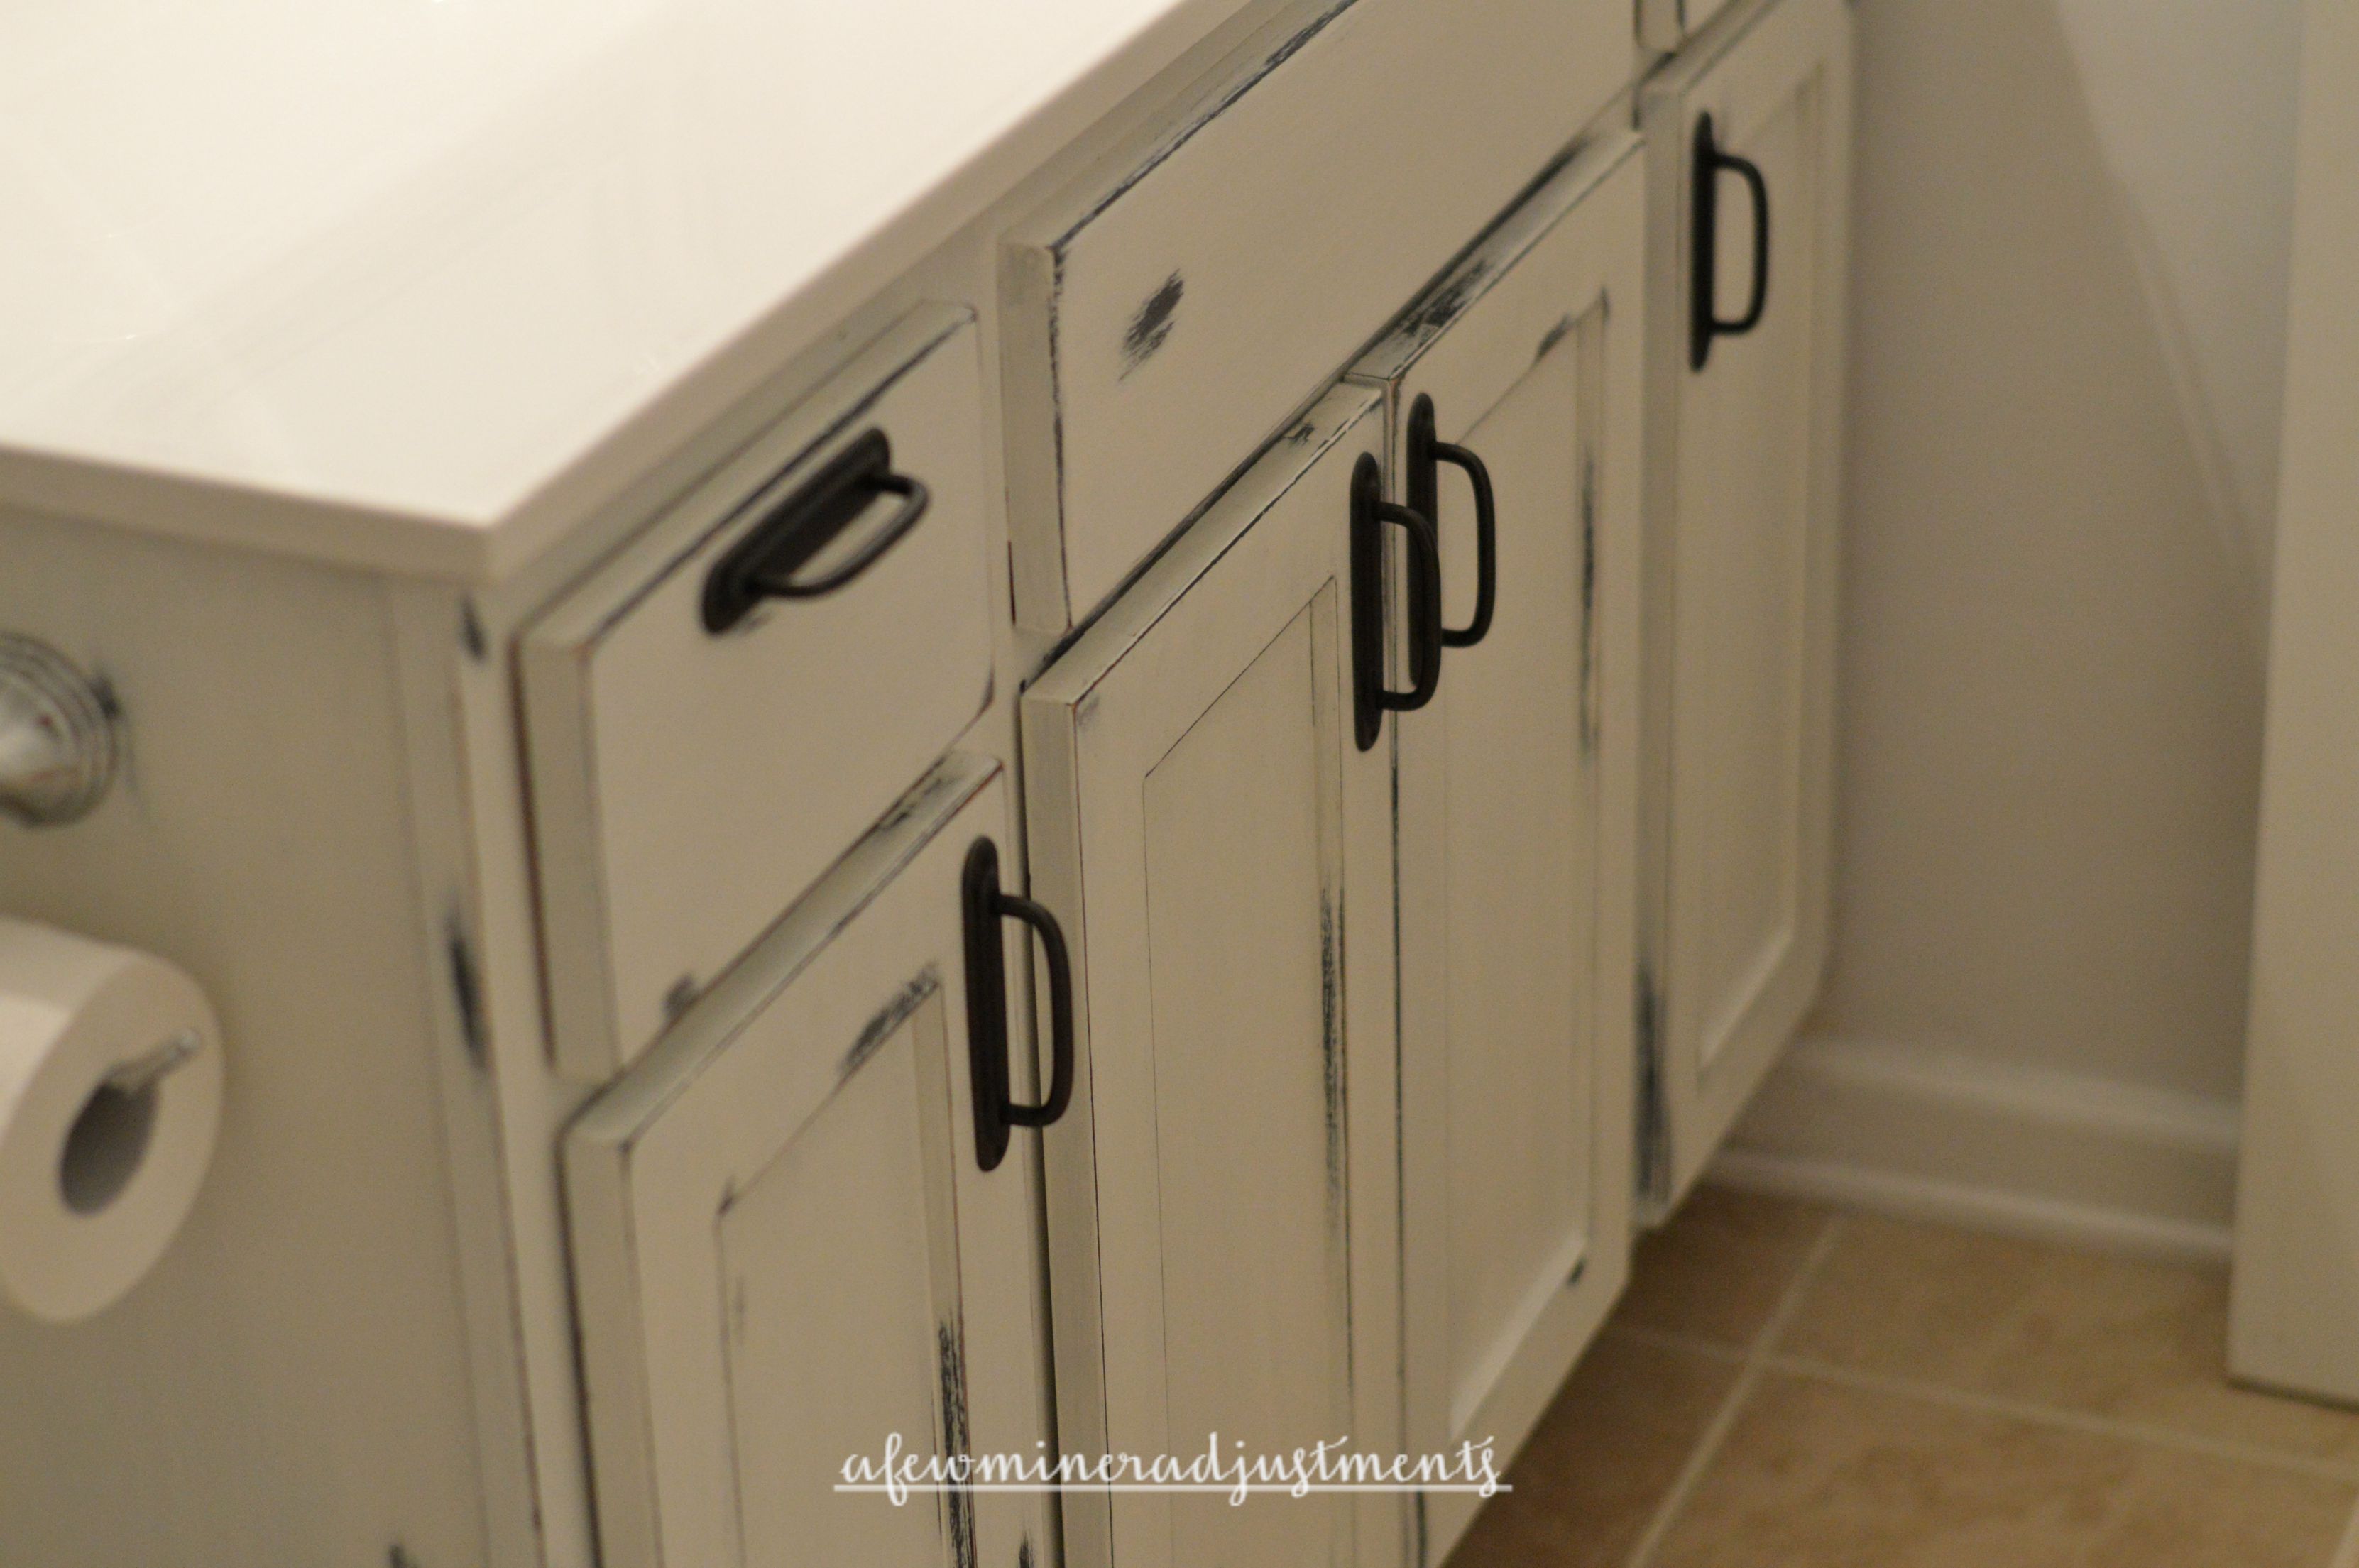
So this summer I took action. I painted the walls white….bye ugly cream that actually looked yellow. And then I bought some Chalk Paint by Annie Sloan to do a vanity makeover.
No primer is needed to use this paint.
Quick Tip….clean your piece of furniture with Krudd Kutter first if it is in an area where you may have spilled lotion or anything that would make the surface feel greasy. The paint will stick better.
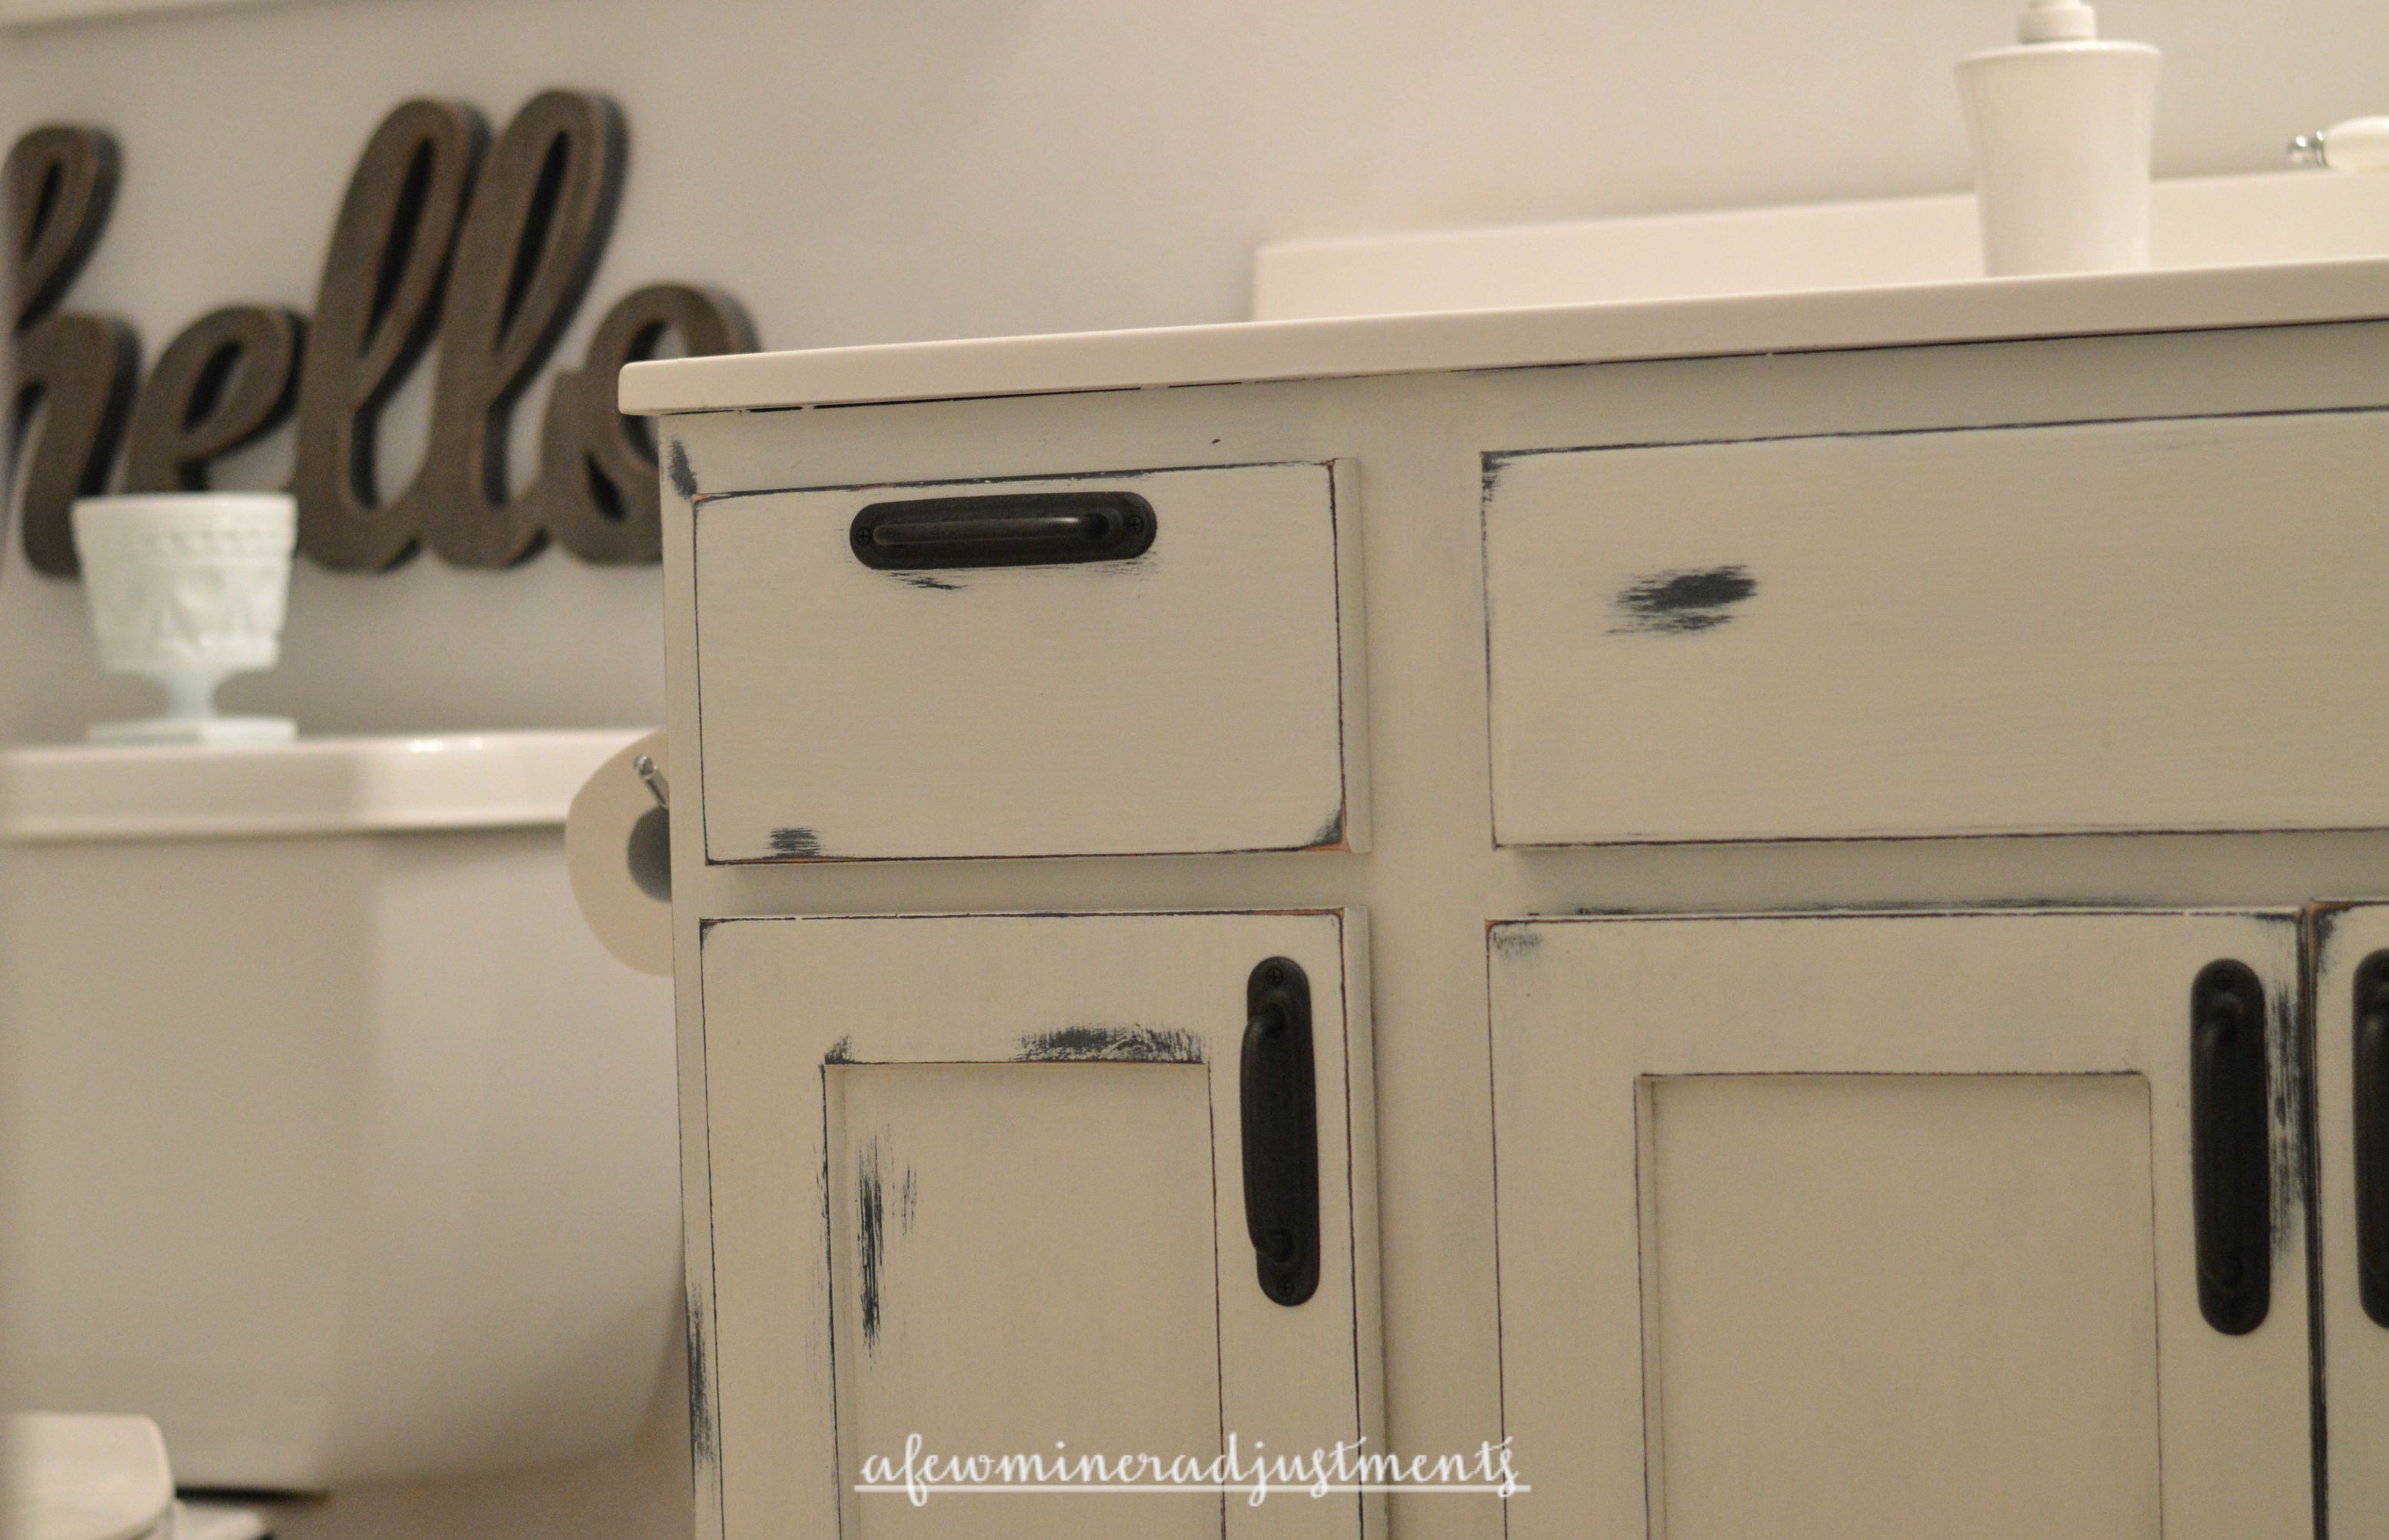
First coat….Graphite
Second Coat…Clear Wax…blend in, buff out
Let the wax sit for a couple days to harden, or in my case….6 weeks.
Third Coat…1 part Old White, 2 parts Pure White. {Pure white is difficult to work with, b.c it is missing an ingredient that the other Annie Sloan colors have…adding the Old White will give the paint a little umph}.
With a light grit sandpaper {270} sand the areas that you want the first color to show through.
Fourth Coat…Clear wax…blend in, buff out
Why two coats of wax? It helps the paint from scratching off in this high traffic area. 2 coats is double protection.
Wait another couple weeks and then add your hardware…these handles are from Target.
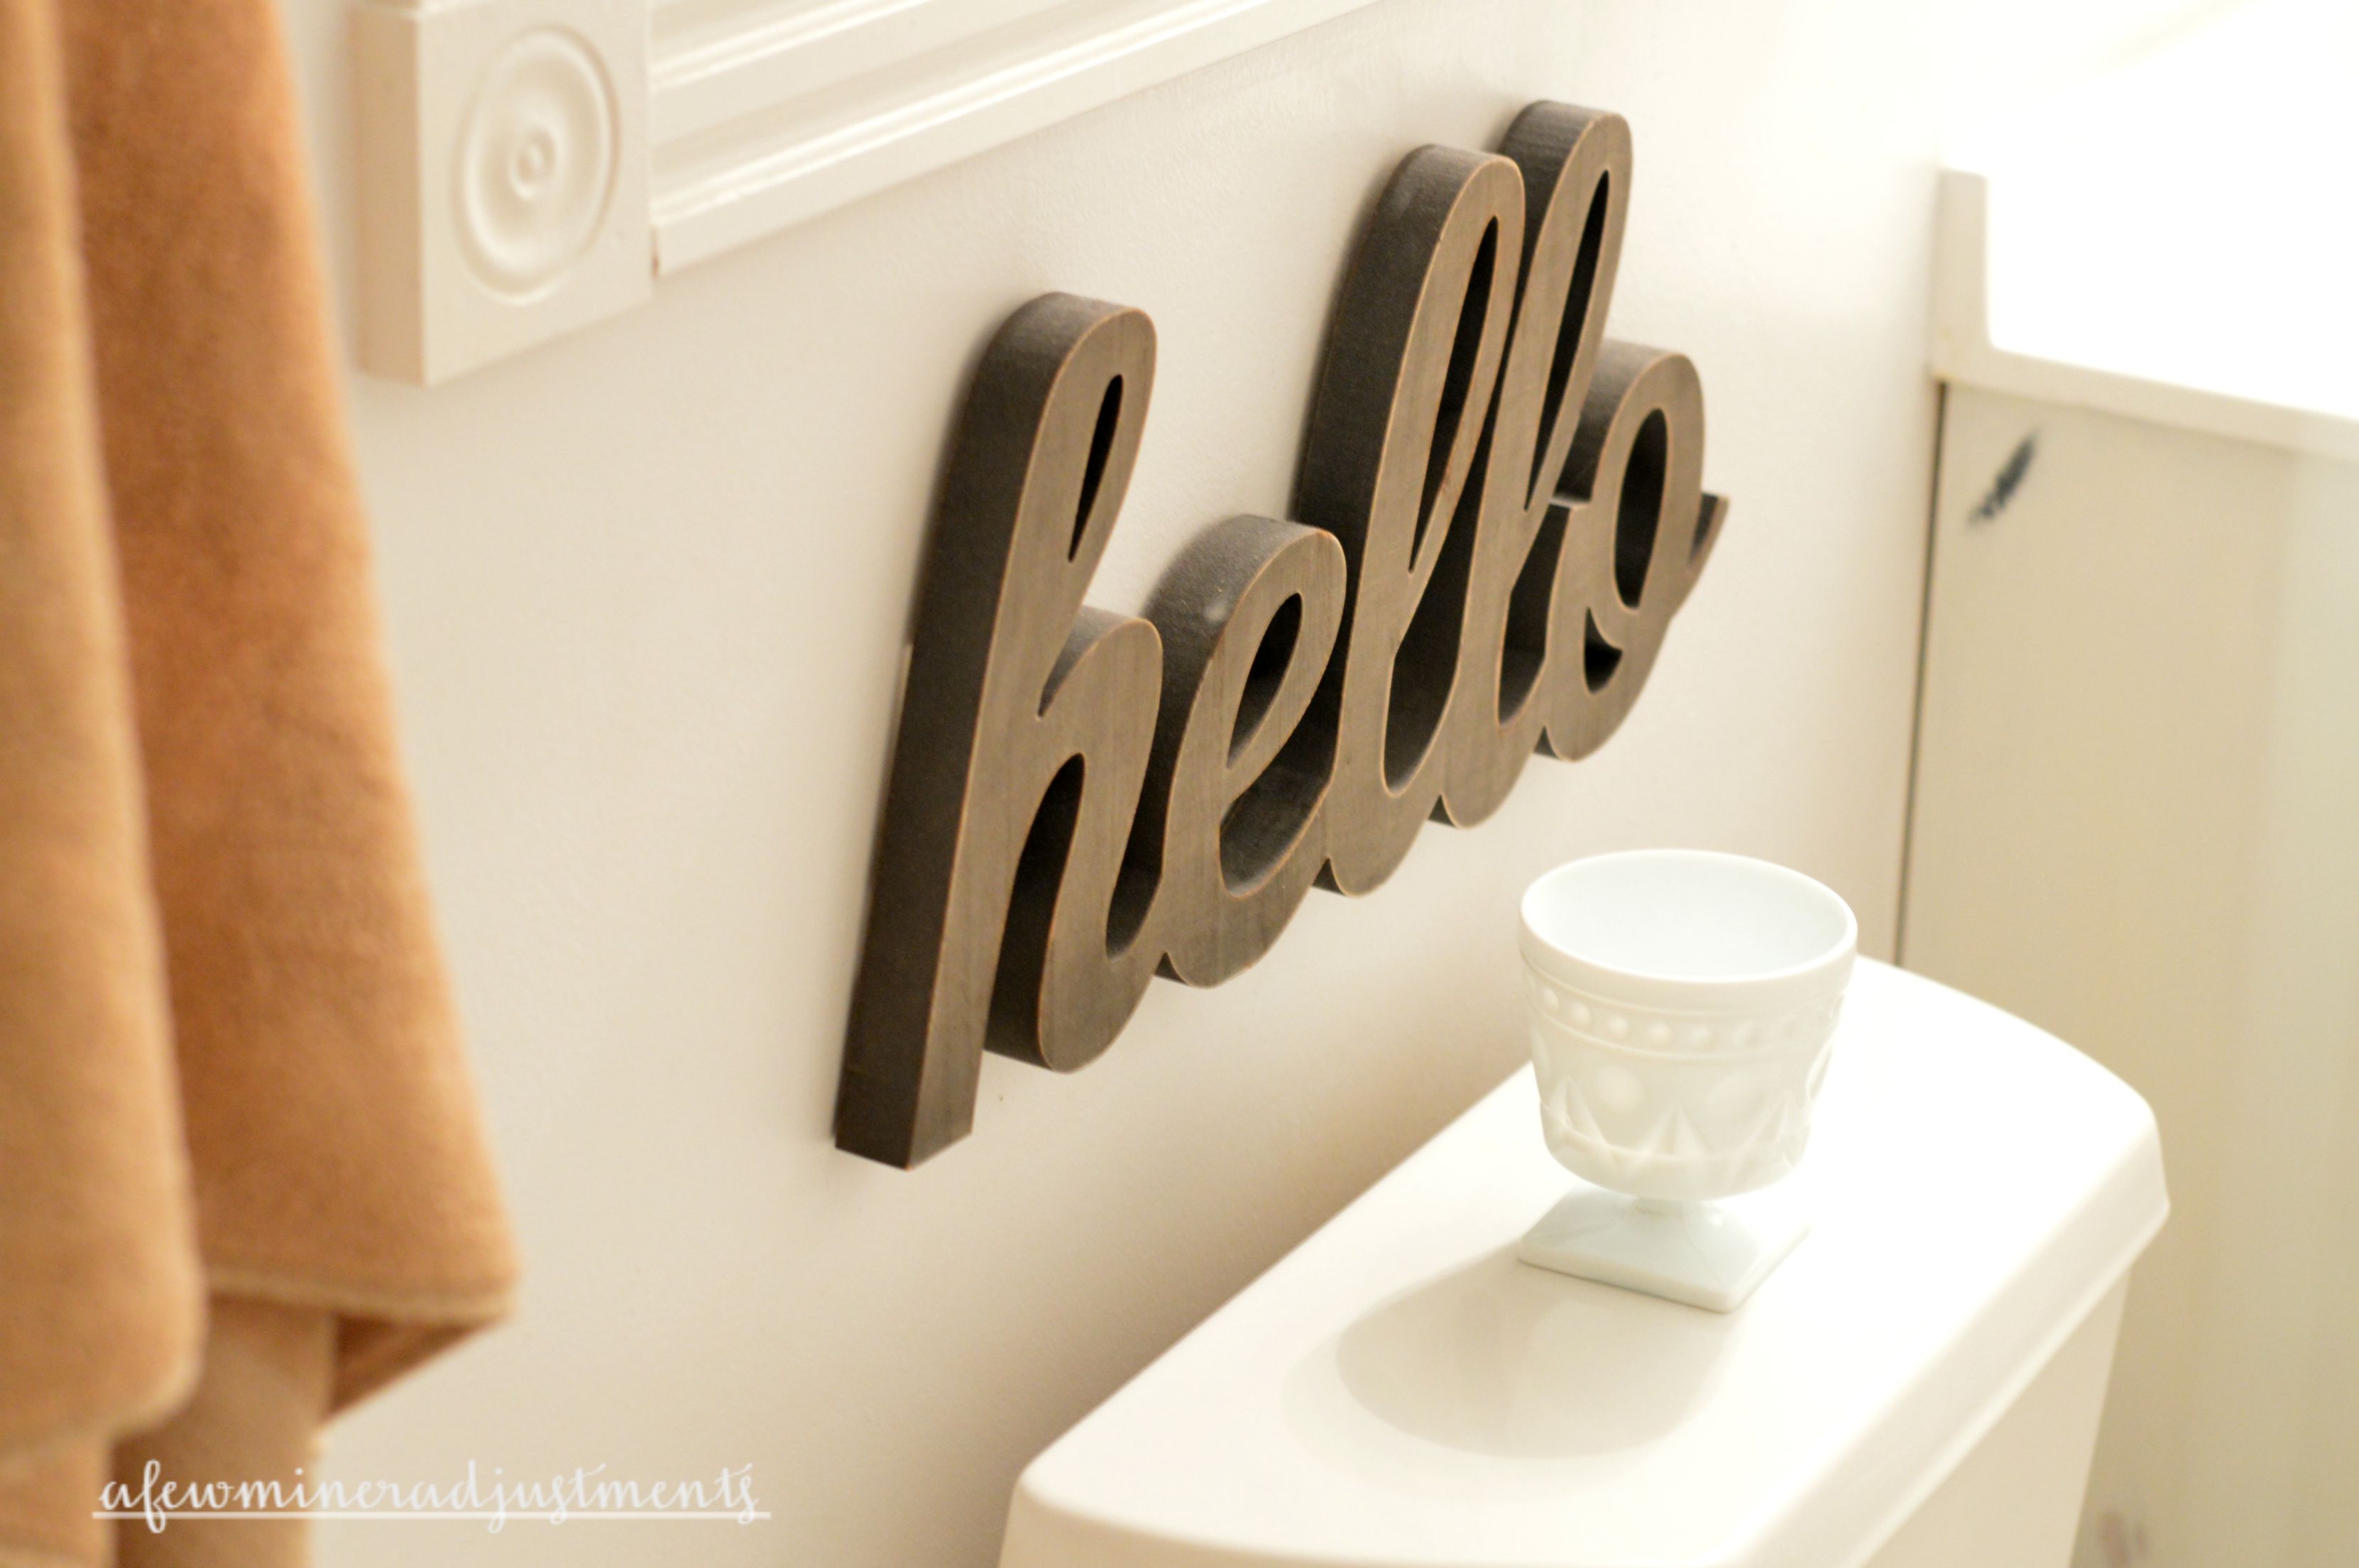
And there you have it. Instant personality.