
Kid’s Chore Charts
This post may contain affiliate links. Please read my privacy policy.
Our house just got a whole lot crazier with the start of school. Combine that with realizing H was probably old enough to start having some small responsibilities around the house and the idea for a set of kid’s chore charts was born.
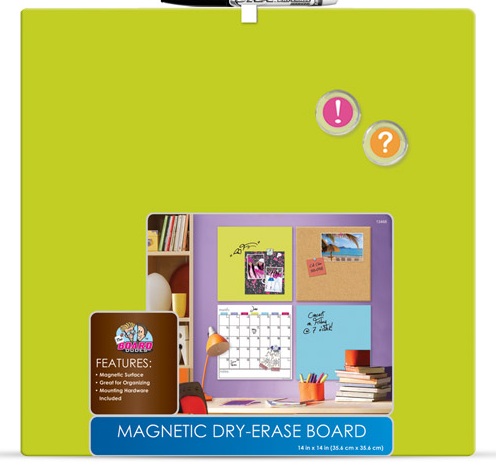
I knew that I wanted to eventually integrate these into the chalkboard wall in our kitchen so I picked out these super cute magnetic boards with that in mind.
 |
| [Source] |
Then, I created some little one inch circle graphics to depict what the chores were. These graphics were pulled from google where I just did an image search for the items I wanted {i.e. backpack clip art}.

Not all of these are technically “chores” but some are more reminders of what needs to be done each day.
H’s “chores” include:
– Help load the dishwasher
– Help unload the dishwasher
– Set the table
– Help clean up the table
– Clean the playroom {once a week}
– Pick out clothes for school
– Pack backpack
– Put shoes for school in the basket by the door
– Brush teeth
– Brush hair
E obviously doesn’t have any real chores but I did create a board for him for the future. For now, the items on his are mostly reminders for Mathlete and I on what we need to do for him each night. Those include:
– Pack medicine
– Pack lunch
– Shoes in the basket
– Pick out clothes
– Pack backpack
Once I printed the little circles, I grabbed my 1 inch punch and punched out all the circles.

I printed my circles onto plain computer paper because I didn’t have any cardstock. I, of course, wanted them to be thicker than though. So, I grabbed some modge podge and put them on an index card.

I applied a layer of modge podge to attach the paper to the index card. Then, I put a layer over the circles to seal them.

Once they were dry. I had to punch the circle out again. {Note: save yourself this step and just print onto cardstock}. Now, I was ready to make them into magnets. This was the easier step because I bought adhesive magnets.

For the actual boards, I wanted sections that said “To Do” and “Done”. So, using my Cameo, I cut out those words in black vinyl. Once I had one board done, I used it as my guide for the others.
Using painters tape, I taped a guide line across the boards and lined up my letters that way.

All done! Now, where did my screwdriver disappear to…I want to hang these up!


Oh, in case you are wondering why I made three boards, it isn’t because we have some secret 3rd kid {sorry, mom!}. Mathlete and I were talking and figured putting H’s board in her room for the stuff she does upstairs {i.e. brushing hair, picking out clothes, etc.}.
Do your kids have chores? How do you keep track of them?


© 2012 Just Us Four. ALL RIGHTS RESERVED.


This is such a great idea….!
Do the kids enjoy using them?
I have found that one system will work for a time and then you need to move on to another system. Currently I use the dry eraser on the vintage window system, but my kids are a little bit older….
Have a great day and thanks for sharing
Crystelle
http://www.crystelleboutique.com/
So cute! I love the little pictures you used so your kids can remember what chores to do. Maybe I just love this because I love the thought of moving my chores down onto the done side. Maybe I should make one for me!
Great idea! I need to make one for my son.
How creative! Very clever, thanks so much for sharing:)
Katie
http://www.funhomethings.com
What a wonderful idea! I need to make this for my kids.
This seems like a much easier idea than the Melissa and Doug chore chart I tried to use. Simple is better! Thanks for sharing!
We don’t have a chart..but my kiddies are gonna hate you cause I think it’s a great idea…thanks for keeping us company again this week…xo
This is such a great idea! Thanks for sharing it at Riverton Housewives Round Up!
Shannah,
Love this! So cute and creative. I wonder if my hubby and two teenagers will actually use it. We’ll see because I’m going to make one 🙂 Thanks so much for linking up to Creative Thursday. Can’t wait to see what you share this week! Have a wonderful week.
Michelle
What a great idea! A lot of chore charts are so complicated, this is super simple. Thanks for sharing. Hope to see you at True Aim!
That’s awesome. It’s so easy to do, too. Thanks for linking up to tip-toe thru tuesday.
Cute! I like this magnet board idea
Hi,
Great Board!
Elegantly Simple.
Where did you get:
1. the images for the magnets?
2. the 1″ hole punch.
Also, what is the “cameo” you referred to?
Thanks!
Do you still have your file if the pictures you used? Would you mind sharing it? I love the idea!
Very nice post. I just stumbled upon your weblog and wanted to say that
I’ve really enjoyed surfing around your blog posts. After all I’ll be subscribing to
your feed and I hope you write again very soon!
I would love to know if you have a source for the pictures as well. Those are the best size I have seen for what i am looking for. 🙂
I still have to find the page where I got them from. I googled the different chores I was looking for and clicked ‘images’
also interested in a source for pics. best size/shape I have found for what I am needing.
can you tell me where I can find these images?
Hi there! I just googled the specific chores I was looking for to find these images.