This post may contain affiliate links. Please read my privacy policy.
5.22.11
Our to-do list has a lot of projects that are focused on decorating and personalizing our house. Of course, there are some items on there that are just “must-dos” to keep the house in tip-top shape. We started tackling one of them this weekend: repainting the basement egress railing and bricks.
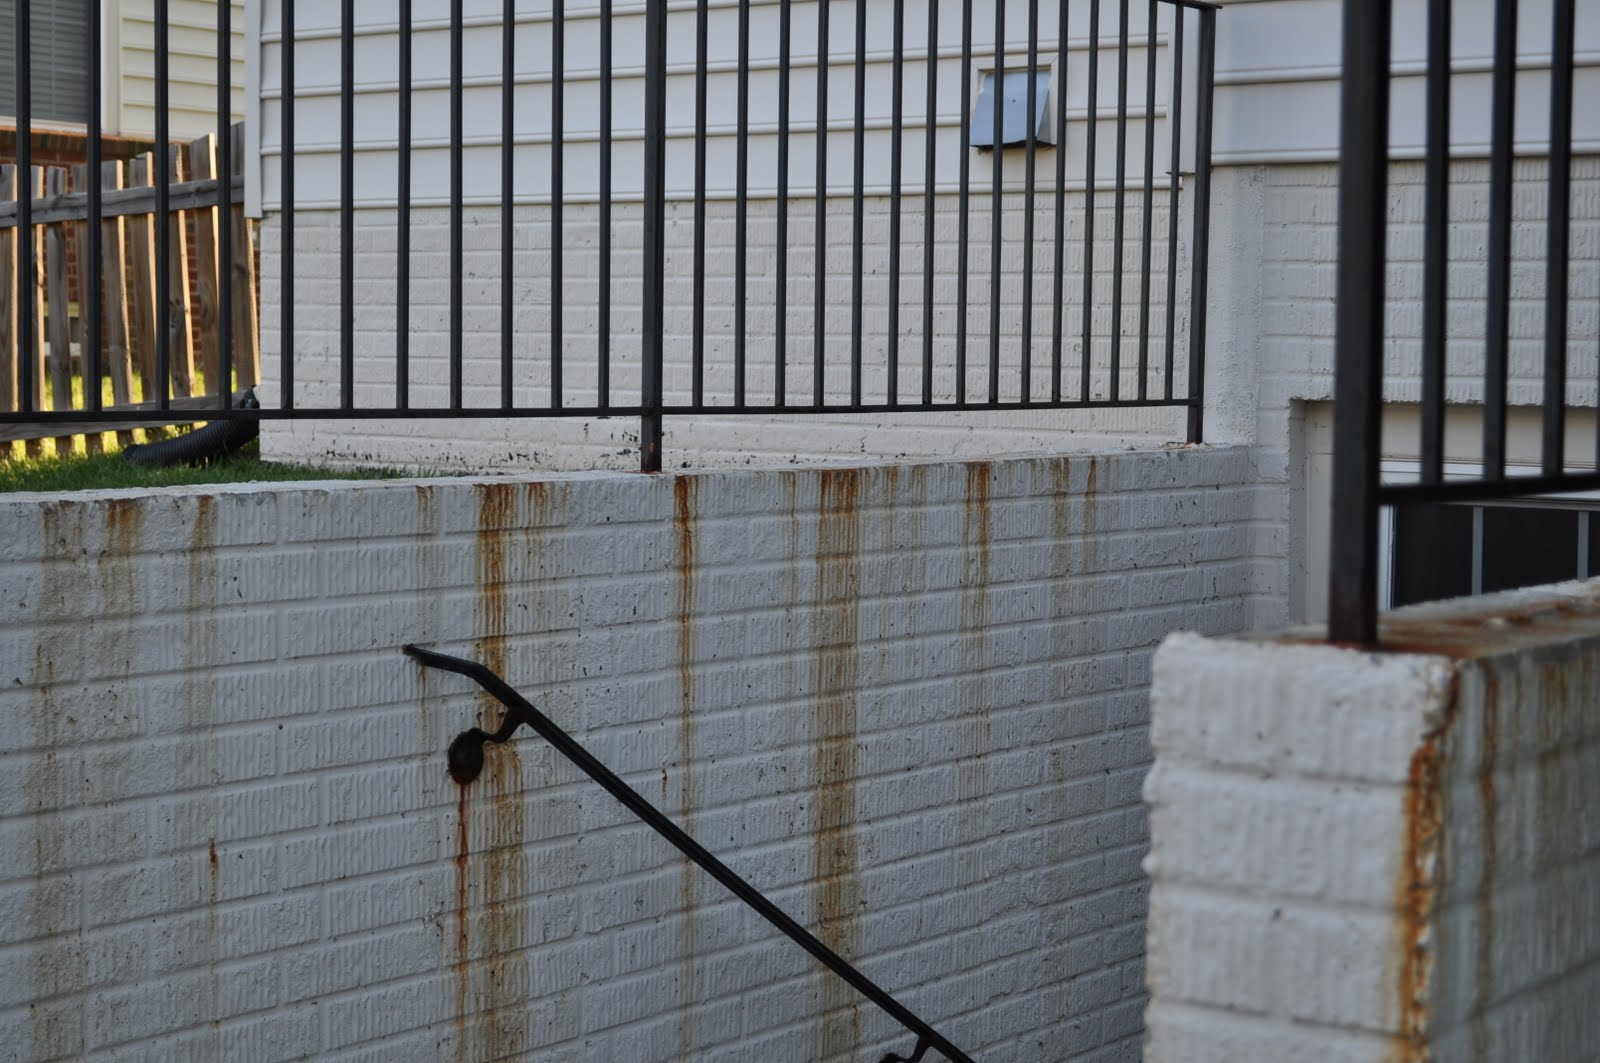
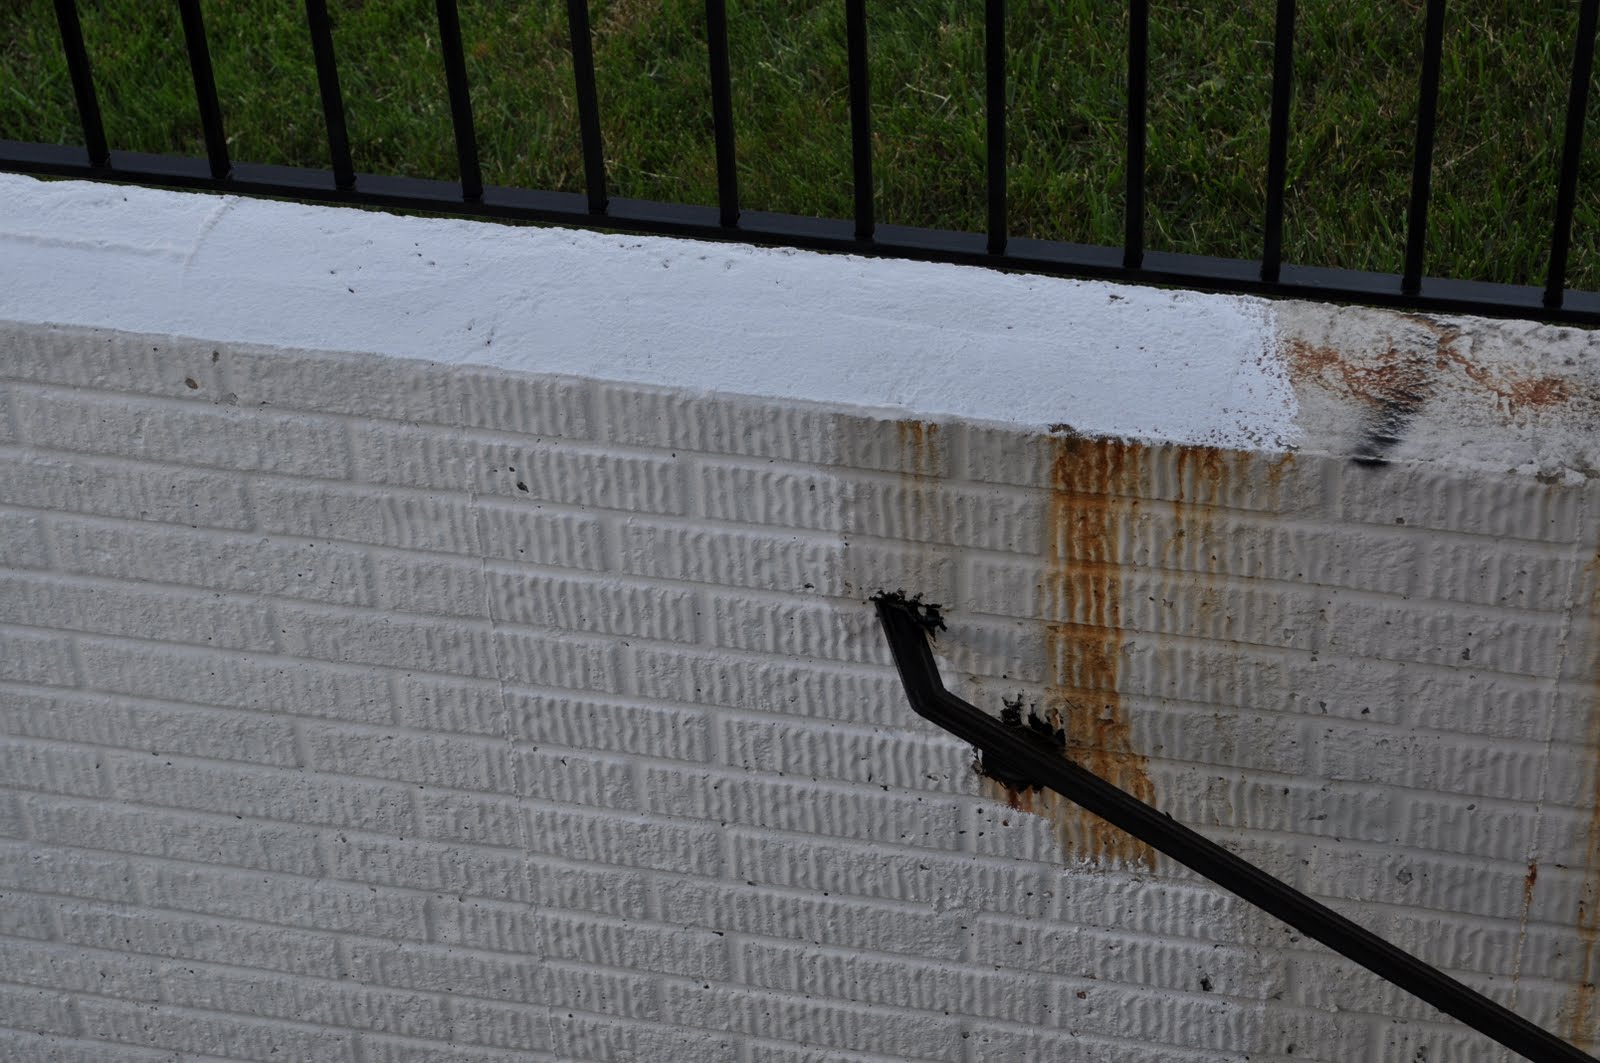
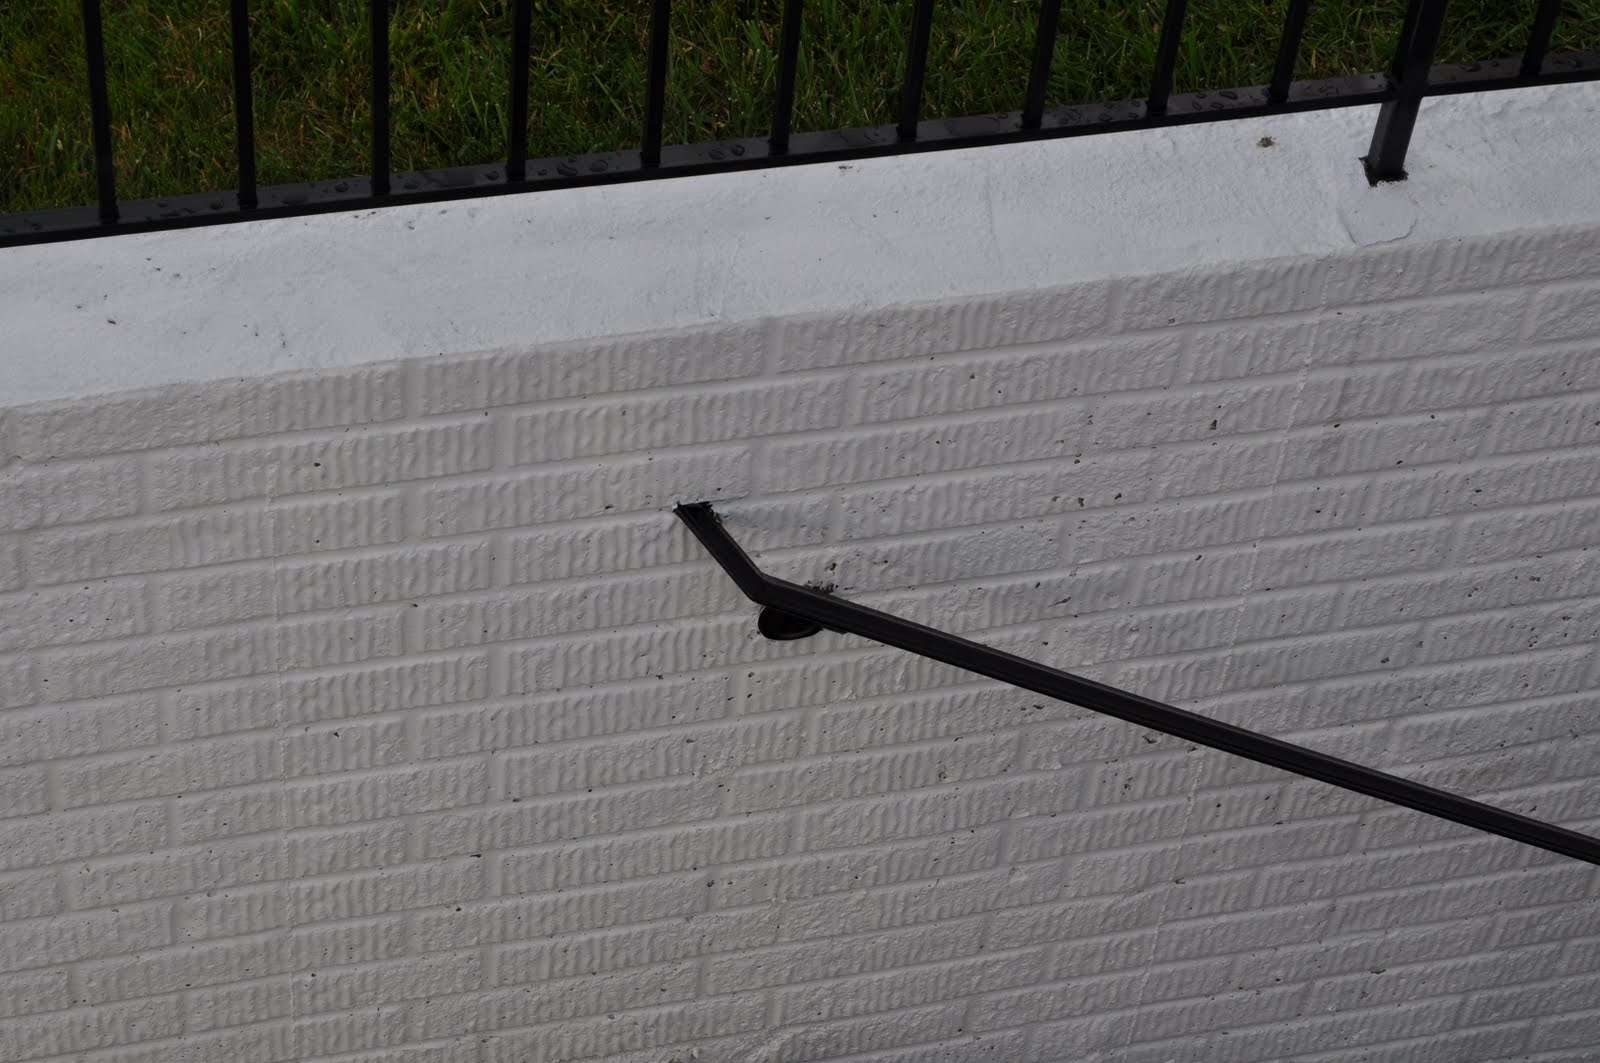
The exit to our backyard from the basement has bricks on each side and black iron railing. Though the house is only a few years old, that whole area looks pretty terrible. The railing is rusty and the bricks have a lot of the rust residue on them marring the pretty white paint.
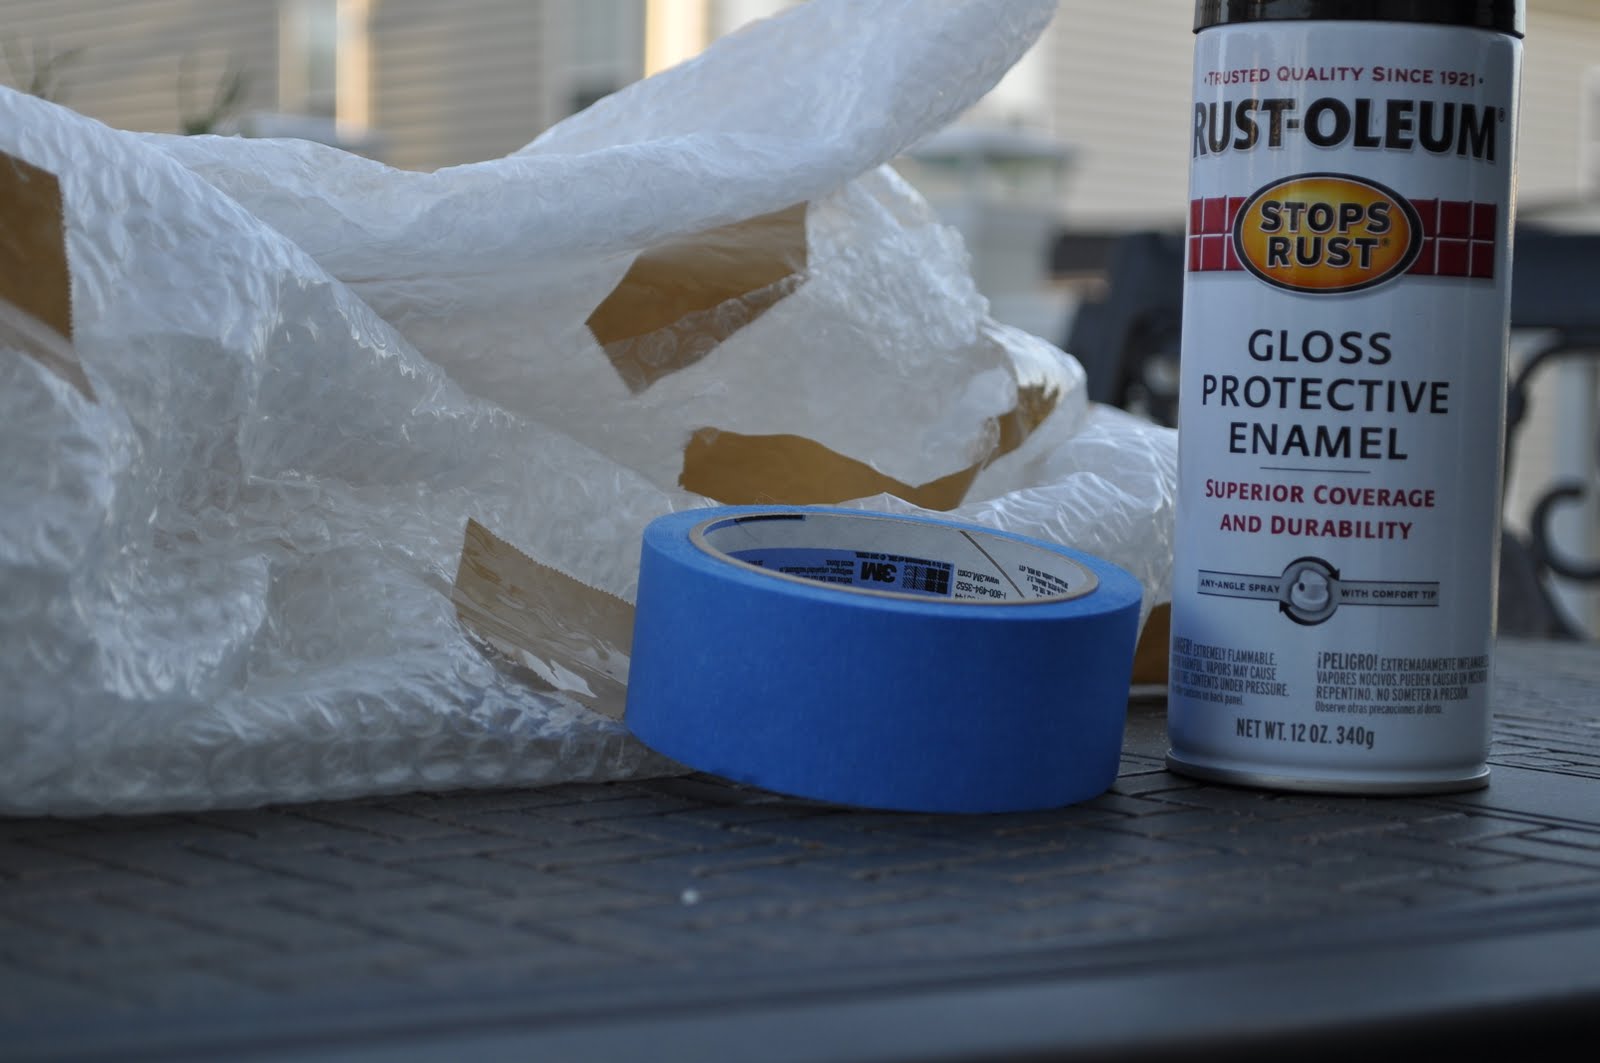
I finally made it to the store a few days ago to pick up the Rustoleum and masonry paint needed for the project. Quite surprised to have been asked for ID when buying spray paint but maybe that is just showing my home improvement naiveté. With supplies gathered, I set off to start this project figuring I could get the railing piece done in 2 evenings after work…famous last words of course.
The first step was to sand the railing to remove the rust and prepare it for the paint. Mathlete hubby supplied me with some sand paper and I set my muscles to working. When the sun went down, I had made a little bit of progress but was definitely nowhere near ready to paint.
After a week of monsoon like rain, we finally got back into the project yesterday. Wanting to speed things up a little so that we had even the slightest chance of finishing, I did a little bit of research and decided to buy a new tool:
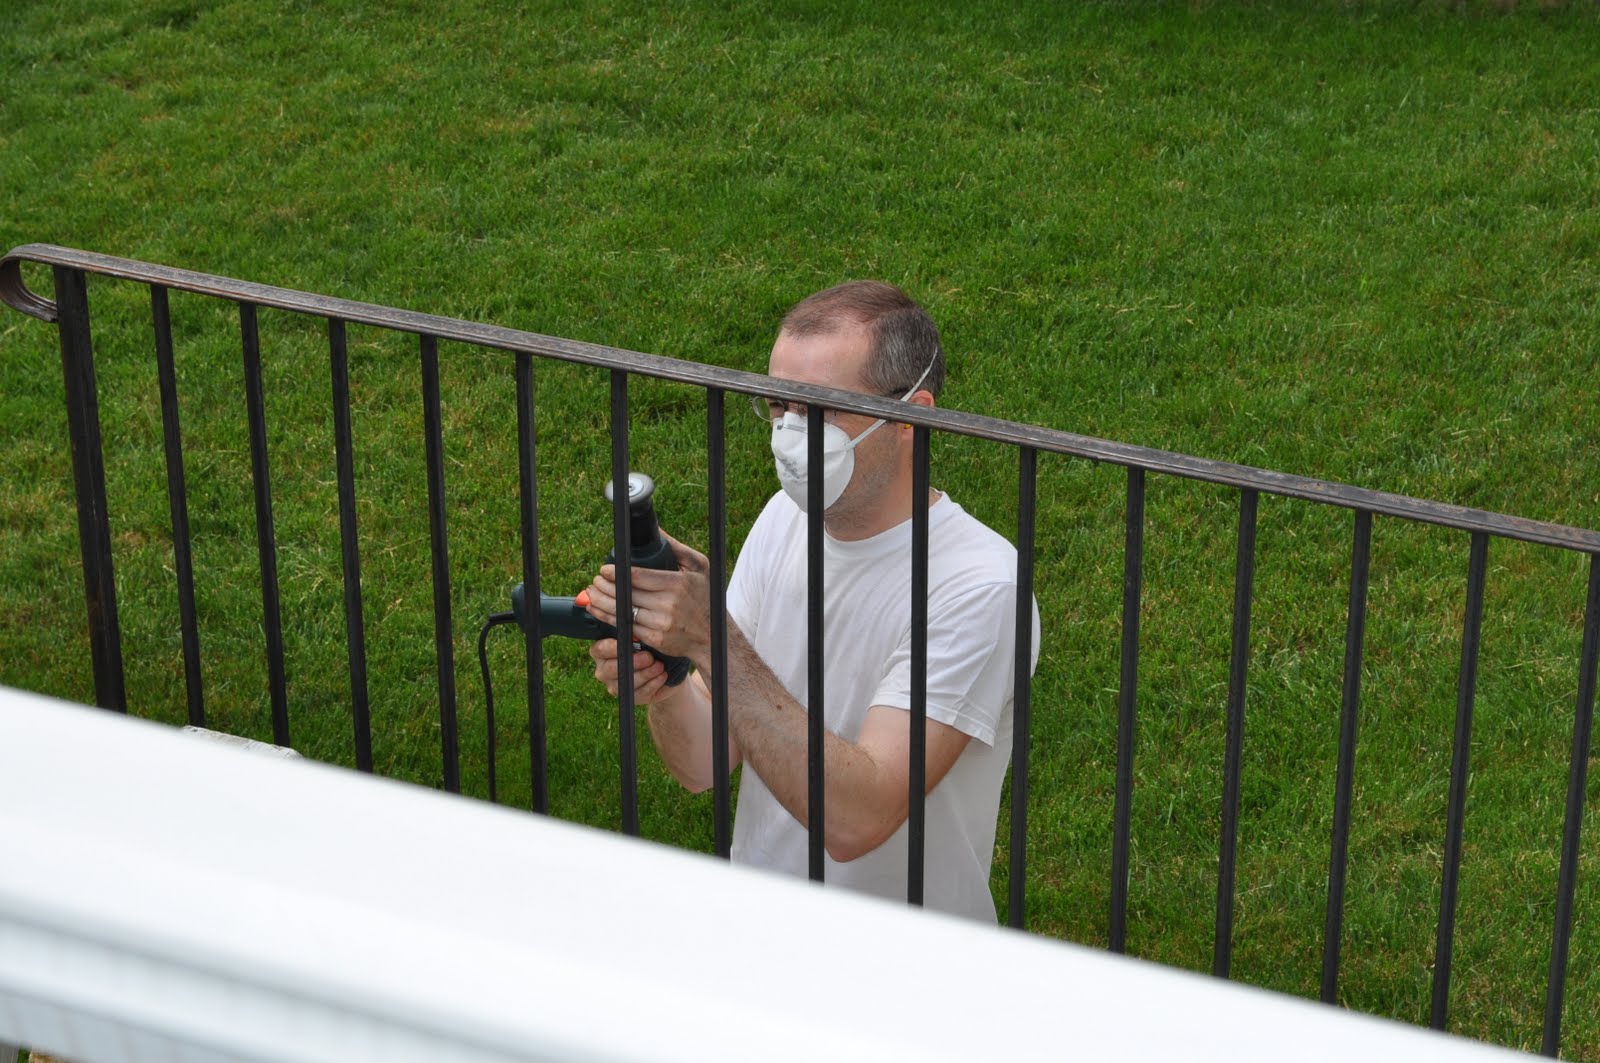
The brush was just more efficient at cleaning off the rust so I was able to speed move along a little faster. I was no match for Mathlete Hubby with the wire brush tool though. He had one entire side done in the time it took me to unload the dishwasher (we were switching off time with Baby E).
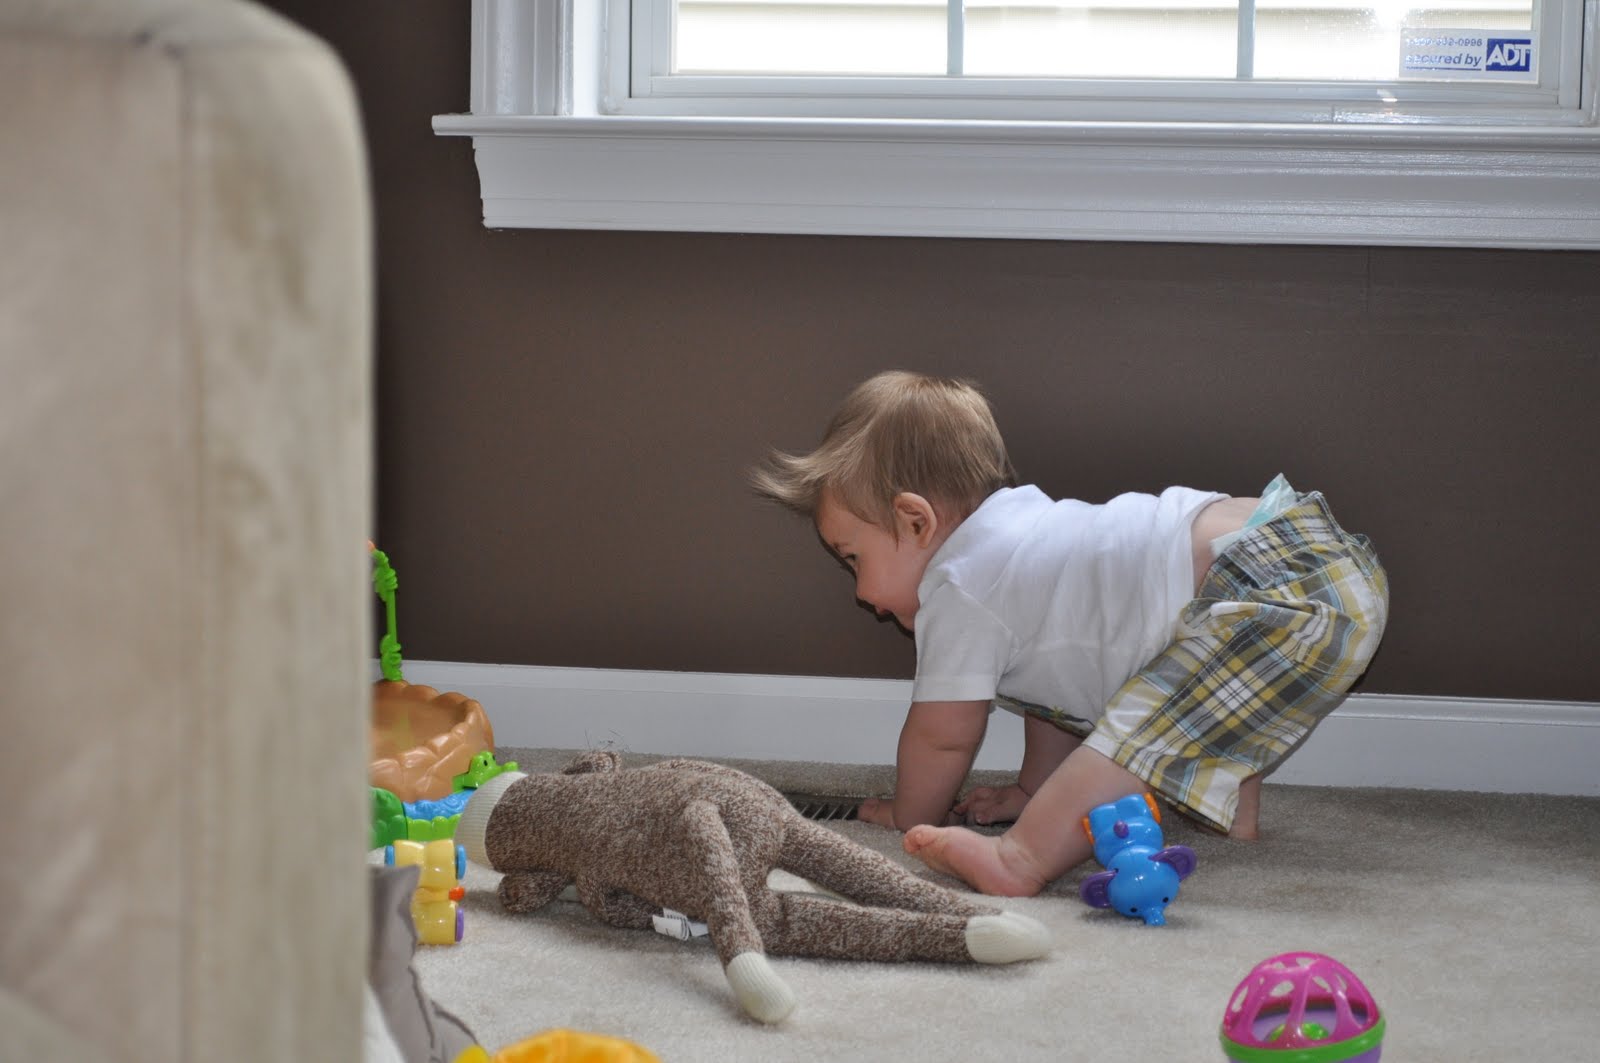
Baby E was busying himself with his new pastime – straddling the air conditioner vent so the air will blow his hair around.
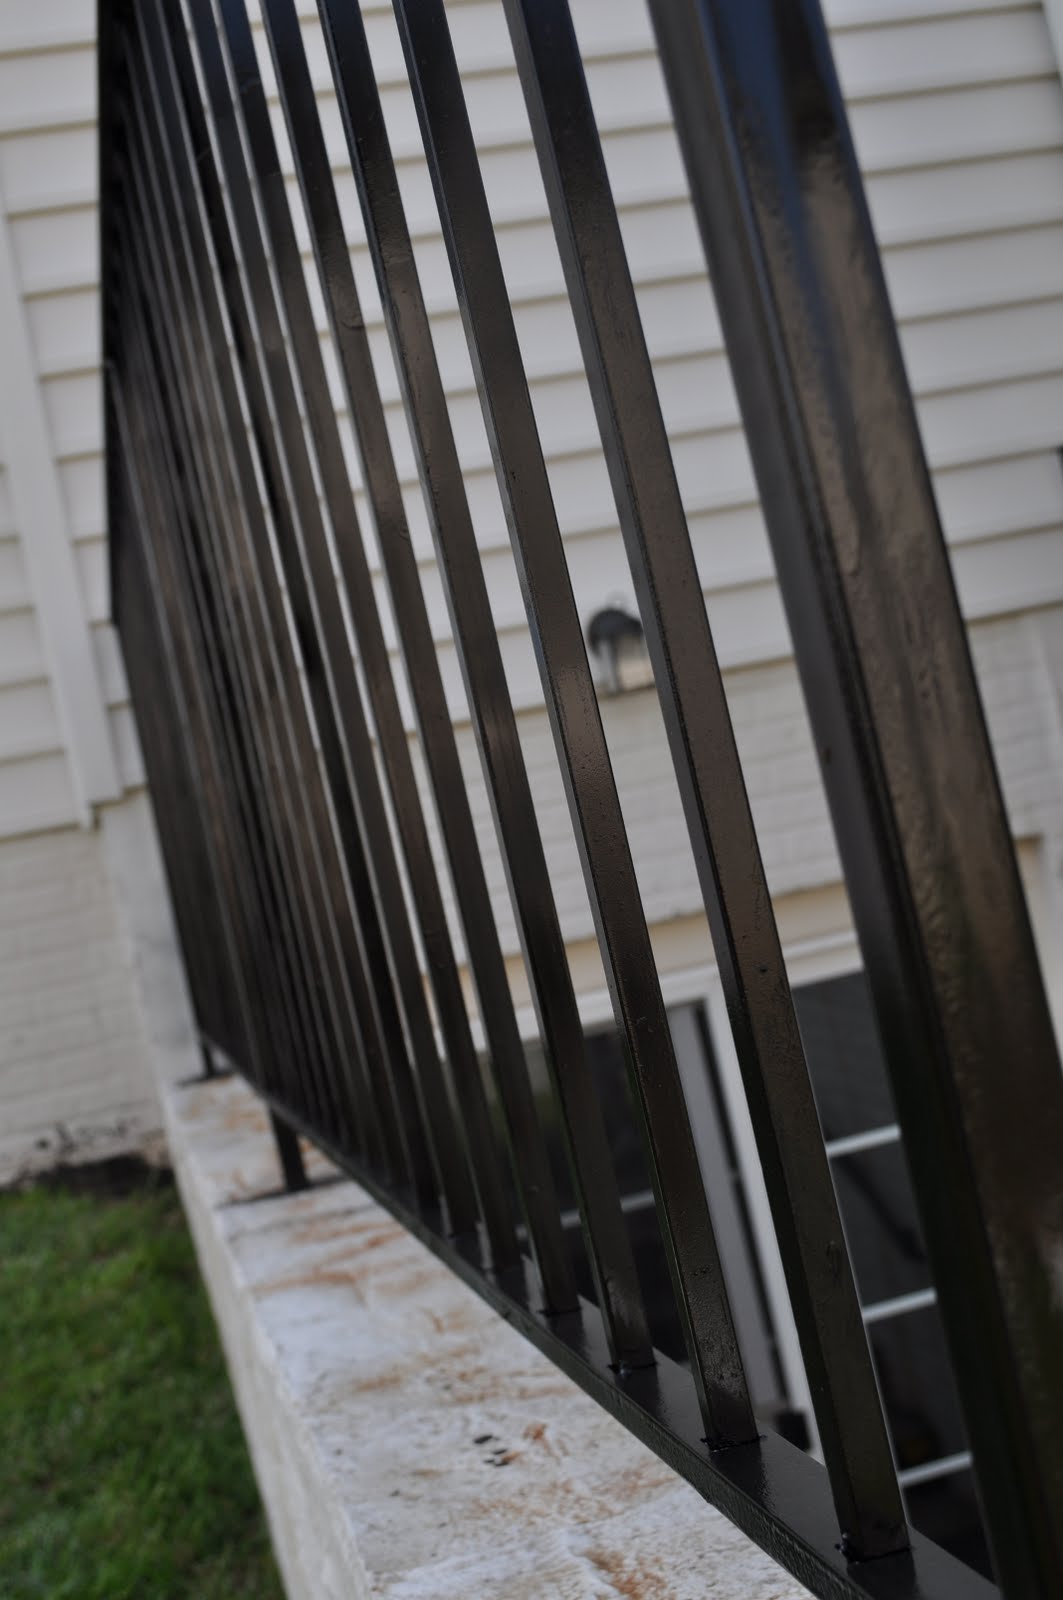
Baby E went down for his nap so I headed outside to start the painting on the sanded side. We chose the spray paint version versus the brush on version strictly in the interest of saving time. I was pretty efficient until I ran out of paint forcing me to go to Home Depot looking quite possibly the worst I have ever looked when out in public! I picked up some brush on Rustoleum while I was there too for touch-ups and the lower railings.
While Baby E took his second nap, I took H up for a little moon-bounce fun to stay out of Hubby’s hair so he could finish sanding and painting the railings.
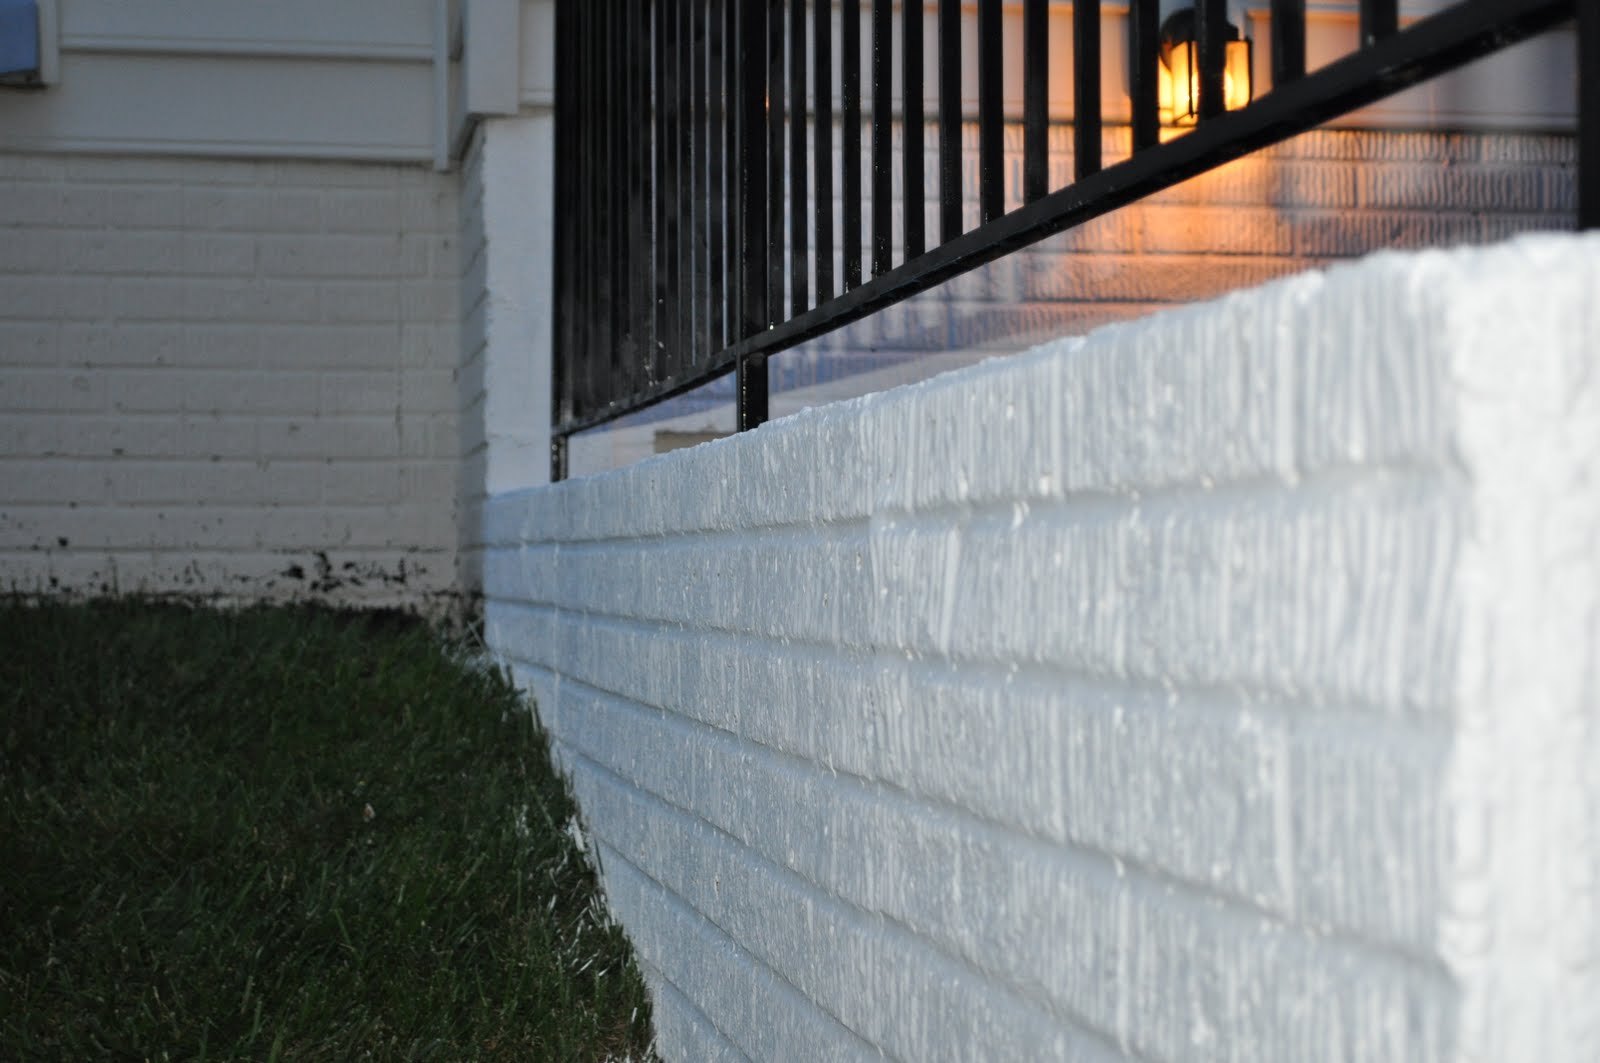
Next up was painting the bricks with the masonry paint. I volunteered to start this part of the project so Hubby could take a break play with the kids. So, with my gigantic roller I set to work.
Rolling on the paint wasn’t quite as easy as I imagined as the roller quickly became filled with paint and got HEAVY! I was making good progress though when I switched off to cook dinner for our family Sunday dinner.
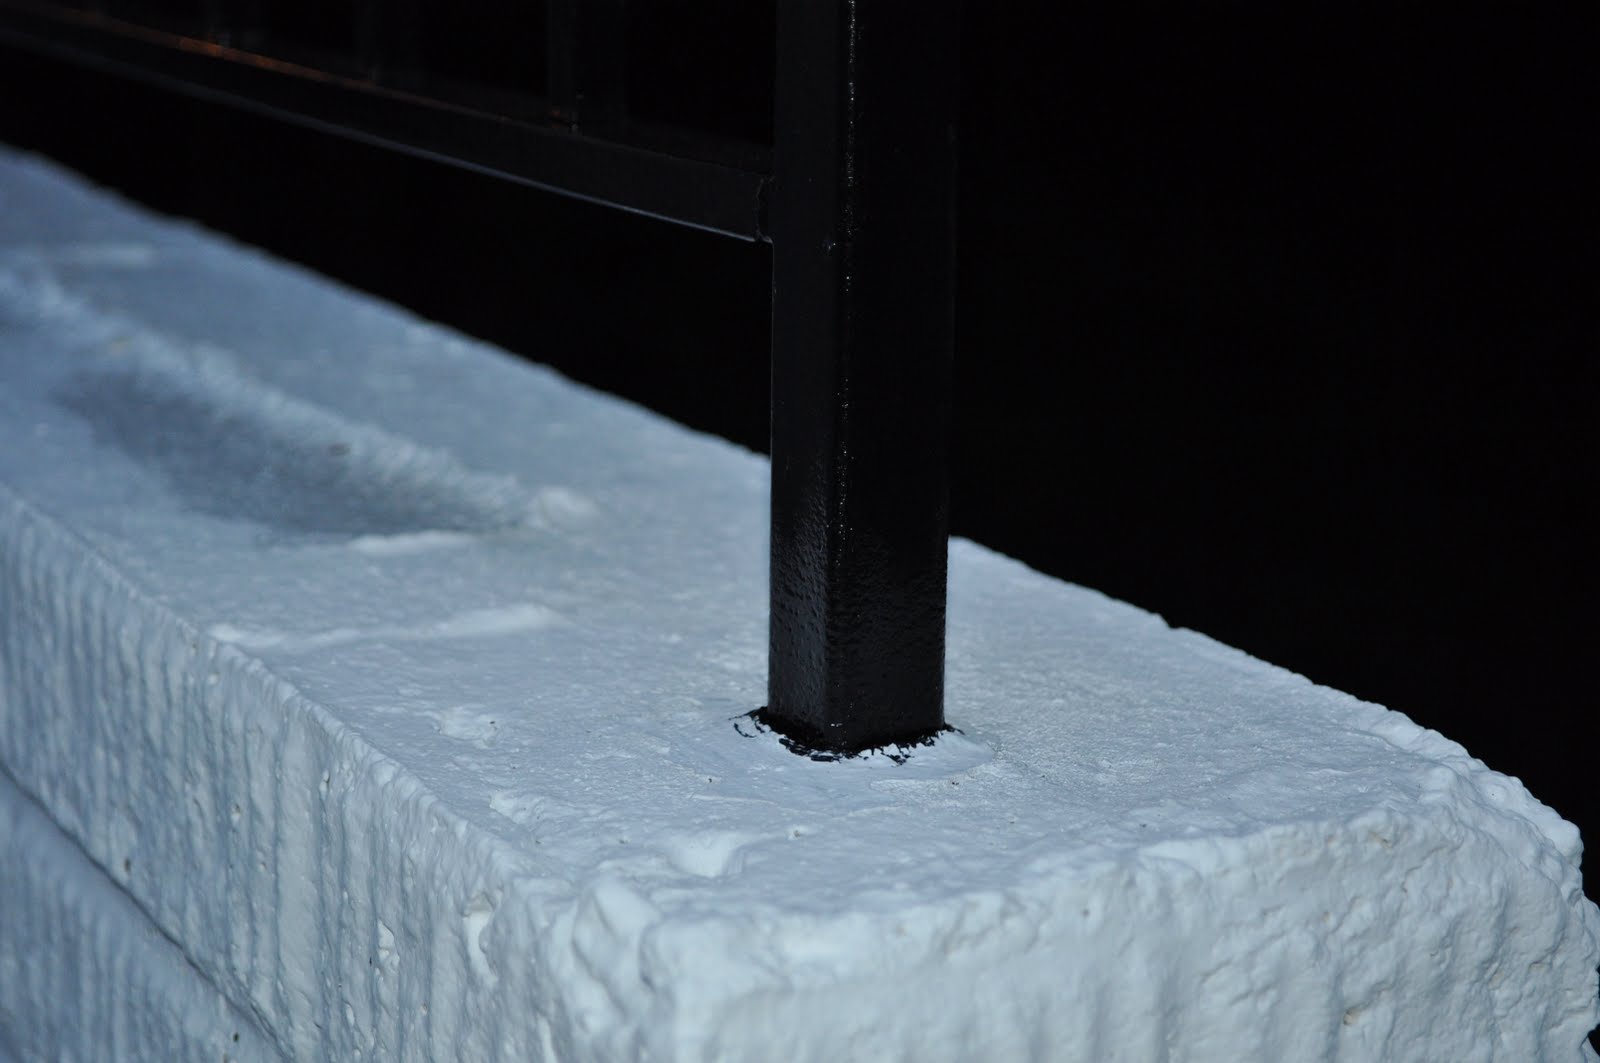
It took us until 9pm (including stops for lunch, a small rain shower and dinner) but we finally finished it.