
Wood Shim Art
This post may contain affiliate links. Please read my privacy policy.
This post originally appeared on Alderberry Hill. I wanted to be sure to share it with you as well.
Awhile back, I picked up some wood shims from Lowe’s with plans to make some makeshift pallet artwork out of them. I also grabbed one of the Valspar sample pots from the spring color line. Thankfully, I finally found the time to create my wood shim art and wanted to share it with you!

I started by glueing my wood shims together so that they identical height.
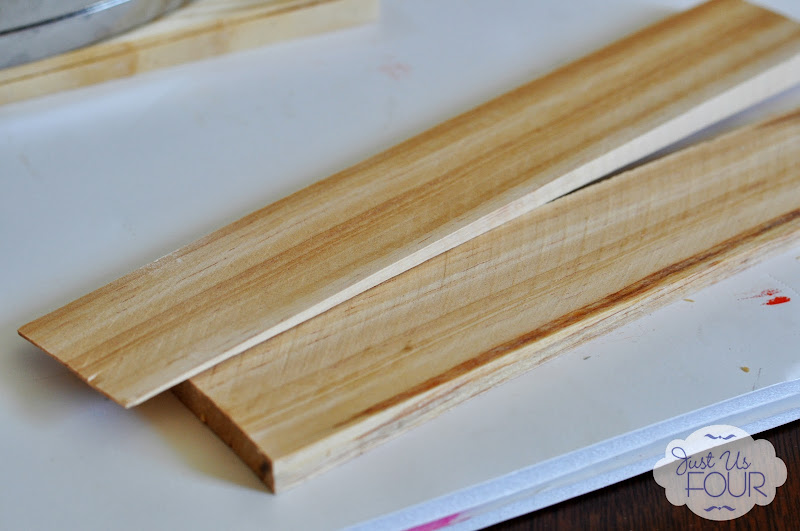
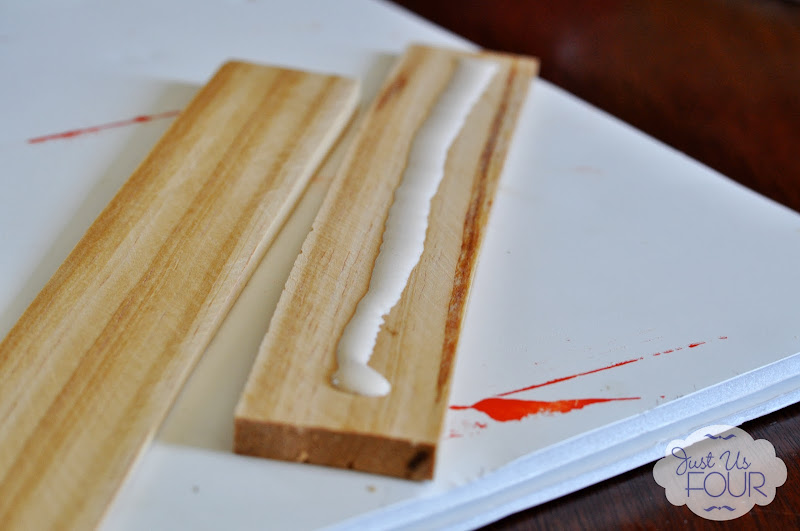
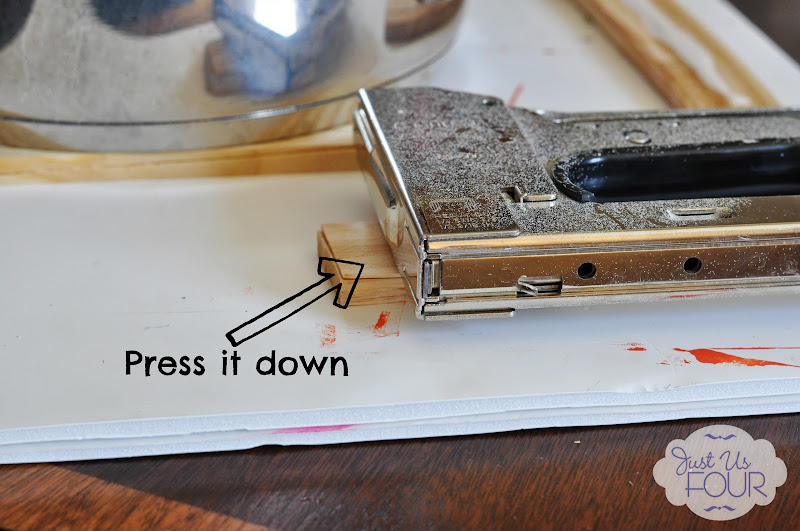
You can skip the step simply by putting all the thicker ends on the outside when connecting them but I like playing with wood glue 😉
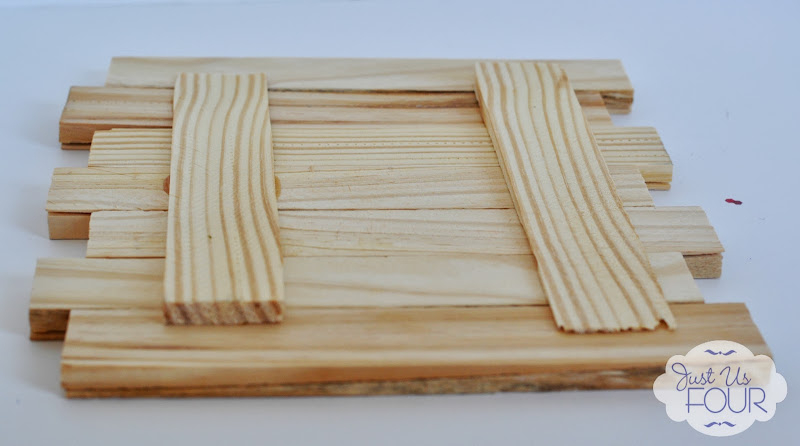
Once my shims were dry, I used additional ones perpendicular along the back to hold them all together. Simply glue them onto the back of the shims and they will all stay together.
Using my Silhouette, I cut out a stencil of a flower pot from some leftover craft paper I had hanging around. I grabbed my samply pot of paint and a foam stencil pouncer to get started. Using the pouncer, I stenciled it along the front.

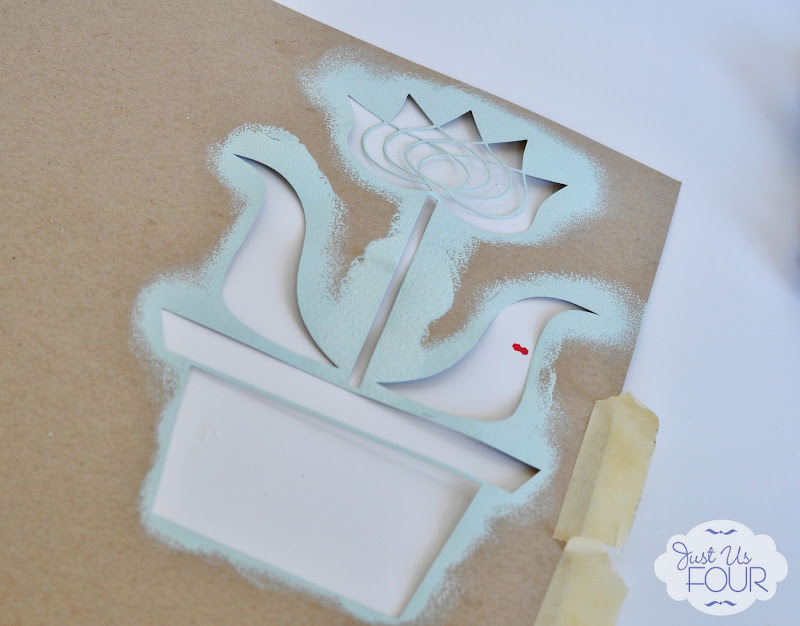
I removed the stencil and let the paint dry for my finished product.

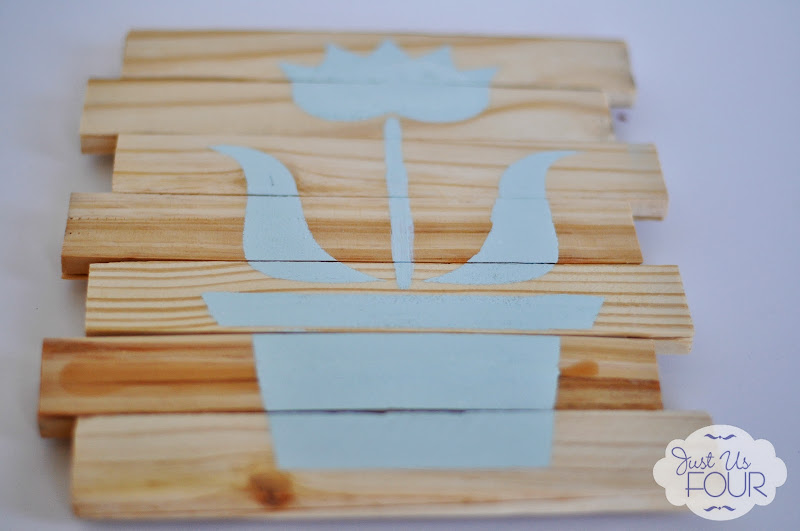
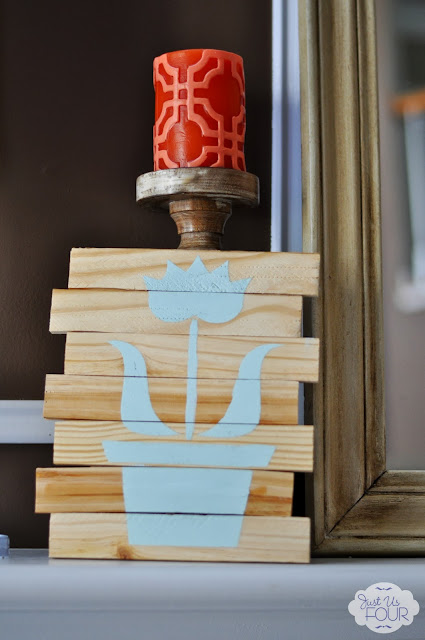
I love how it works as part of our mantle display for Spring/Summer. The color is perfect with the orange and coral I used in our family room.
Have you ever created art using wood shims? Or maybe you like to use wood shims for other things? I know we used what seemed like a million of them when finishing the basement 🙂 I’d love to hear some of your ideas.
You can find a list of the awesome parties I link up to by visiting here.


I saw this project on “Not Just A Housewife” and wanted to say hi! Love the shims idea. I have oodles of them, for that moment when inspiration strikes, but have yet to do anything with them. Thanks for the inspiration! A few of those in different colors would look great in laundry room.
Thank you so much for coming by! Wood shims are something that we had so many of that I finally needed to find something to do with a few of them. I hope you have fun with yours for your laundry room.
Very cute! Love the color.
Thanks for linking up with us this week at BeBetsy BRAG ABOUT IT Tuesday Link and Hop.
We’d love it if you would link back to BeBetsy at the bottom of your post. http://bebetsy.com
See you next week!
Sharon and Denise
Thanks! That color is just so serene to me.
This is a super cute idea.
Traci
Thanks so much!
We have TONS of these shims laying around from all of my husband’s projects! What a great idea! I am going to get my stencils out this weekend and make something pretty out of all those leftovers!! Thanks for the tip! 🙂
We had so many shims leftover from the basement project so I am always looking for ways to use them. Definitely break out some paint and play around with some.
So cute! Such a great idea!
Thanks! I wanted some pallet style art but didn’t want to bother with cutting my pallet yet. This worked out so well and was so easy.
YES! I flashed to goodie bags for a baby/bridal shower and how the artwork could be themed for either. Thanks for the idea!
That is an awesome idea! Great thinking.
I love super cute and easy wall art ideas! And this one is very cute!
I’m giving away a copy of Handmade Walls E-book on my blog right now if you or your followers are interested in entering to win!
http://www.theturquoisehome.com/2013/06/yay-for-500-likes-on-facebook-handmade.html
Me too! Anything that is super cheap to make but adds some style to a wall/room is high on my list for sure.
what a great project! I love how it turned out and the color you choose.
Thanks! Our family room walls are actually chocolate brown so I am always looking for ways to lighten up the accessories in the room 🙂
Thanks for visiting.
This is such a great project! I love the versatility of it too! You can essentially make it into anything!
I hope you come and link up with us!
http://www.sowderingabout.com/2013/06/on-display-monday-linkup-6.html
Those wood shims have tons of potential. I can’t wait to work with them on something else soon.
Thanks so much for visiting!
So pretty & simple! I’ve got a stack of these in my garage right now…. 🙂
Go grab them out of your garage and get crafting! These are so fun to work with and there is literally tons of potential there 🙂 Thanks so much for visiting!
What a sweet little project. Perfect for spring and summer!
Thanks! I thought it turned out really well.
What a great, simple project! Sometimes the small things are the sweetest. This would be perfect to do with children–if you can trust them with the wood glue. Thanks for sharing!
Great idea! I might consider glueing it together and letting the kids do the painting with the stencil. Love it.
Love this idea Shannah and I love how simple it is! I think I’m going to do something like this in my family room. Pinned and featuring tonight! Thanks for sharing your creativity girl!
Oh, I can’t wat to see how yours turns out.
Love how this turned out Shannah. The large stencil is perfect and what a great way to freshen up your home for summer! Bonnie @ Uncommon Designs
Thanks! It was my first time working with wood shims but I love how it turned out.
Shannah, I love this and what a wonderful idea!! Thanks for sharing – pinning and sharing on my FB page today. Hope your weekend is relaxing!
Thanks! It was my first time working with wood shims but it won’t be my last.
Such a fun idea!!
Thanks so much! I am so happy with how my first wood shim project turned out.