It was my pleasure to partner with Make It:Fun and FloraCraft® to share a “Foam for the Holidays” homemade Christmas tree project with you.
Decorating with small, homemade Christmas trees can be super easy but make a big impact. When you create your own, there is so much versatility for how your final product will look. I’ve decorated my own trees over several years using scrapbook paper, tinsel and even just glitter. Using STYROFOAM™ cones makes creating homemade Christmas trees so easy.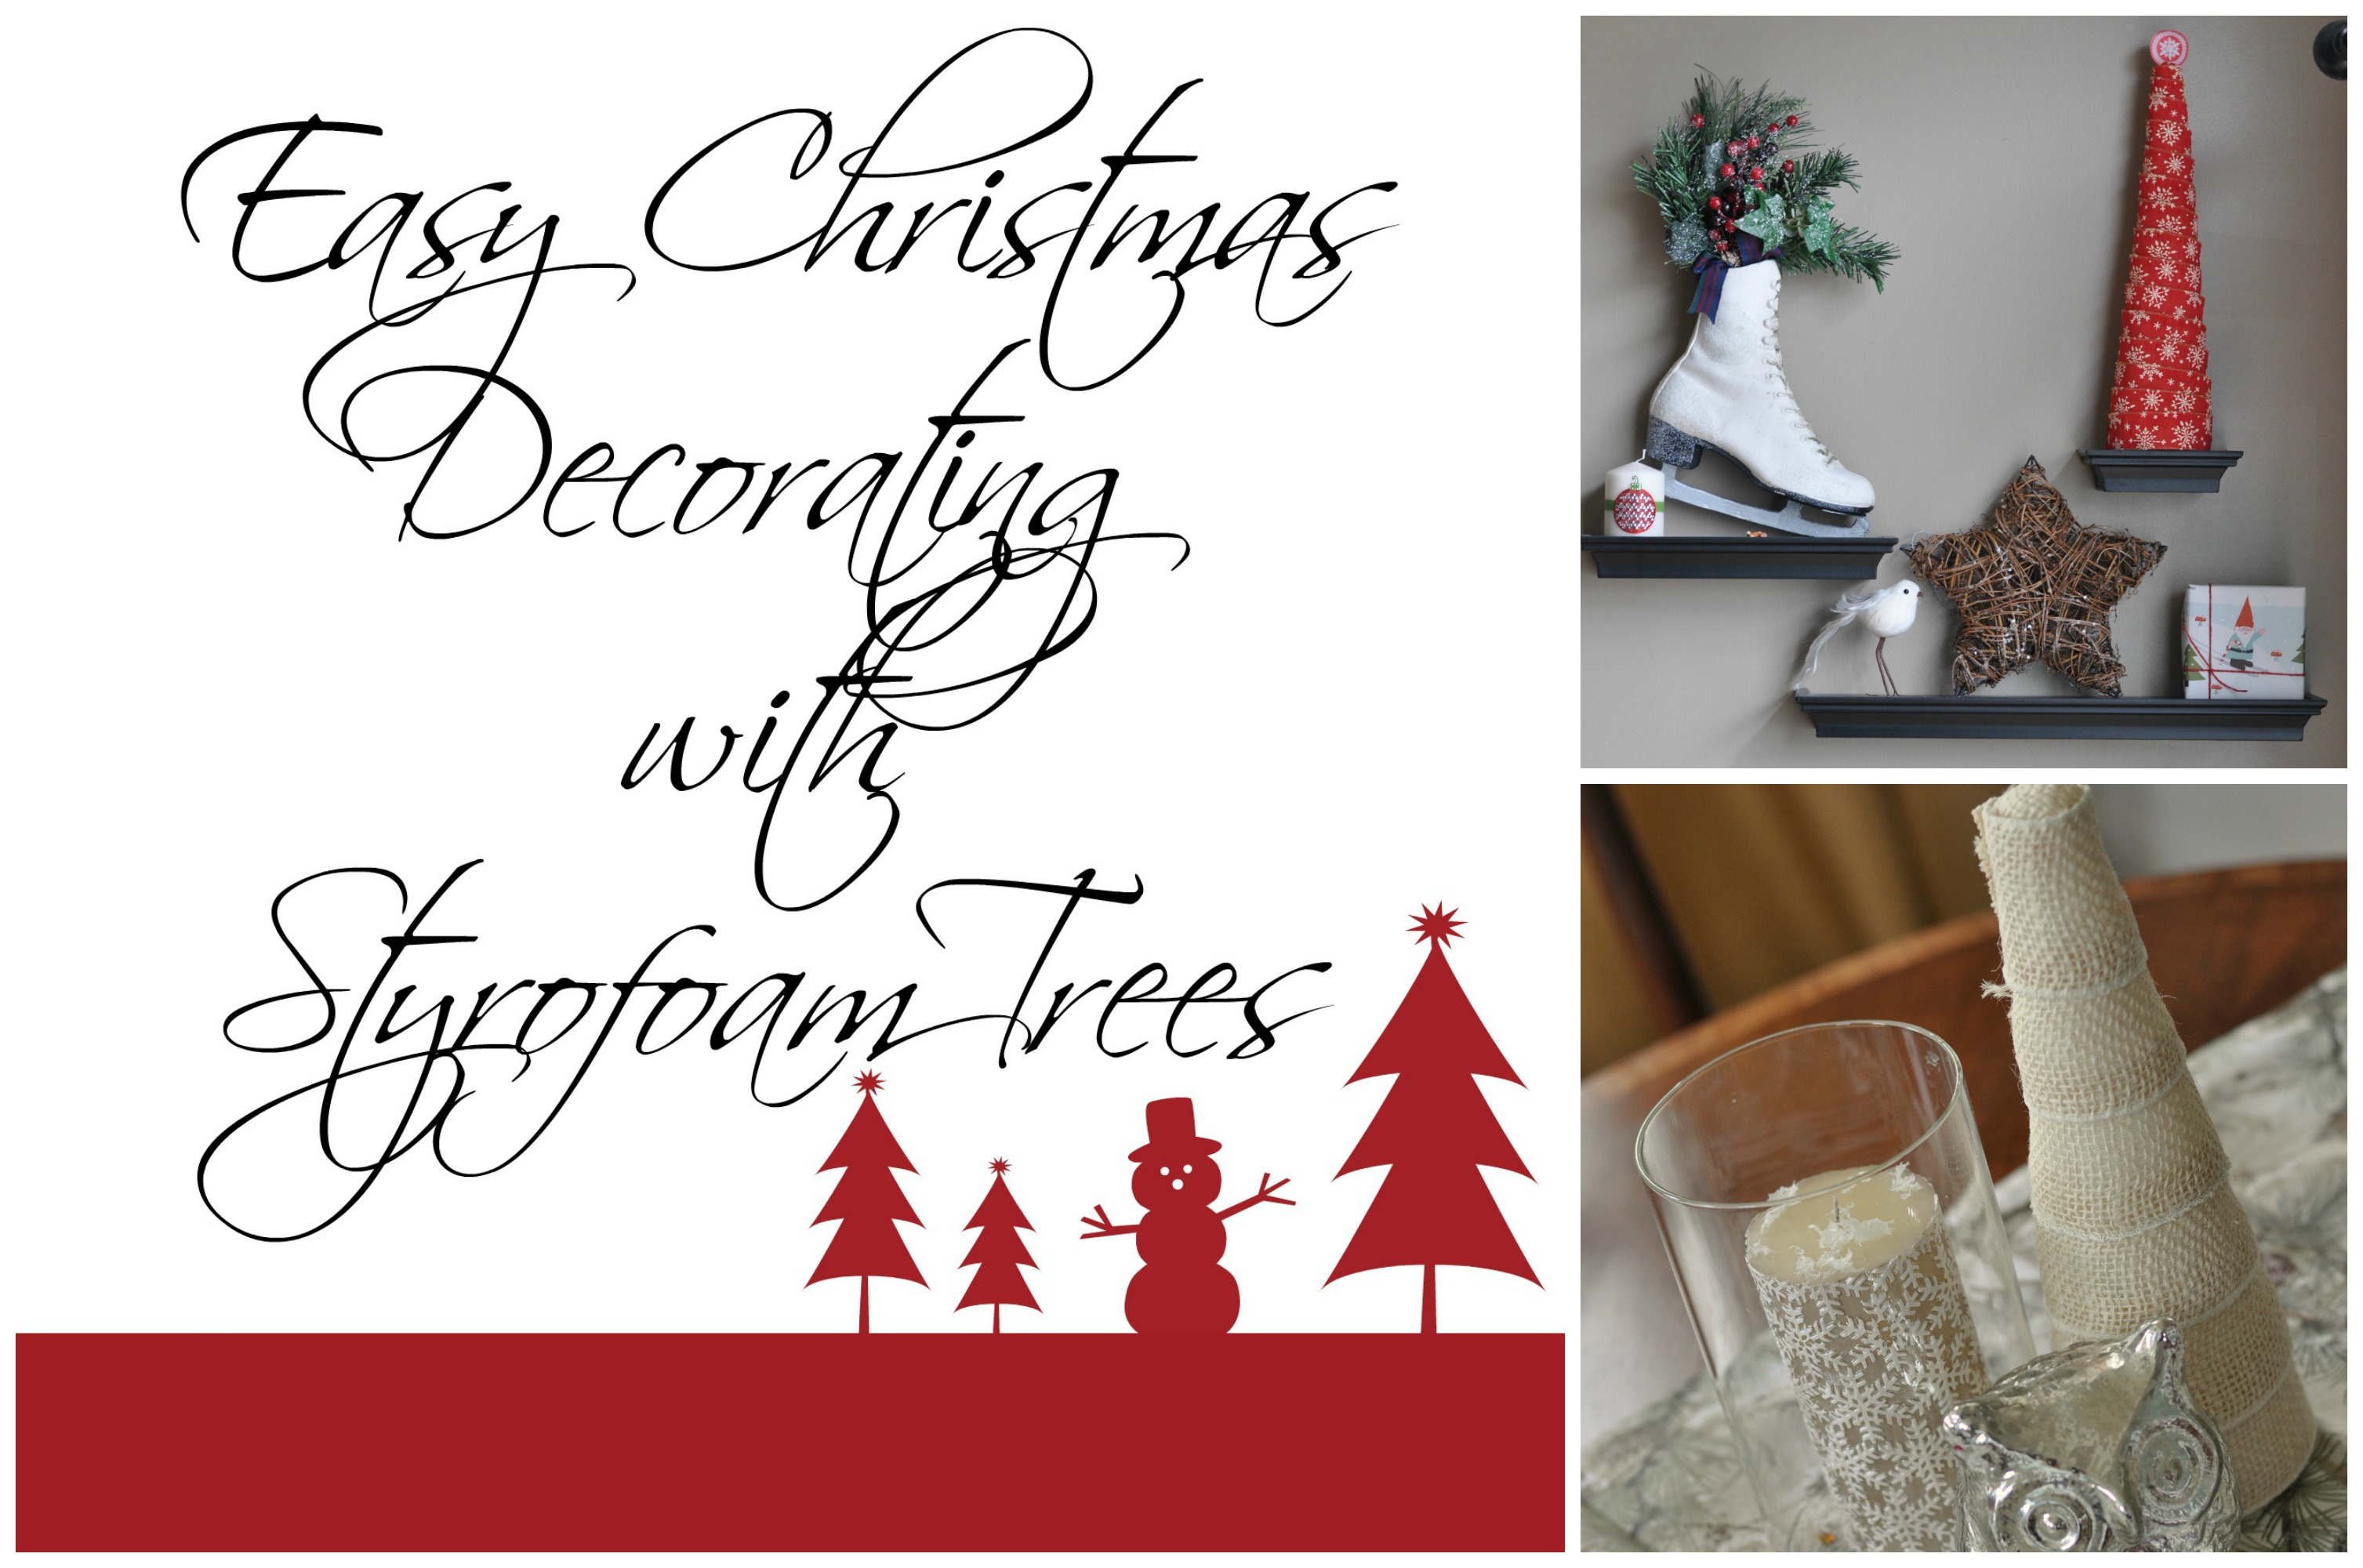
This year, to add to my collection of different trees around our home, I decided to go a little more rustic and use burlap on my homemade Christmas trees.
The first step is to gather your supplies:
– Make It: Fun® STYROFOAM™ pre-cut cones in various heights
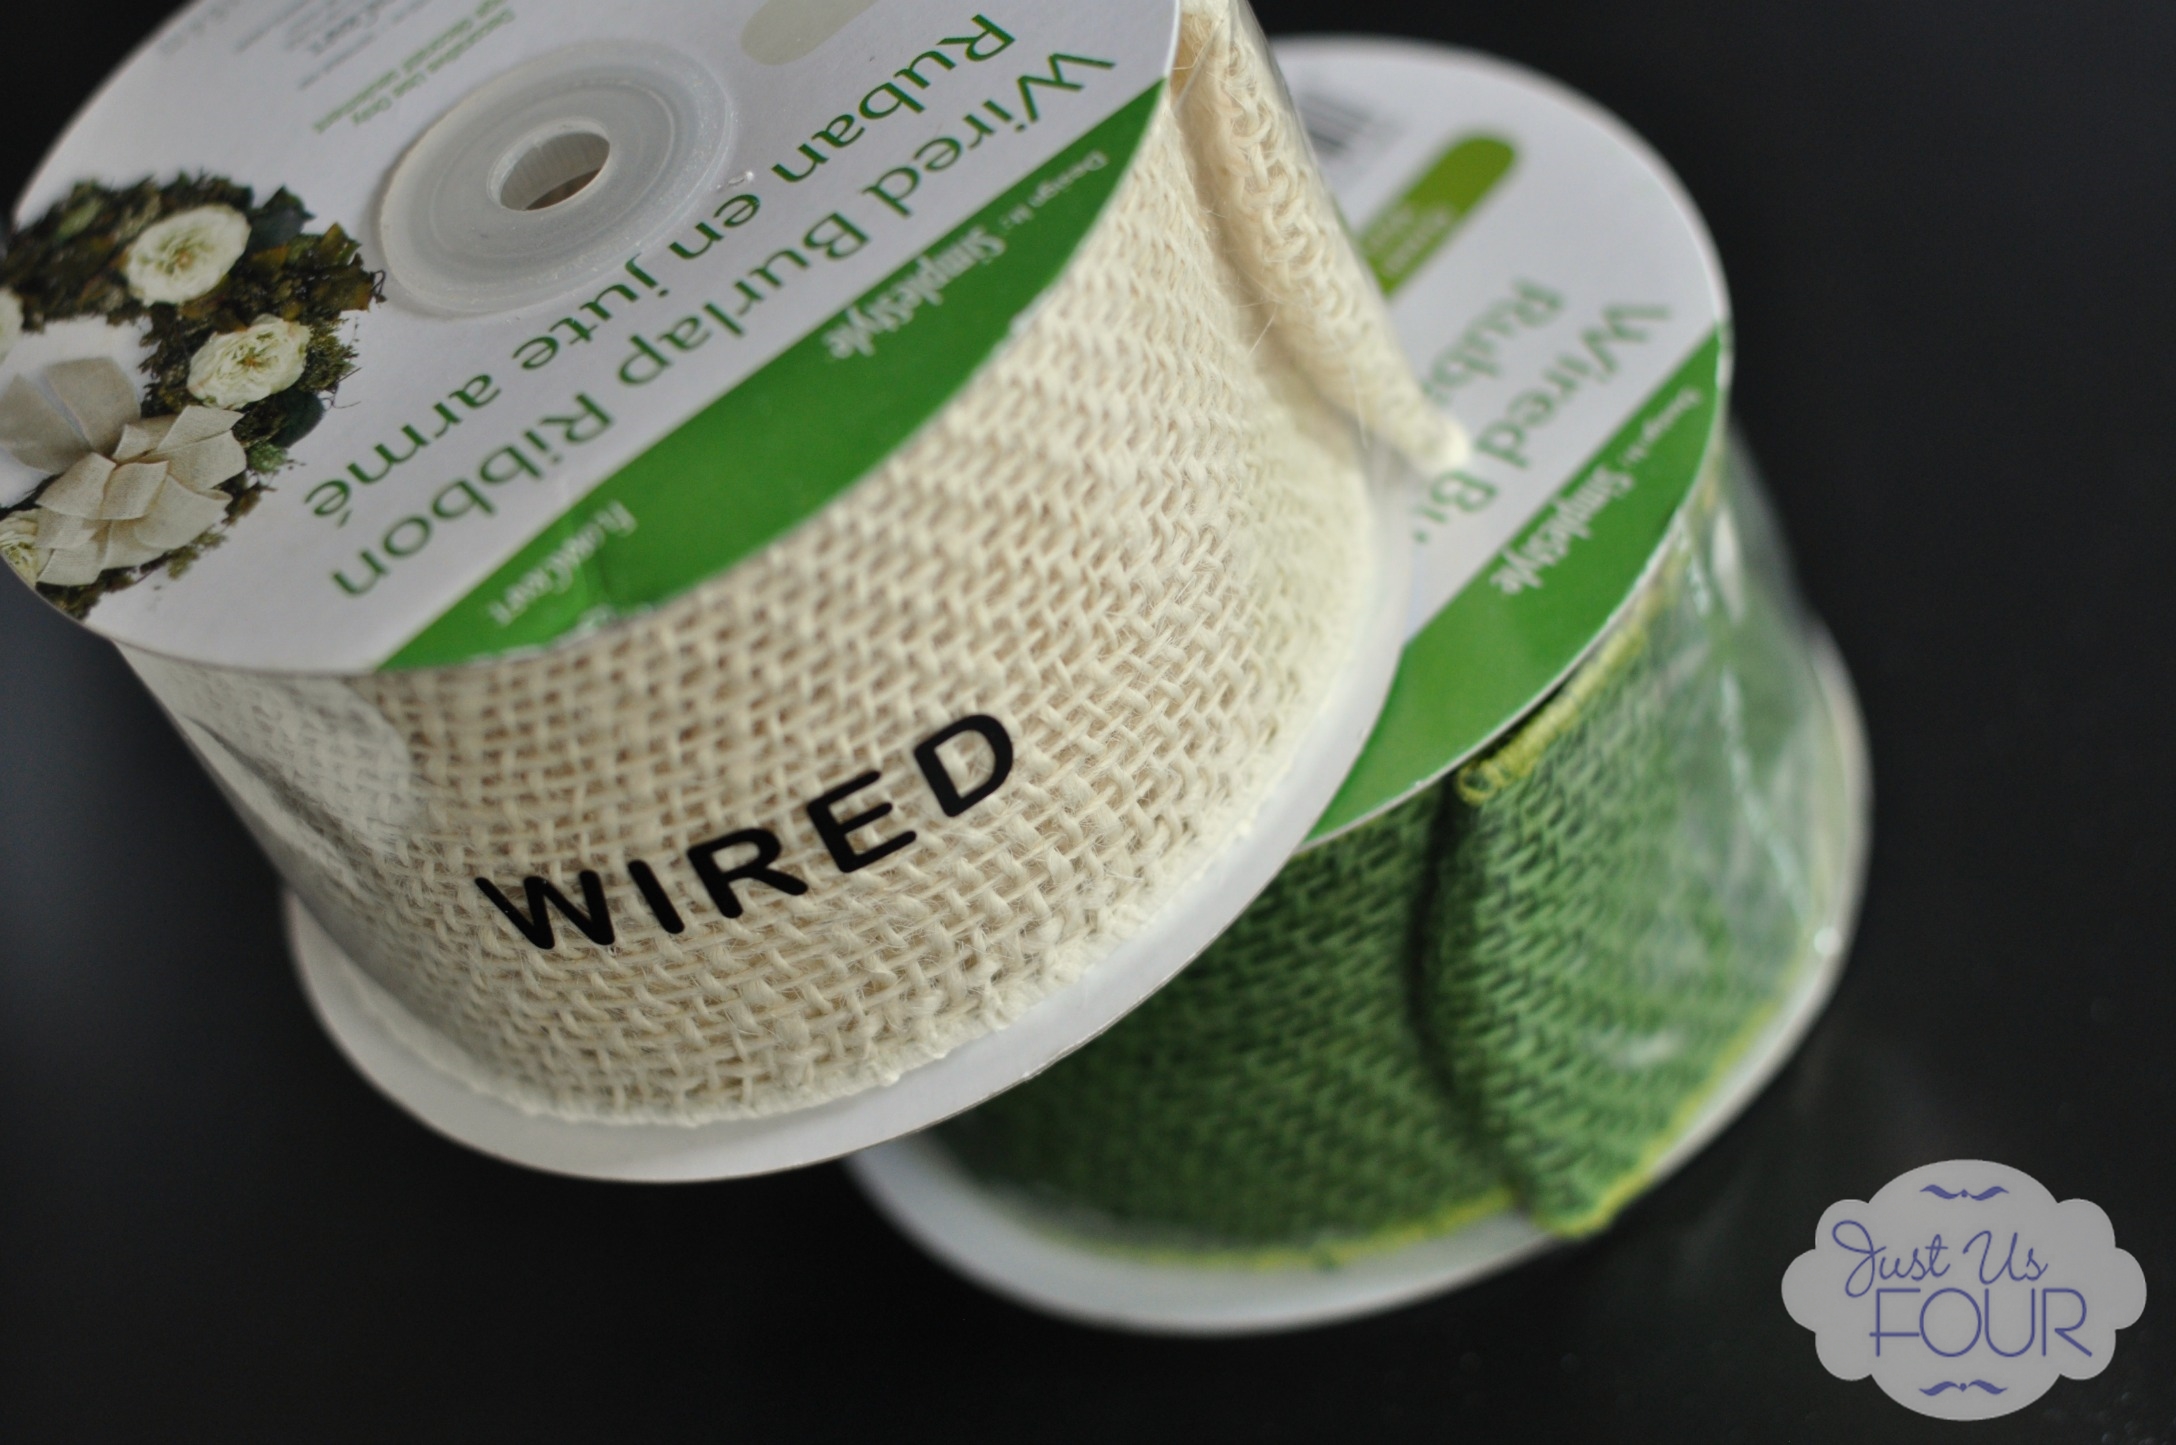
– FloraCraft® Wired Burlap ribbon
– Hot glue gun with gluesticks
Start by circumference of your tree at the widest part and cutting the burlap. Make sure you cut it enough to overlap a little in the back.
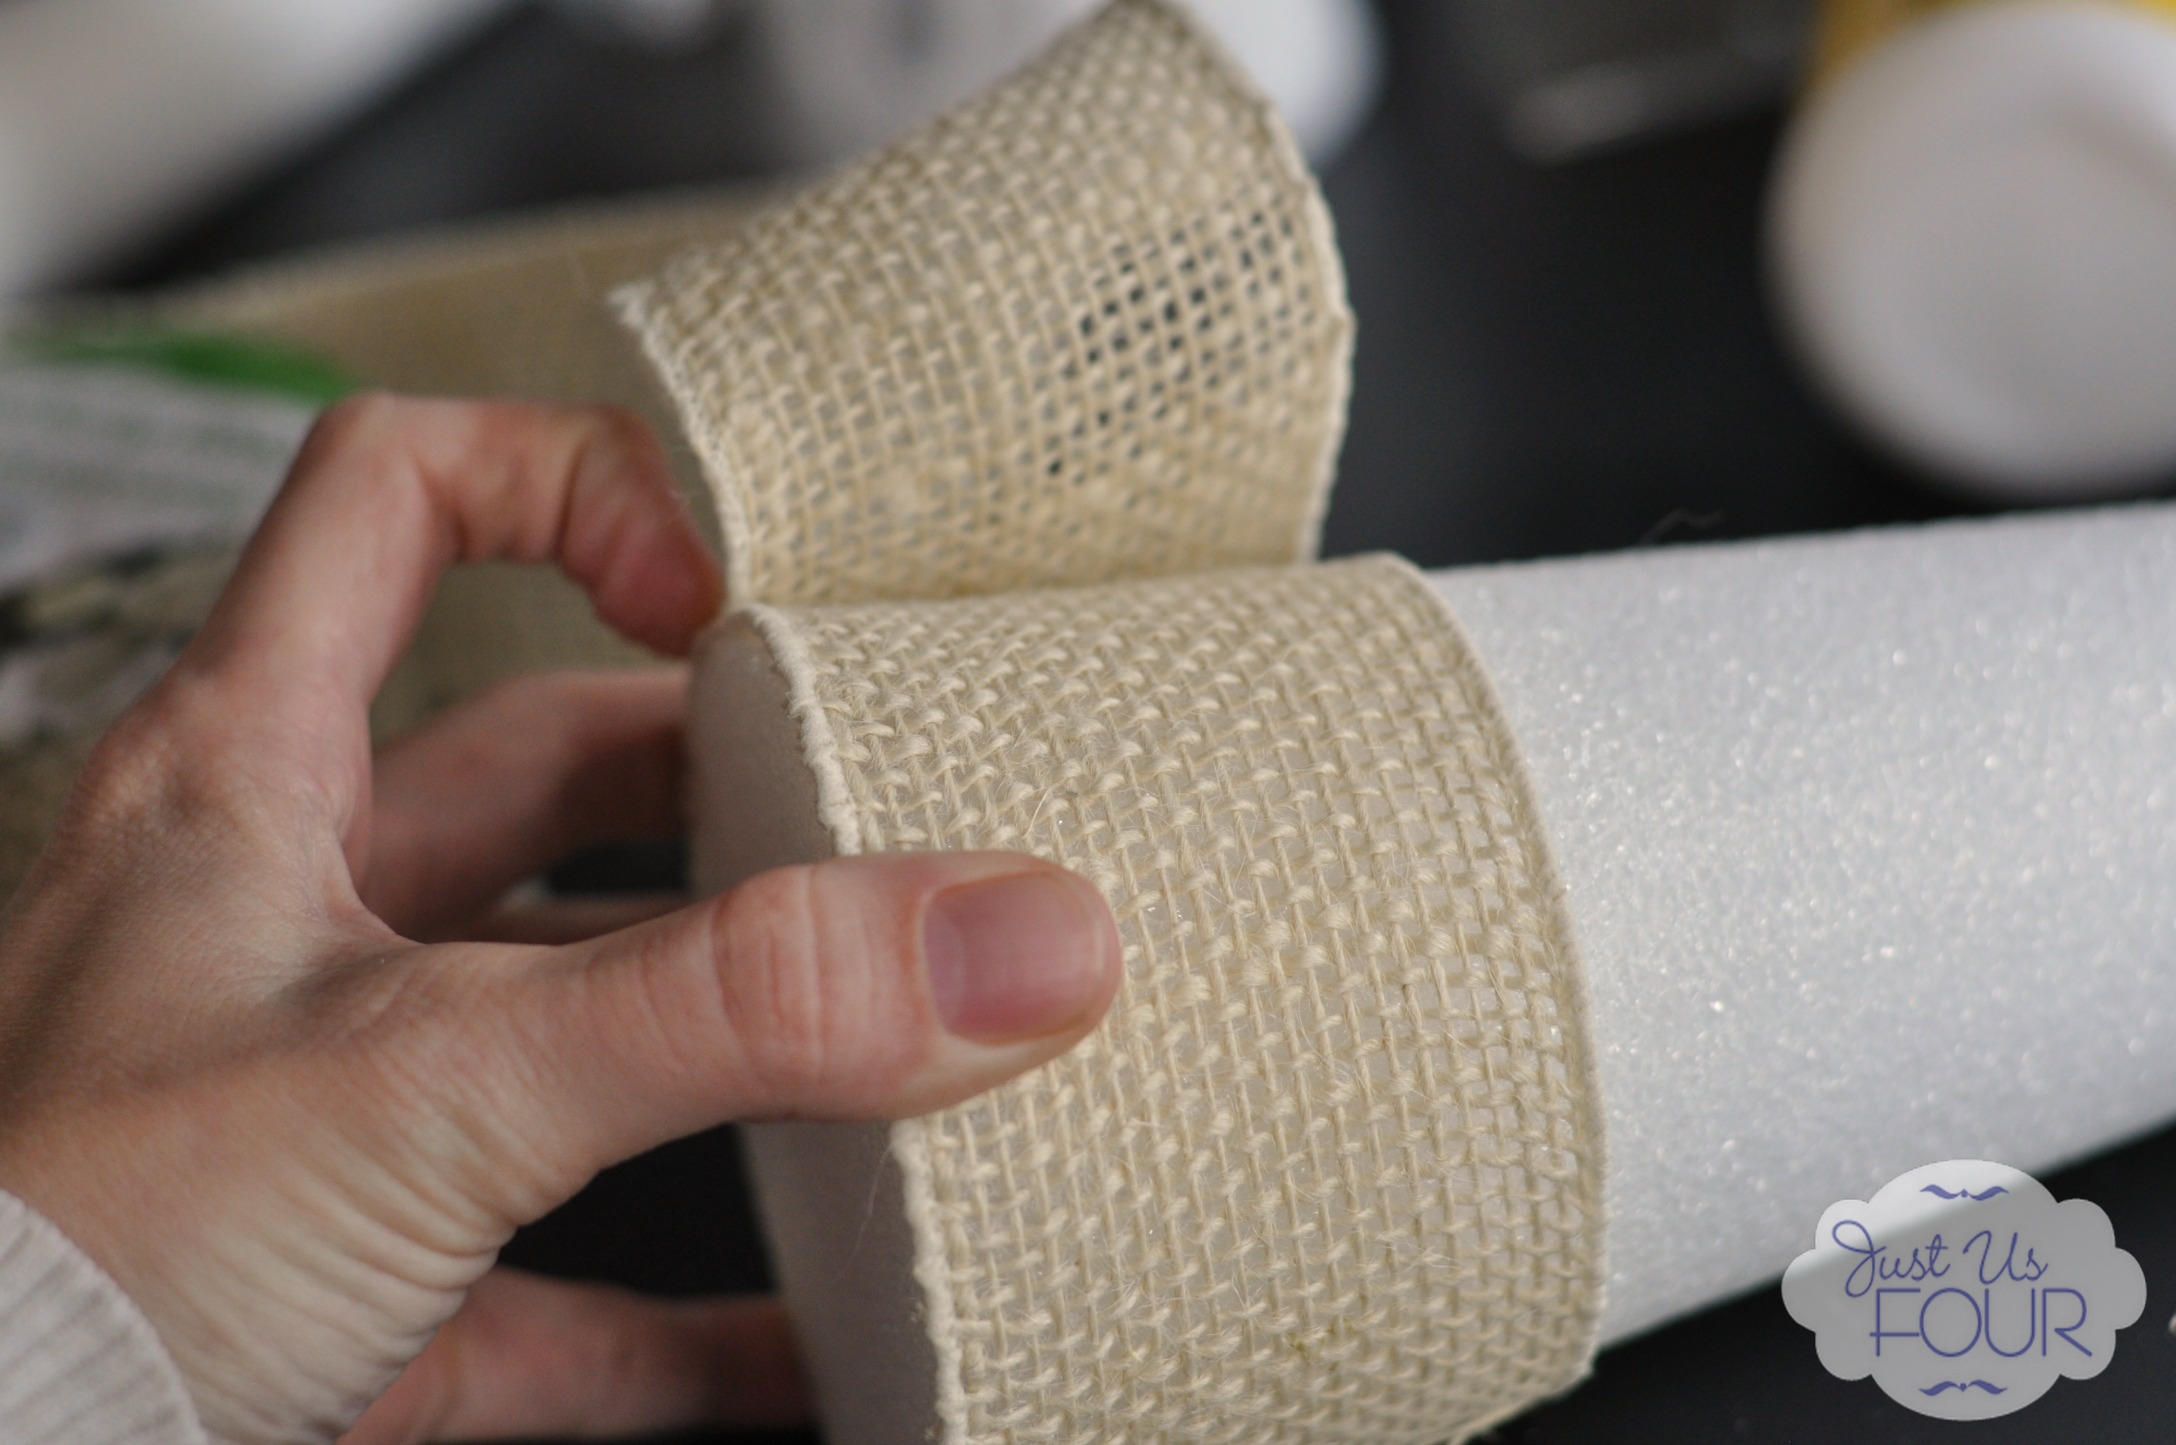 Hot glue the burlap piece together around the tree. I find it works best NOT to put the hot glue directly onto the cone but put it on top of the first layer of burlap instead. It will still stay together perfectly.
Next, measure the burlap starting about 1 inch from the top of your first burlap layer. Cut and glue it around the cone.
 Continue this process until you get to the next to last piece. Basically, don’t do the part that would reach the top. Now, cut a small square of burlap out.
 Place this over the very top of the tree and pull it down over the sides. Now, using the same method as above, secure the final piece of burlap around the cone.
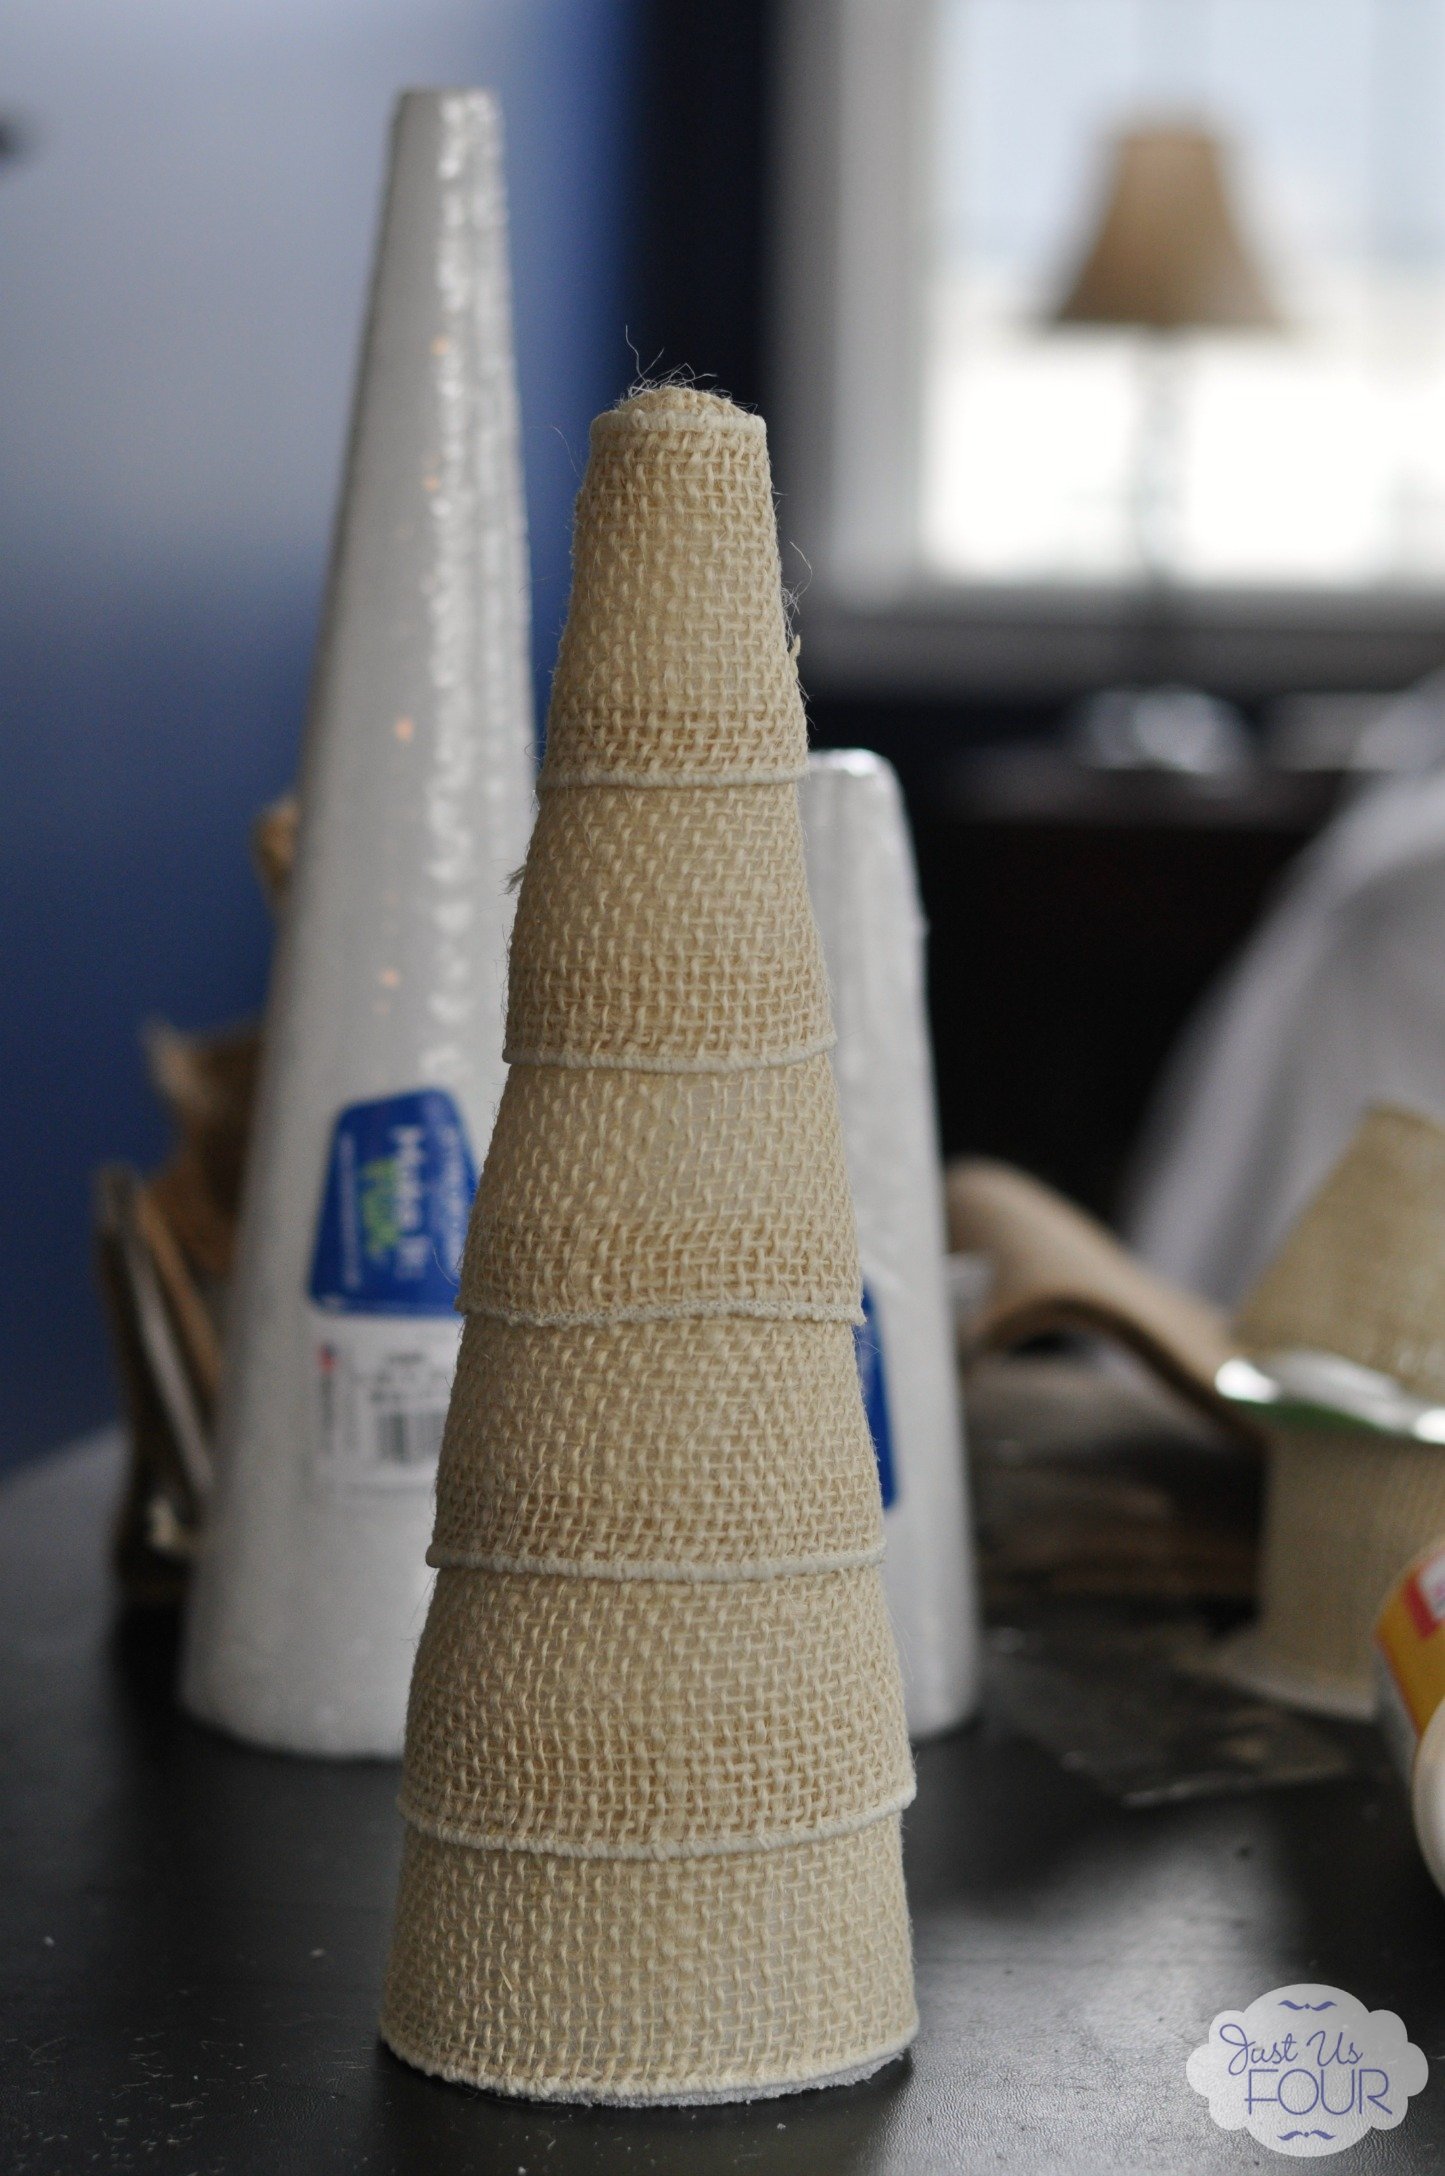
I placed my burlap wrapped tree on the dining room table mixed with my snowflake and mercury glass items.
While I was in the mood to create, I also made another yarn tree to go along with some of the other trees around my house. Making a yarn wrapped tree is super simple. Start by securing a piece of yarn at the top or bottom of the cone.

Then, just wrap the yarn all the way down the tree. My yarn was pretty thick so I just made sure it didn’t overlap the previous piece.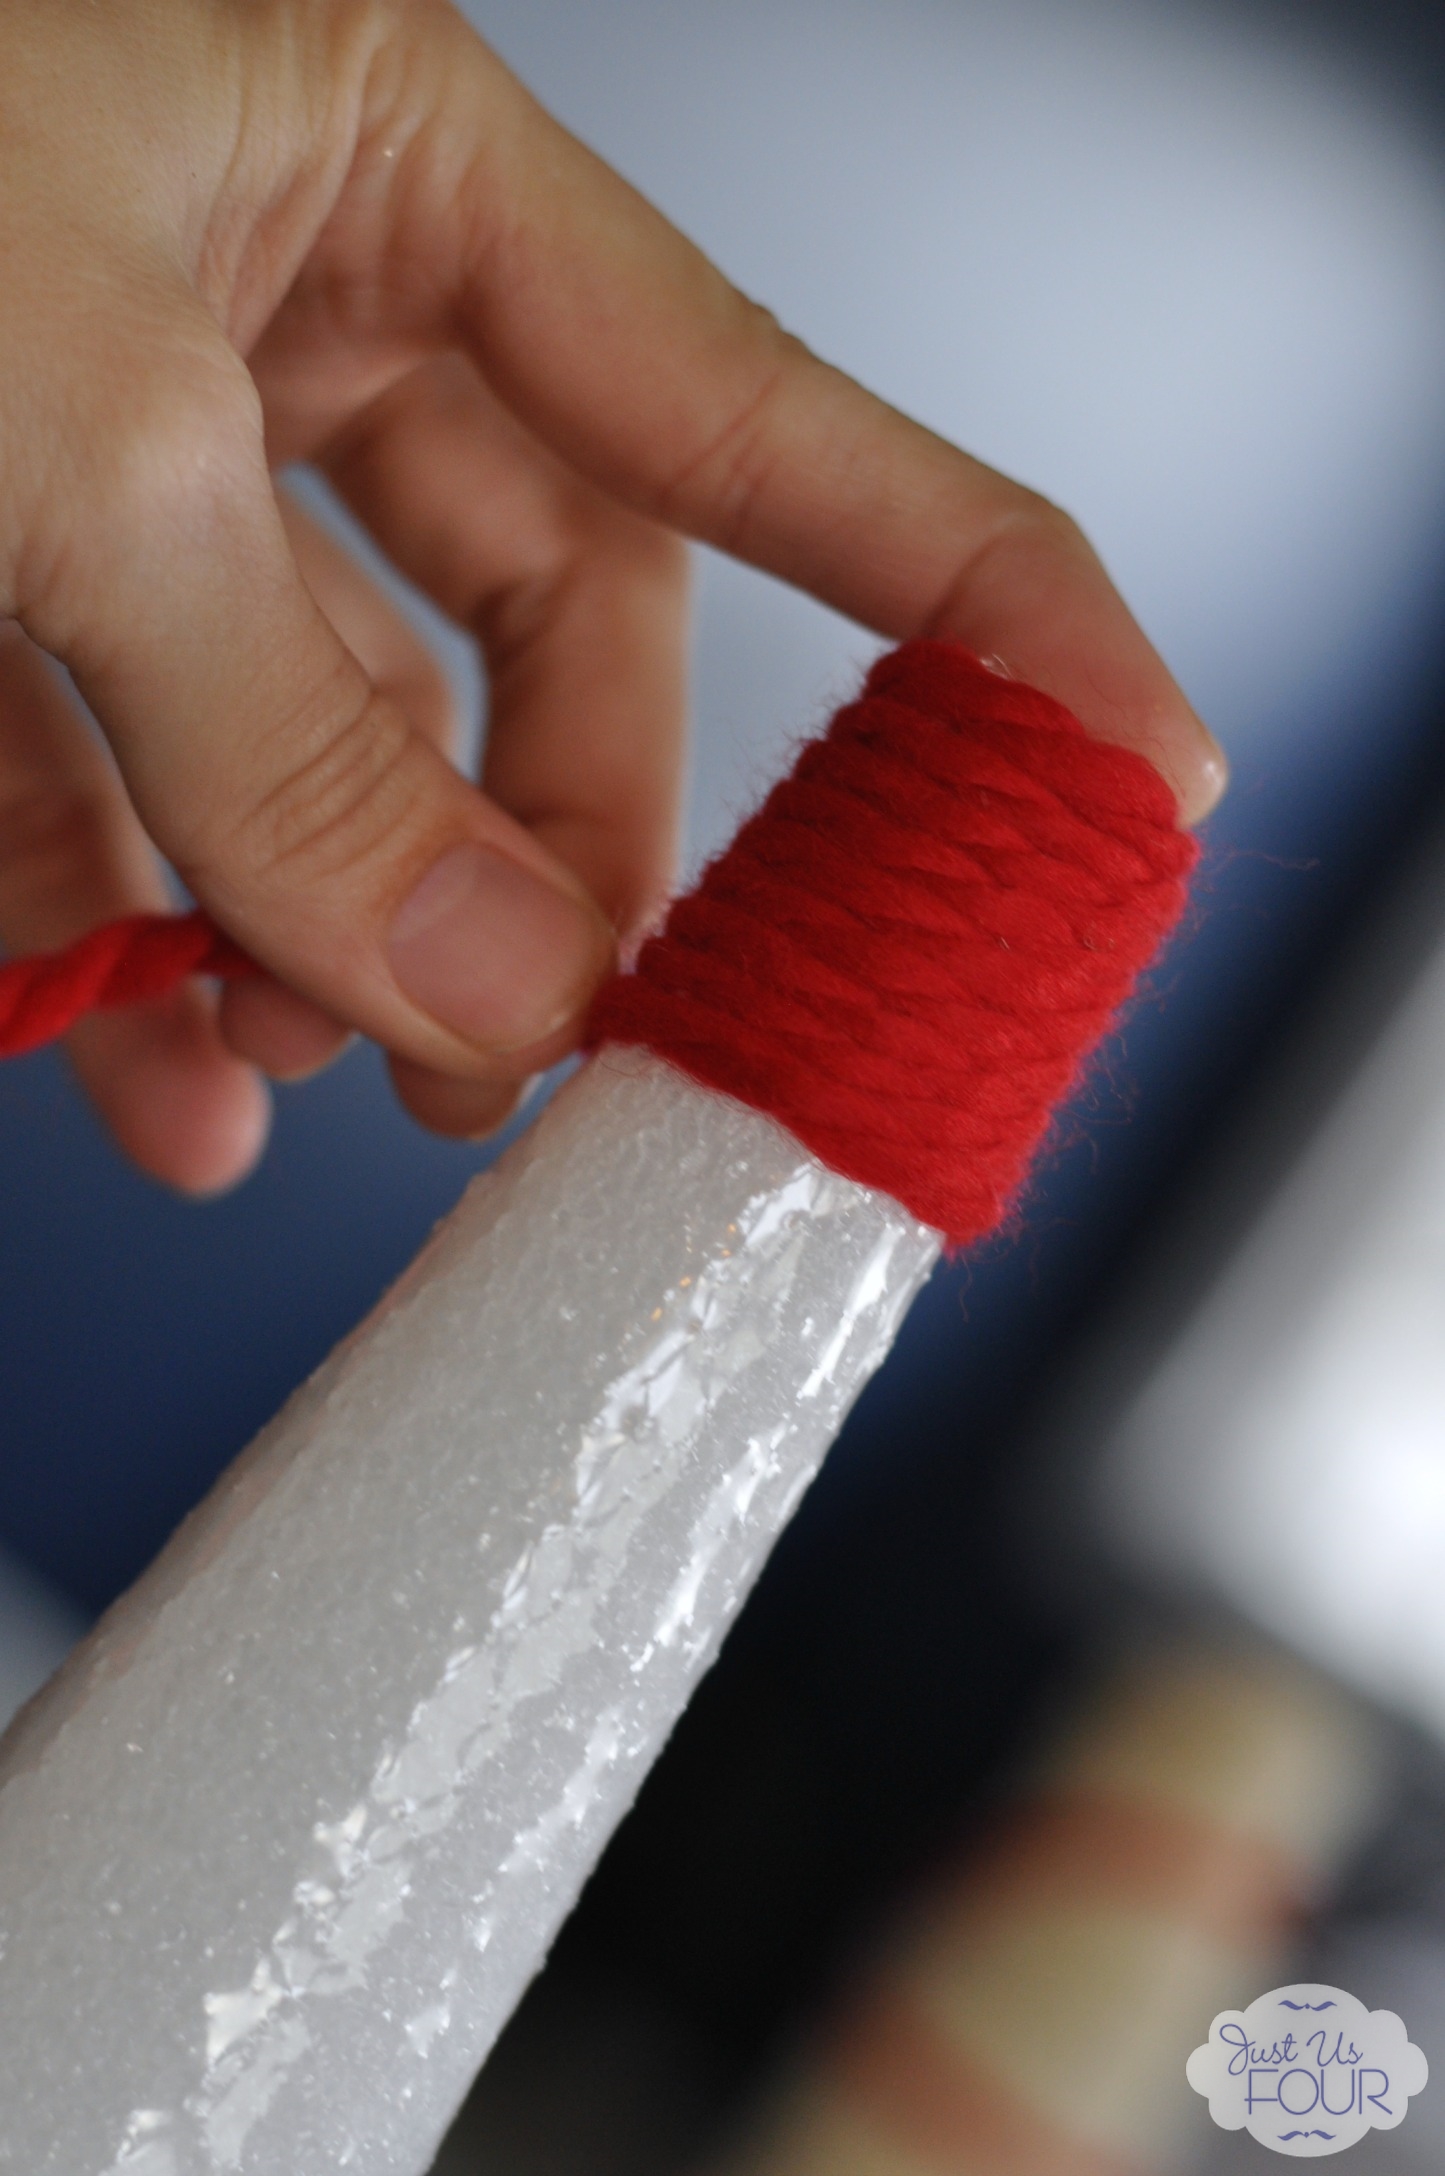 When you are done, just secure the bottom piece with a touch of hot glue.
I love using different types sizes of cones decorated as trees in our home for Christmas. 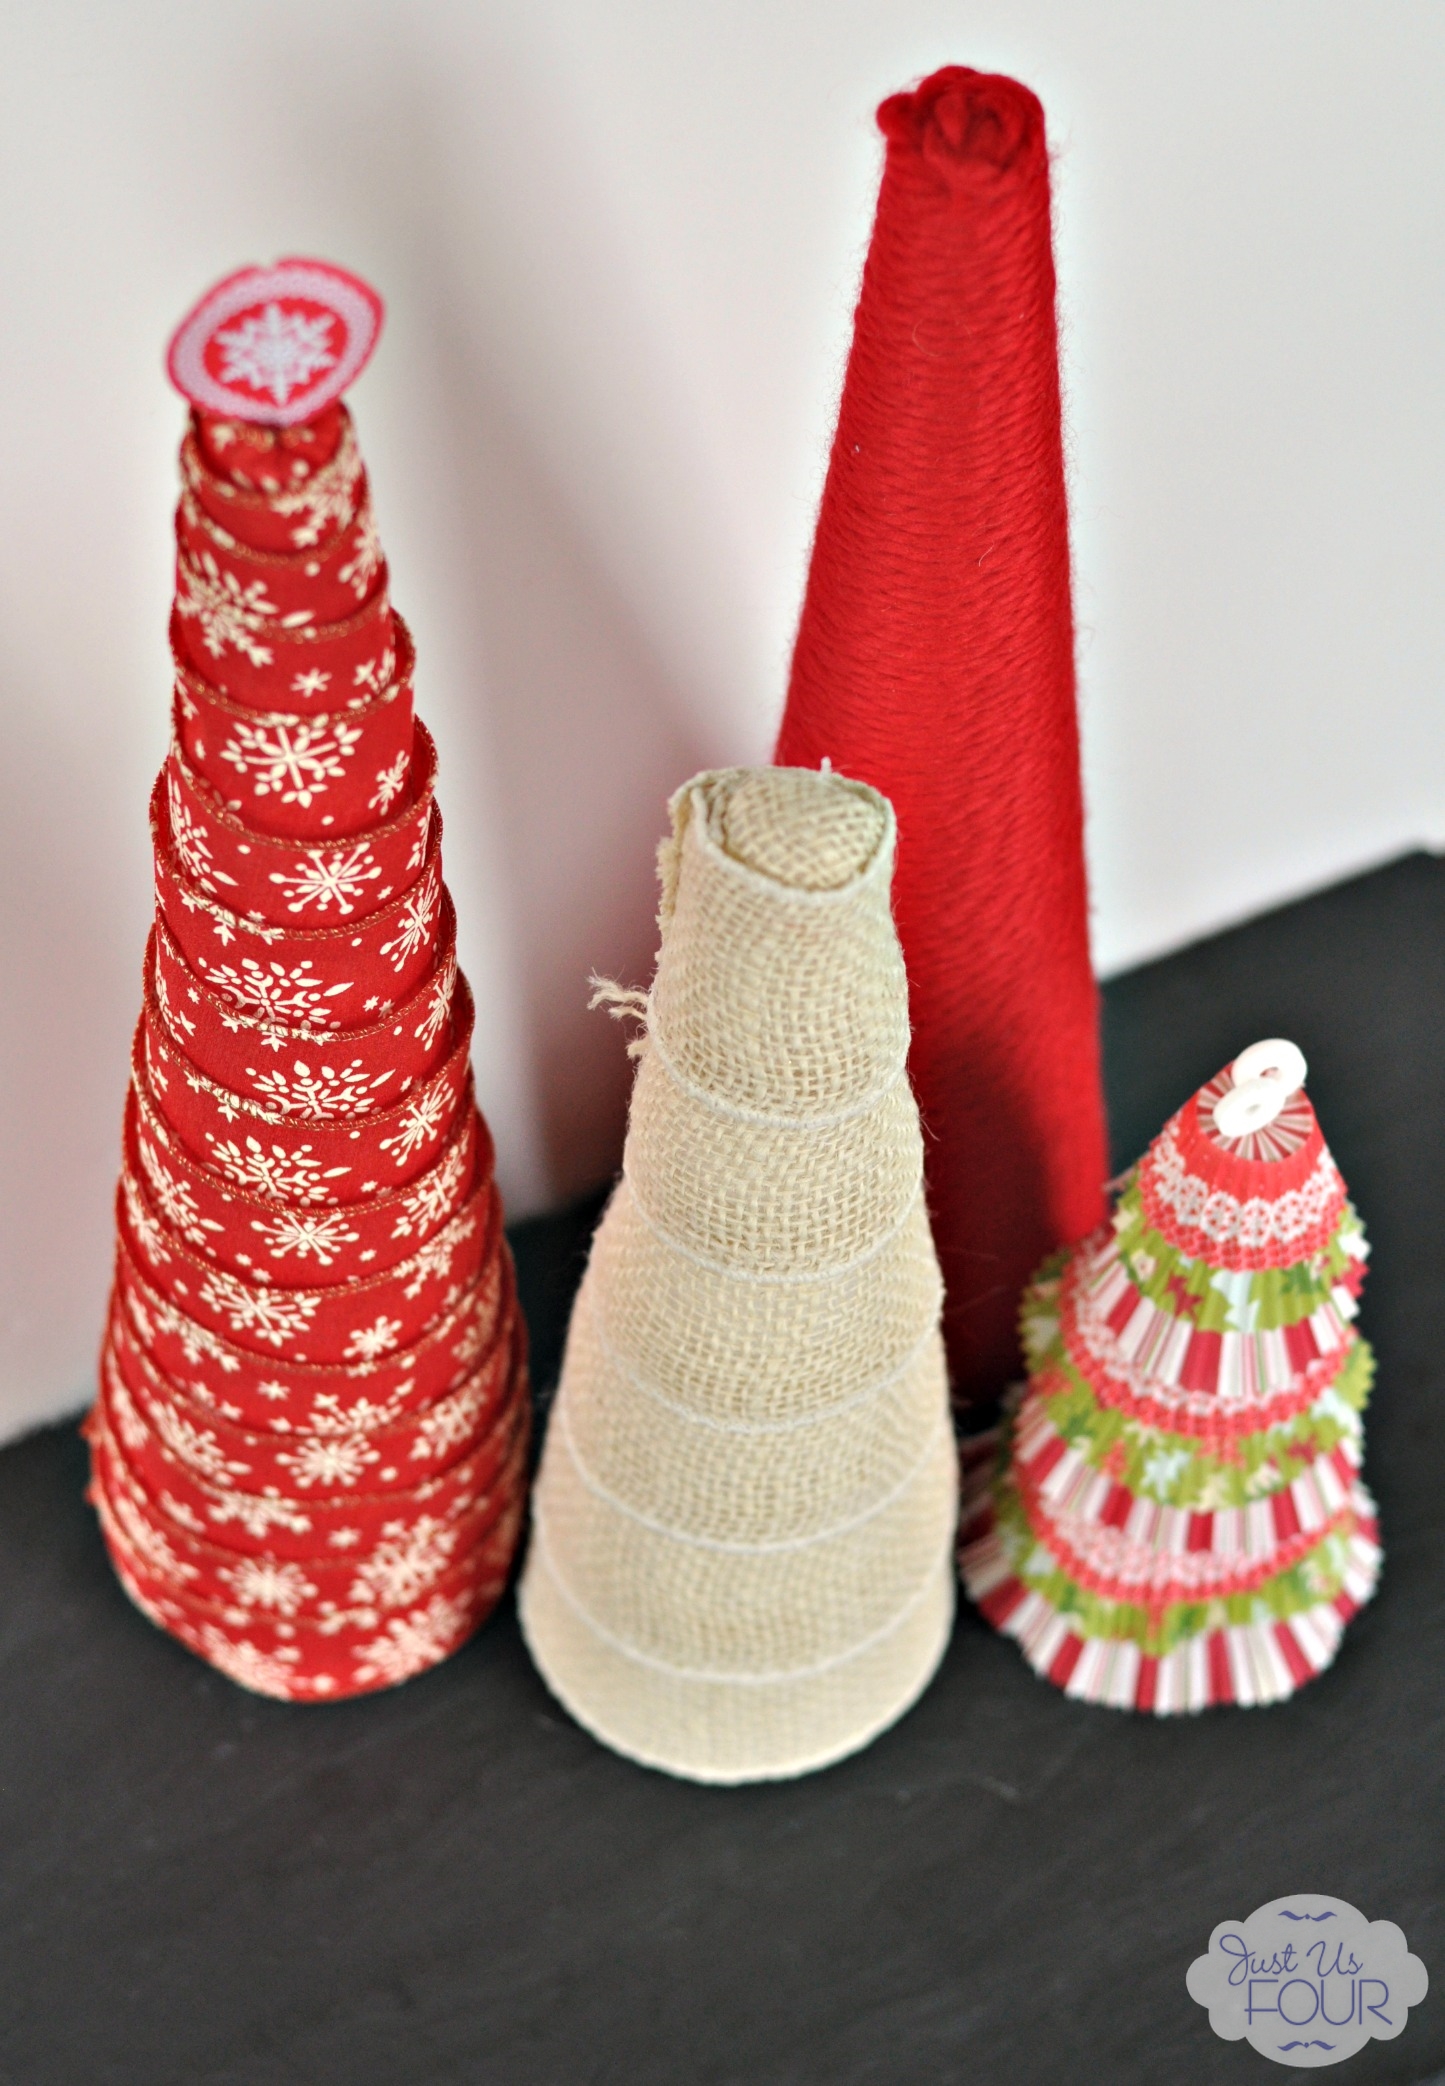

How do you decorate for the holidays? Do you use STYROFOAM™ crafting items a lot like I do?
If you need a little inspiration, you can find other great Make It: Fun projects on the Crafts ‘n Coffee blog.


Your Christmas trees are so sweet, and I love the four of them together. The contrast in colors and textures is so pretty! Thank you!
Sharon recently posted…20+ of my favorite Christmas Tree Cones
I love the look of this. So easy to do as well!
Diane N – Philzendia recently posted…Turn Your Child’s Artwork Into Jewelry With KidzCanDesign
So beautiful! I wish I was crafty!
really cute ideas! Those would make nice gifts too!
Mama to 5 BLessings recently posted…Learning With Jingle Bells — Learn & Link With Linky
I LOVE LOVE LOVE this idea! I want to go make some now.
Kristyn recently posted…Lancome DreamTone :: My Skin Story
Pinned your post! The trees are really neat! I will be making these next year
These are really pretty and simple to make! Thanks for this idea!
Jennifer B recently posted…Excerpt: The Christmas Town by Elyse Douglas
Those look so sweet!!
I have been busy knitting dishrags for the past few days so I haven’t had a chance to make anything for me!!
I really like your trees! I tend tu use Styrofoam crafting items like you do. Just made some golden Christmas trees a week ago.
Ave recently posted…Understanding and Overcoming the Holiday Blues
What a cute idea. The tree made with the cupcake liners is my favorite.
Pam recently posted…3 Tips for Stress Free Travels with Kids #marriottvacay
Your trees are beautiful. I will have to give this a try, I have 2 styrofoam trees in my stash and I think I have ribbon with my holiday wrappings. Thanks so much for sharing this. Pinning!
Joanne/WineLady Cooks recently posted…Foodie Friends Friday Christmas Party
I LOVE these trees! Going to JoAnn’s tomorrow to get supplies to make them!!!
Elizabeth @ Food Ramblings recently posted…DIY Wedding Invitation Ornaments
I love the cupcake papers one! That is just too darn cute for words!
Amy Lynn Desrosiers recently posted…Nuby Dual-Flo™ Nickelodeon™ Printed Hard Spout Cup Review
i adore these!! burlap is on my mind all day long lately…
brett recently posted…Knock it ON with LG G2 #SprintMom #MC
Those are nifty and crafty ideas! Thanks
Debbie Denny recently posted…Seen Hunger Games: Catching Fire? What’s Next? #Mockingjay #CatchingFire
Those are great! I love I can most of those supplies at our Dollar Tree too!
Danyelle recently posted…Holiday Hand and Foot Print Roundup
I love this idea! and its so easy!
Lisa recently posted…Winter Wellness Must-Have