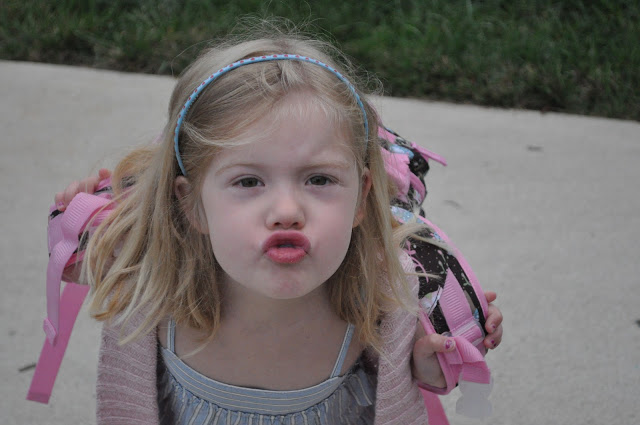
When kids are babies, they come with lots of cute little clothes and stinky diapers. They grow up a bit and lots of toys are added to that mix. As they get a little older, you get to the lose the diapers but the toys get smaller and hurt your feet a lot more. Then, they turn 5.
Now, we still have all the toys {lots and lots of toys} but we also have lots of paperwork! Seriously, it amazes how much paperwork H has come home with in the first week alone!
My previous solution for the paperwork and random artwork were these boxes. A set for each year…
I still have a set of boxes for this year {thanks, Ikea!} but I wanted a way to organize some of her artwork in a more accessible manner. That way, when grandparents visit, I can quickly pull some out and say “Look what H has been up to”.
Enter the 3” binder and in idea to make it a place for organizing artwork. So simple but oh so versatile.
Knowing I was going to keep the binder in a main space of the house, I used one of the Avery templates and created a simple binder spine label. This type of label can be used with any binder that has a plastic overlay on the spine.
Then, I took a piece of artwork I already had from H and made that the cover.
Inside, I put clear sheet protectors and tab dividers made to work with sheet protectors.
I write the date on the artwork and then it goes into the sheet protector.
I use the tab dividers for each year.
Although, judging from the amount of stuff coming home already, it might be a binder for each year with tabs for the months!
How do you organize all the art and creations that come home with your kids?

© 2012 Just Us Four. ALL RIGHTS RESERVED.


Good idea! Ours are just shoved in a drawer!
My gosh the papers and artwork is crazy huh? I always say I could wallpaper the house 10 times over by now! Mine are in Jr and Sr high now and the paperwork and art is still flowing in! Great idea to use the binder to store it all! thanks for sharing your tip with us at tip toe thru tuesday!
This is a really good idea! I’m going to start one of these for my son. Thanks!
Thank you for this idea! I use 12″x12″ flat boxes right now. But when she is older, I think she’d like looking through her own book! Found you on Bear Rabbit Bear link up!
I really like this idea! Thanks for sharing.
You are waayy more organized then me…what a great idea…I have drawers of art work waiting for you…;)
Awesome idea! I have 12 years of art project in a tub in the closet. I bet my kids would love it if they each got a binder or two of all the stuff I saved 🙂 Thanks so much for linking up to Creative Thursday. Can’t wait to see what you share this week! Have a wonderful week.
Michelle
Hi, I do believe this is a great site. I stumbledupon it 😉 I will return yet again since i have book marked
it. Money and freedom is the greatest way to change, may you be rich and continue to help others.
This is an awesome idea to write the date on every artwork. After some years you will see how the painting evolved 🙂