
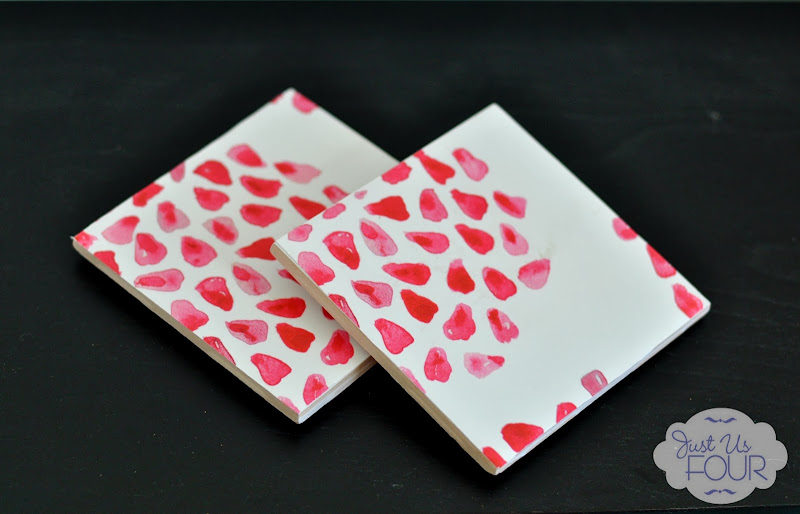
Make Your Own Wallpaper Coasters
This post may contain affiliate links. Please read my privacy policy.
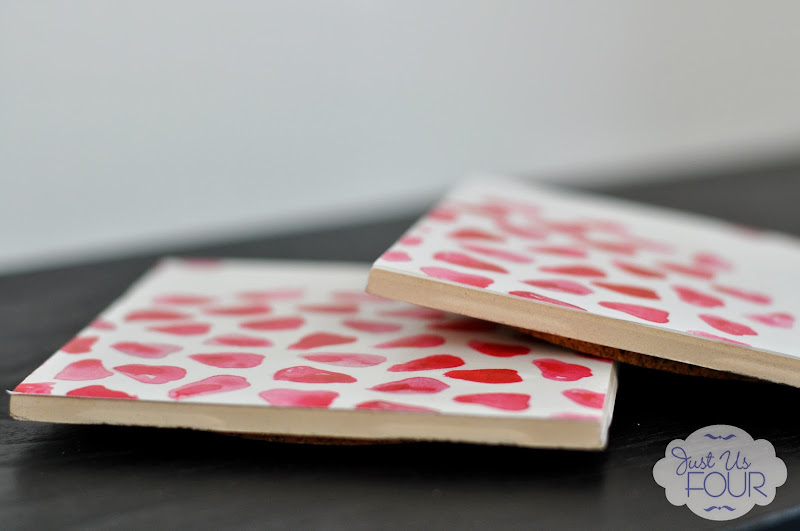
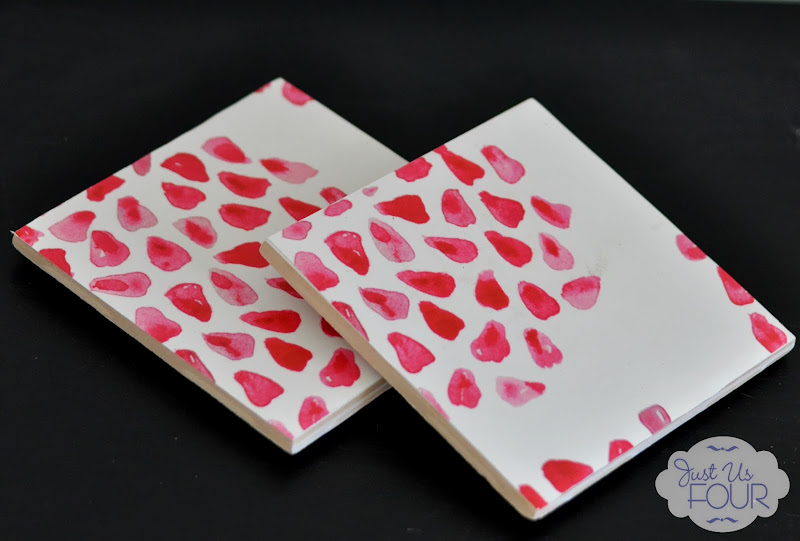
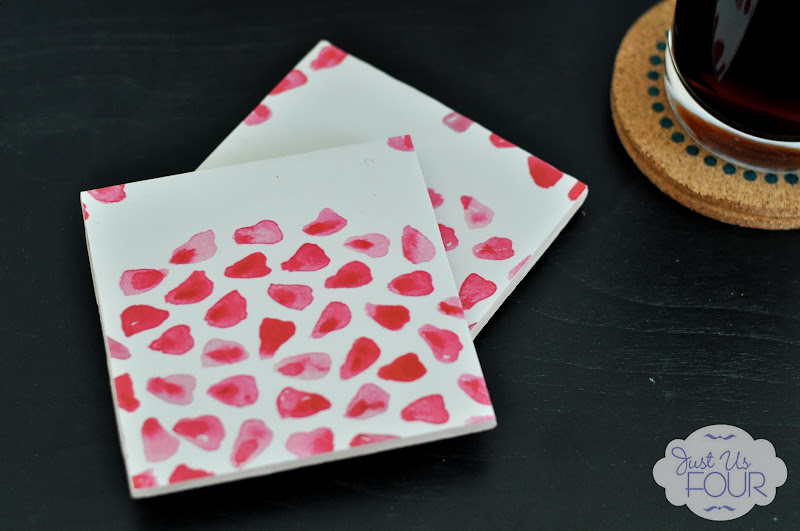
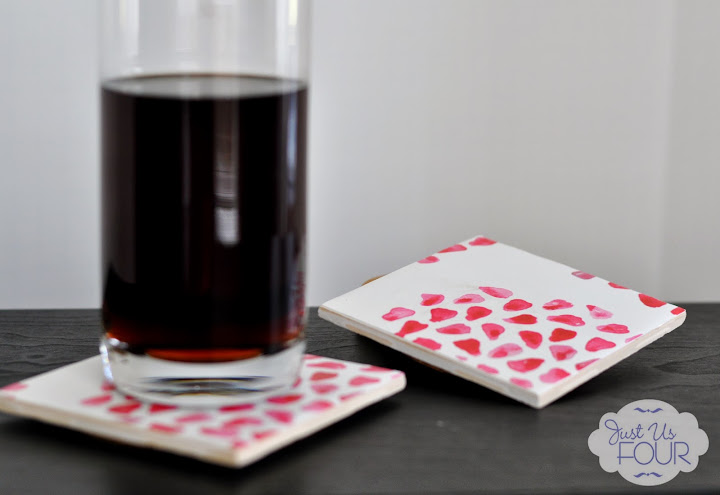
We have a ton of wood furniture in our house which means we need a lot of coasters. I’ve been looking at different ways to make my coasters fun though so I don’t just have a bunch of boring circles lying around the house. Last week, I shared my chalkboard coasters that I made from ceramic tiles. They chalkboard coasters are perfect for parties but I wanted something to use on other occasions too. I had gotten some wallpaper from Spoonflower and didn’t use it all so I decided to make wallpaper coasters.
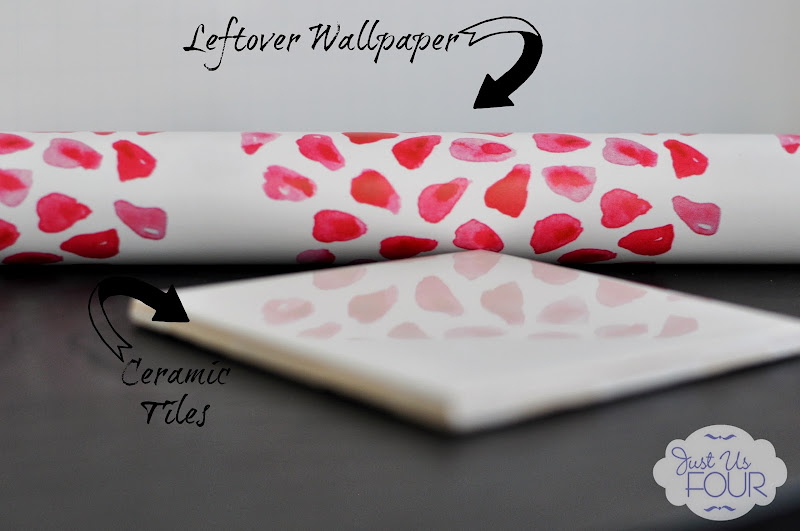
The supplies for this are super easy to find: ceramic tiles, leftover wallpaper and mod podge.
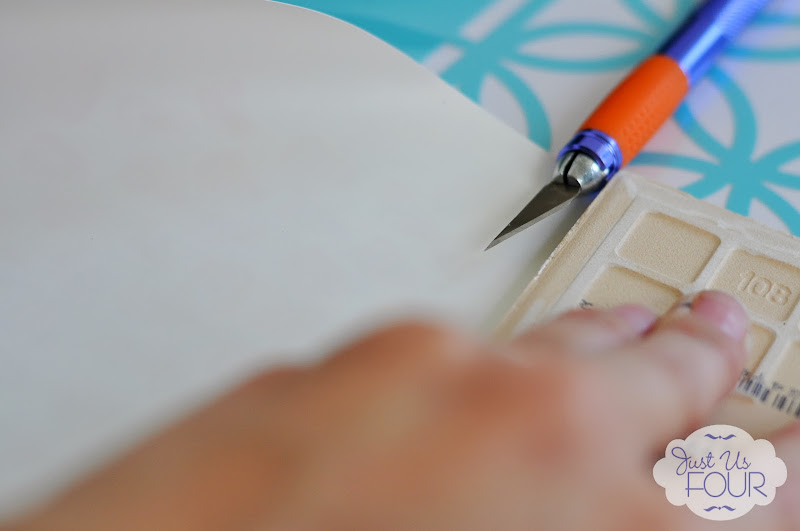
Using the ceramic tiles a guide, cut the wallpaper to fit.
Add a layer of mod podge on top of the ceramic tiles and place the wallpaper on top. Smooth out and let dry. Then, brush on a light layer on top of the wallpaper. Let dry completely.
Once dry, glue a small cork disk on the bottom to protect your furniture.
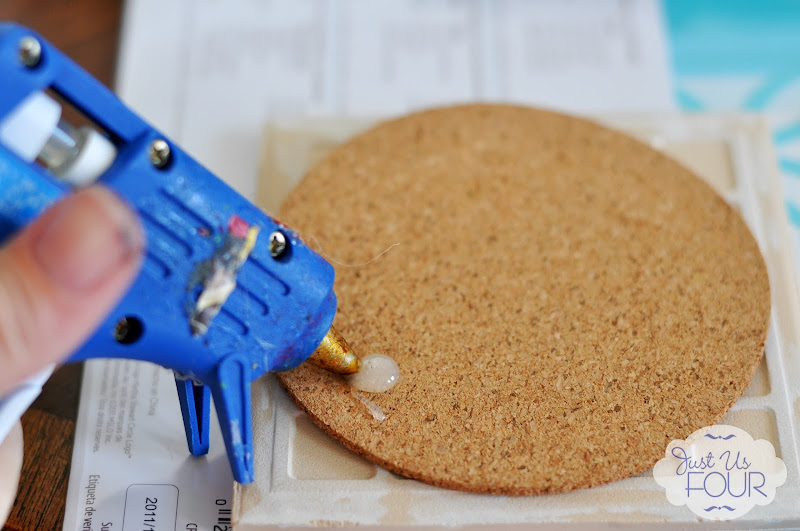 Once the hot glue dries, flip them over and start using them!
What are your favorite types of coasters? Do you typically make your own or buy them from the store?
You can find this post shared at the following parties.


Awesome Shanna!
You should totally share this craft on our Mommy Monday Blog Hop! I would love for you to join. It goes live tonight. I have put my link in the website section – but it’s not active until about six o’clock EST.
Thanks Lisa! This was such a super fun craft to work on. I can’t wait to use them.
These are great. Believe it or not, I am waiting for the modge podge on mine to dry and decided to take a break and do some blog surfing. I used scrapbook paper but same idea. I love the pattern of the wall paper.
Haha…too funny! I made some with scrapbook paper once too. They turned out great! Cant wait to see yours.
What adorable coasters! I never thought to use wallpaper to spruce them up. Great idea!
Thanks! I just had that wallpaper hanging around from another project and decided to try and use it for something 🙂
Great idea and super tutorial. Thanks for linking to Inspire Me. Hugs, Marty
Wow,These blog is very nice and informative. Thank you for sharing this information it helps me a lot.
resin domed badges